Managing agent library
As an admin or agent moderator, you control how the Agent Library is organized and which agents are promoted to different groups of users. You can:
- Create and manage categories.
- Verify and brand official agents.
- Scope categories and agents to the right departments.
- Preview how the Library looks for end users where supported.
Roles and permissions
Only agent moderators and admins can configure the shared Agent Library. Specifically, they can:
- Create, edit, and delete categories.
- Add and remove agents from categories.
- Mark agents as verified / company-branded.
- Control which audiences see each category and its agents.
End users can browse categories and run agents but cannot create or manage categories, or change verification status.
Plan your categories
Categories are the main way to organize the Library for different parts of your company. They appear as filters or navigation in the Library and group related agents together—for example:
- Sales
- Marketing
- Support
- HR
- All
Best practices for categories
To keep the Library simple and scannable:
- Aim for around 5 core categories per department. There is no hard limit, but too many categories can overwhelm users.
- Use plain-language names that match how teams describe their work, for example, "Account Management" rather than internal project code.
Create or edit categories
From the admin or moderator view of the Library, you can typically:
Only admins and moderators can perform these tools. End users cannot change shared categories.
Create a category
To create a category:
- Click the Agents icon on the left navigation pane.
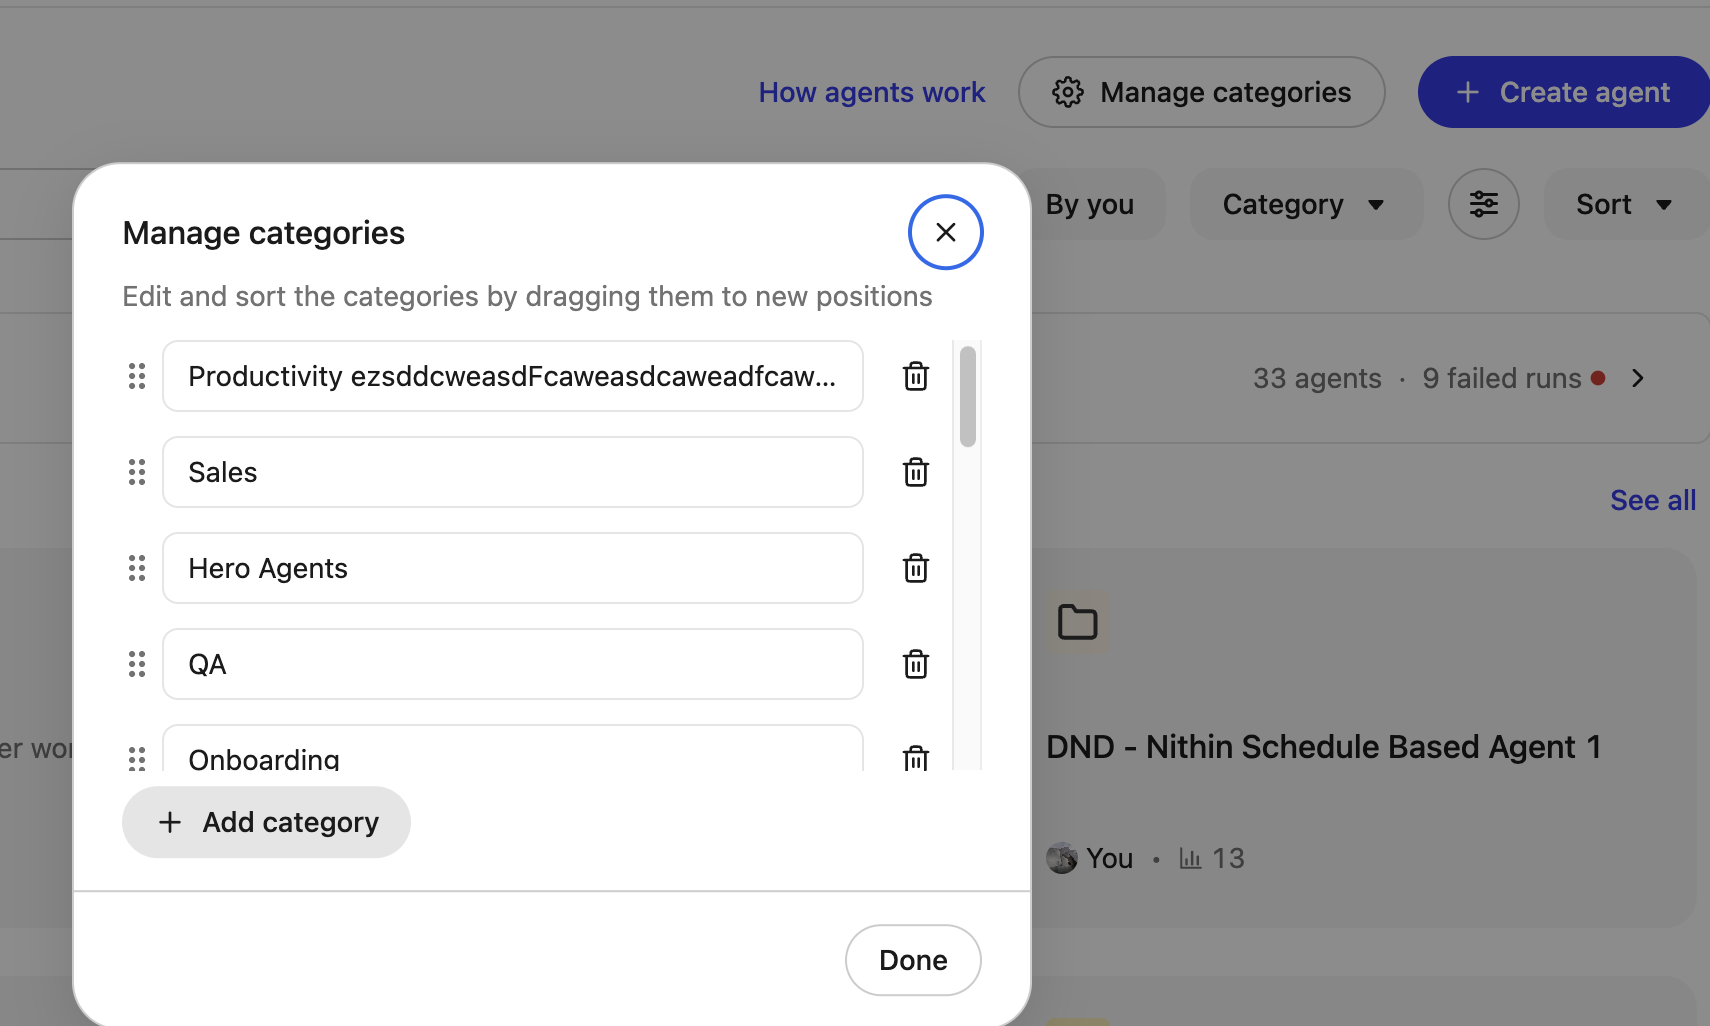
- Click Manage categories.

- Click Add category.
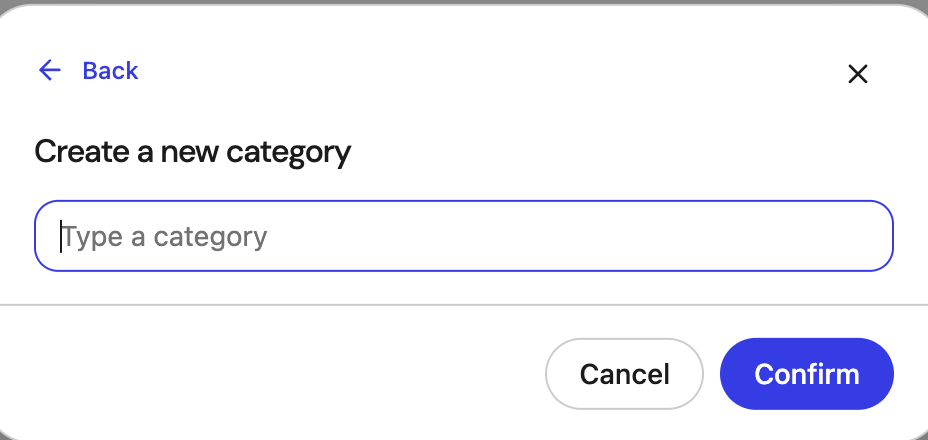
- Add the category name and click Confirm.
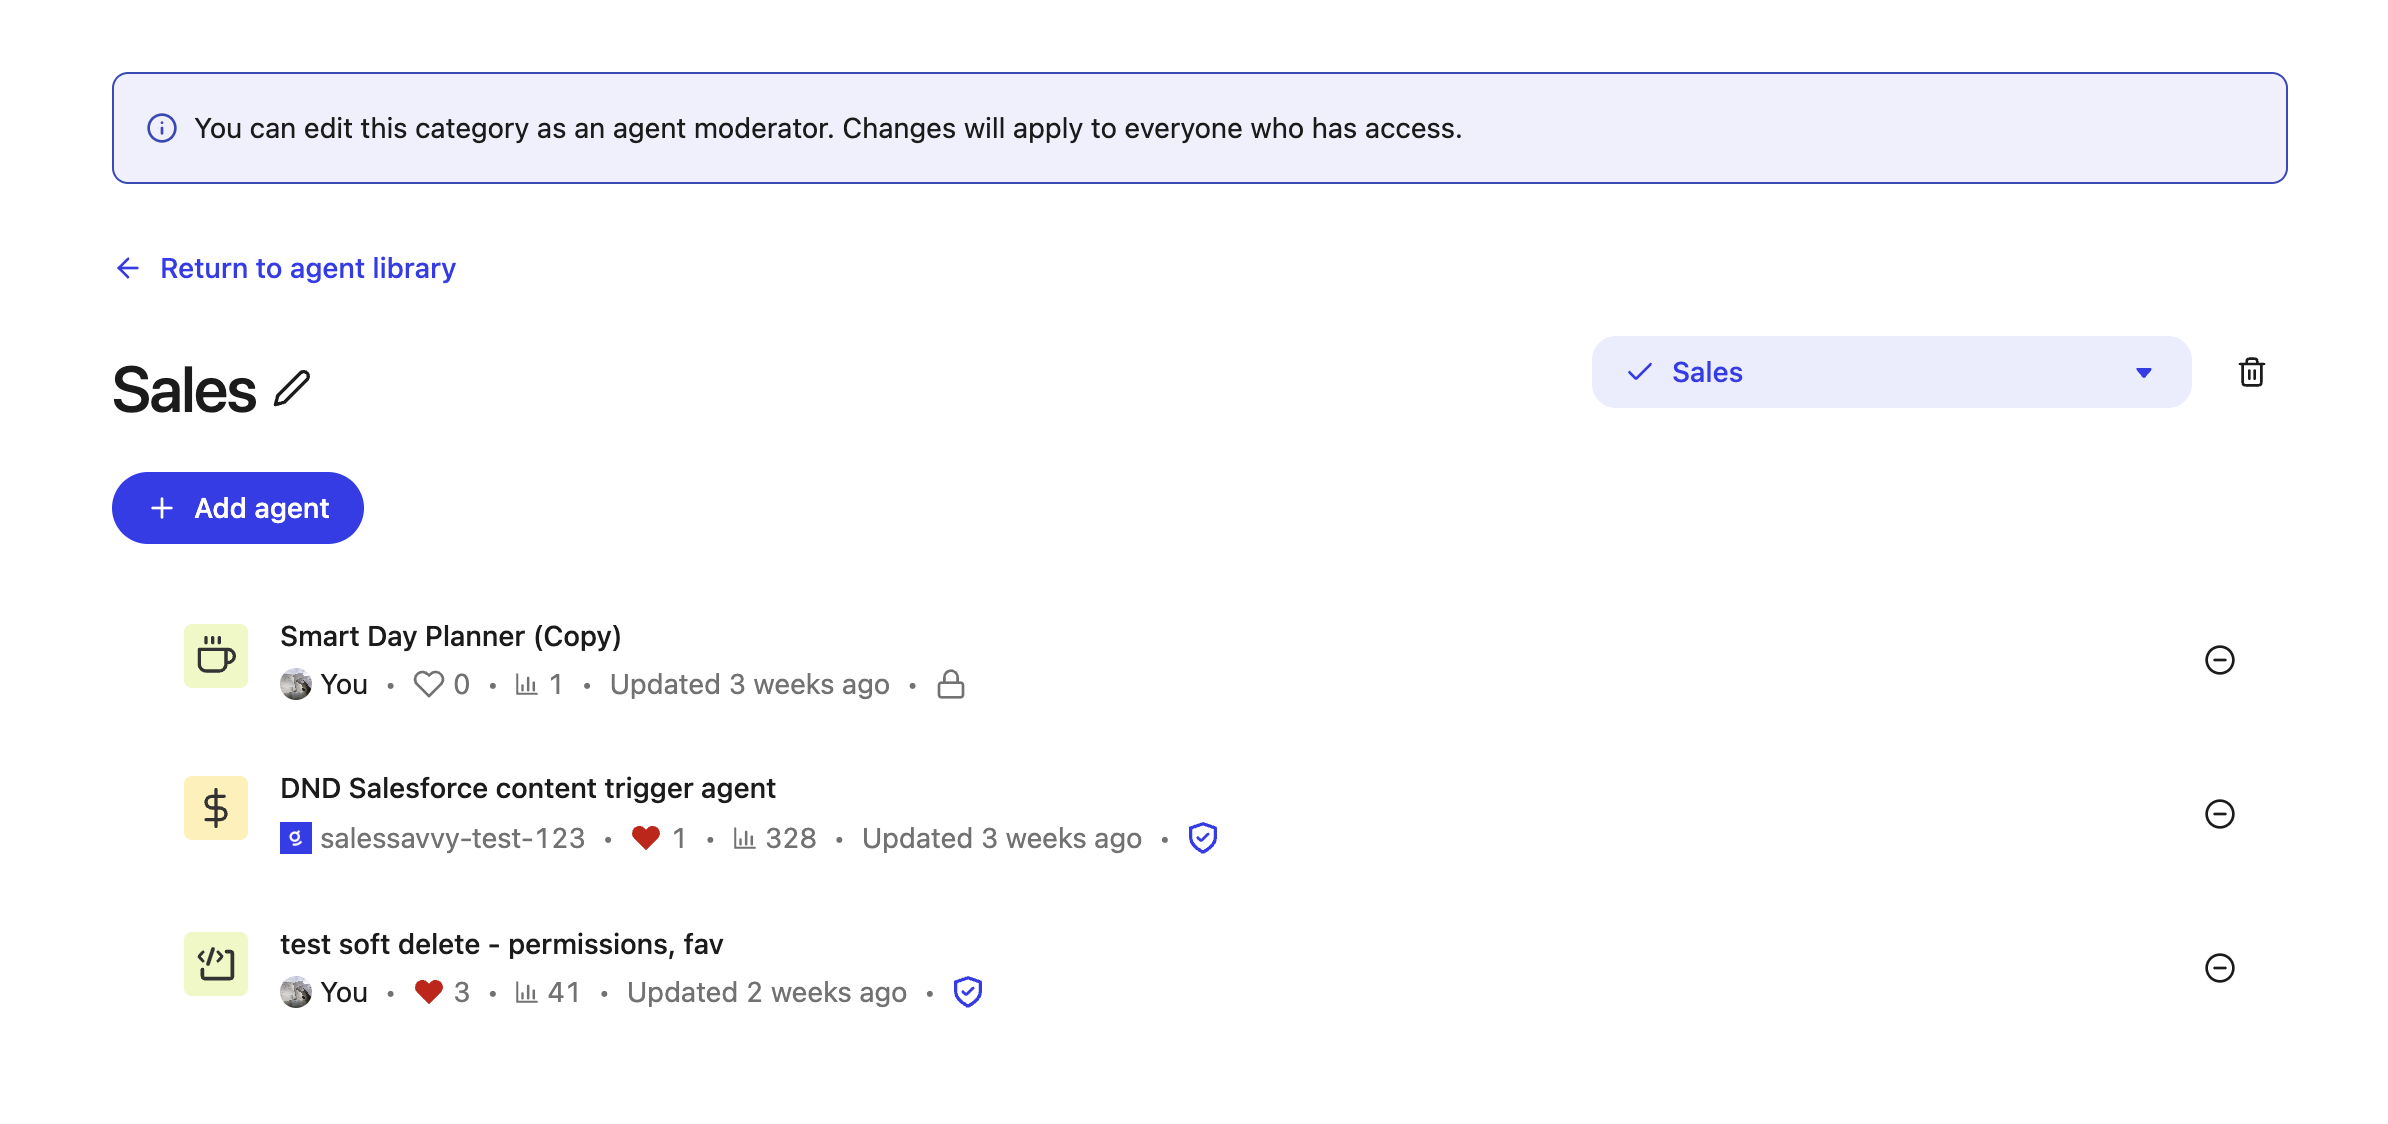
Edit a category
You can rename the category if its scope changes and also update its audience or the agents assigned to it. To edit the category:
- Click the Agents icon on the left navigation pane.
- Click Manage categories.
- From the list of the categories, select the category you want to edit. You are redirected to the Category page.
- In the Category page, you can edit the category name, add agents and departments based on the changed scope.
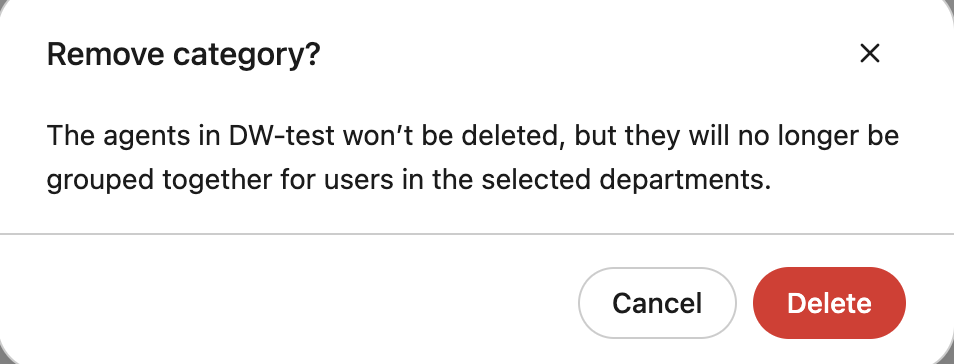
Delete a category
You can remove categories that are no longer needed to avoid clutter. Agents themselves remain available and will not appear under that category. To delete a category:
- Click the Agents icon on the left navigation pane.
- Click Manage categories.
- From the list of the categories, select the category you want to delete.
- Click on the Delete icon.
Control category order
You can reorder categories to control how they appear in the Library.
- Move your most important categories, for example, "All" or "Sales" to the top.
- Group related categories together so users can scan the list quickly.
The order you set determines the display order in the Library UI.
Add agents to categories
A single agent can belong to multiple categories without being duplicated. Adding an agent to a category does not change its underlying owner or behavior.
Typical workflows include:
- Add key Sales agents to both Sales and All (Company).
- Add an HR agent to HR and All (Company) if everyone can benefit from it.
- Add niche, team-specific agents only to that team's category.
Verify and brand official agents
Verification and branding help users quickly recognize which agents are officially reviewed and approved.
What "verified / by (Company)" means
A verified or company-branded agent is:
- Created or curated by an admin or moderator.
- Considered trusted and official for the audiences it's shared with.
- Labeled with a badge and often the company name in the Library list and on the agent's detail page.
This is the primary way to distinguish:
- Official agents that represent your company's recommended workflows.
- Individual agents created by users for local experiments or team-specific tasks.
When to brand an agent
Consider verifying and branding an agent if it:
- Automates a critical or widely used process, for example, support triage, deal desk reviews, or onboarding.
- The agent is reviewed for accuracy, safety, and data access.
- Needs to appear prominently in categories like All (Company).
Admins can also choose to keep some agents unbranded even when they are in categories—for example, experimental agents or workflows still in testing.
Verify an agent from agent settings
To mark an agent as official:
- Click Agents on the left navigation pane in the Glean app.
- Open the agent you want to verify and go to Settings.
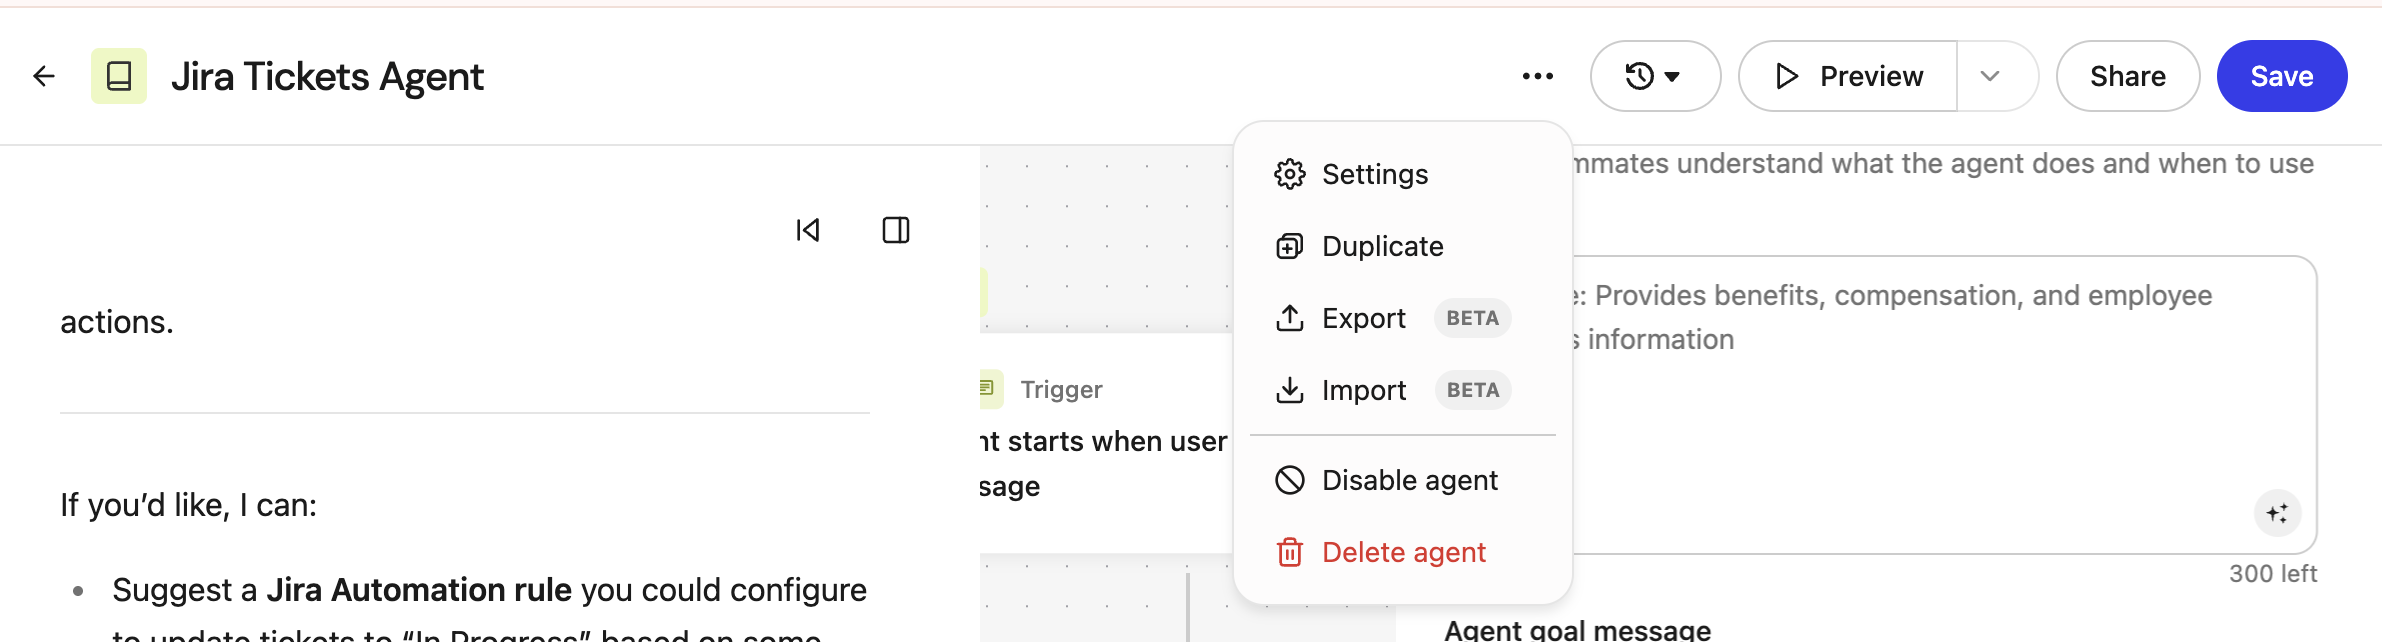
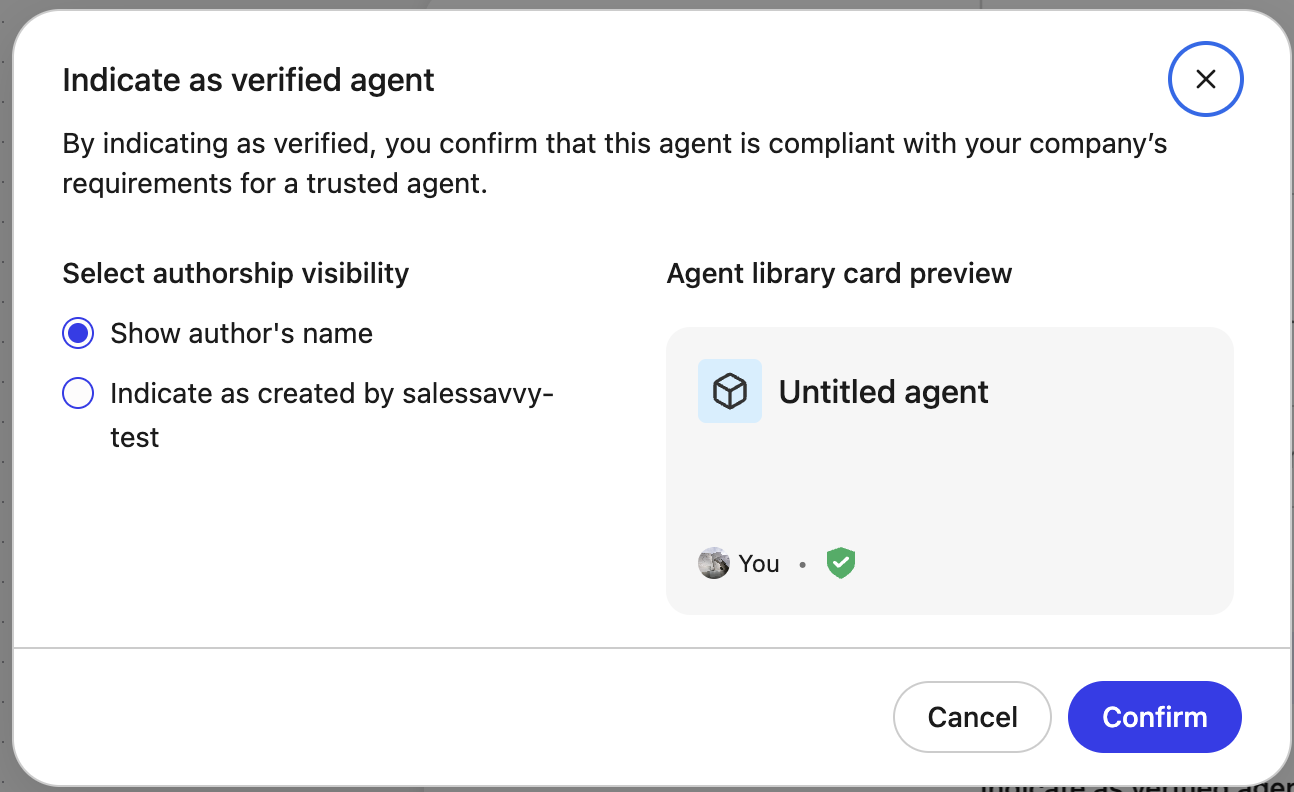
- If your deployment supports verified agents, you will see a verification control such as Indicate as verified agent.
- Mark the agent as verified.
- Choose the author attribution shown to users, such as the individual creator or by (Company).
- Confirm the change to update how the agent appears in the agent library.
After you verify an agent:
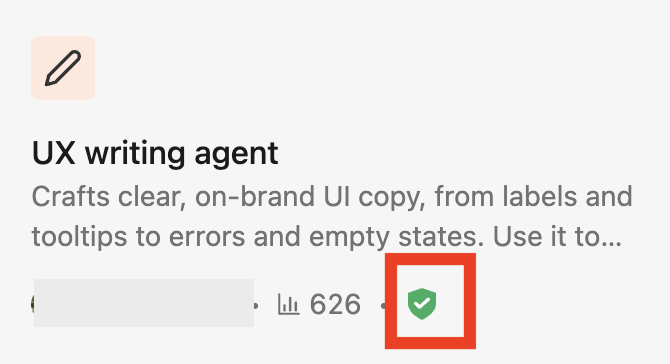
- A verified badge appears in the Agent Library and on the agent detail view.
- The agent can appear as an official, trusted workflow for the audiences you share it with.
- Branding affects attribution in the Library, but it does not change the agent's underlying logic or sharing permissions.
If you remove verified status later, the agent returns to its normal, non-verified presentation.
Scope categories and agents to the right audiences
You can control who sees a category and the agents inside it. Audience scoping helps ensure:
- Users see relevant agents, not a noisy list of every agent in the company.
- Sensitive or specialized agents are only visible to the right teams.
Typical scoping option includes:
- Department — such as Sales, Support, Marketing, Engineering.