Configure the Glean A2A host
Register an external A2A server to let builders add its agent as a subagent of a Glean Auto mode agent. People who run the Glean agent authorize the external server with their own identity.
For an overview of outbound A2A calls and how they differ from the Glean A2A server, see Glean A2A host.
A Glean administrator must complete the registration steps in the Admin console. Agent builders can add the registered external agent after the setup is complete.
Prerequisites
Before you register an external server, make sure:
- You have the Admin or Agent Moderator role required to configure agents in the Admin console
- The external server supports A2A v0.3 and is reachable from the Glean network
- The server publishes its agent card at
/.well-known/agent-card.jsonrelative to the server URL - For an authenticated server, you have an OAuth client ID and client secret for an authorization code flow
Register a third-party A2A server
Open the third-party agents settings
Navigate to Admin console → Platform → Agents → Setup → Third-party agents. Expand Third-party agents, then click Add agent.
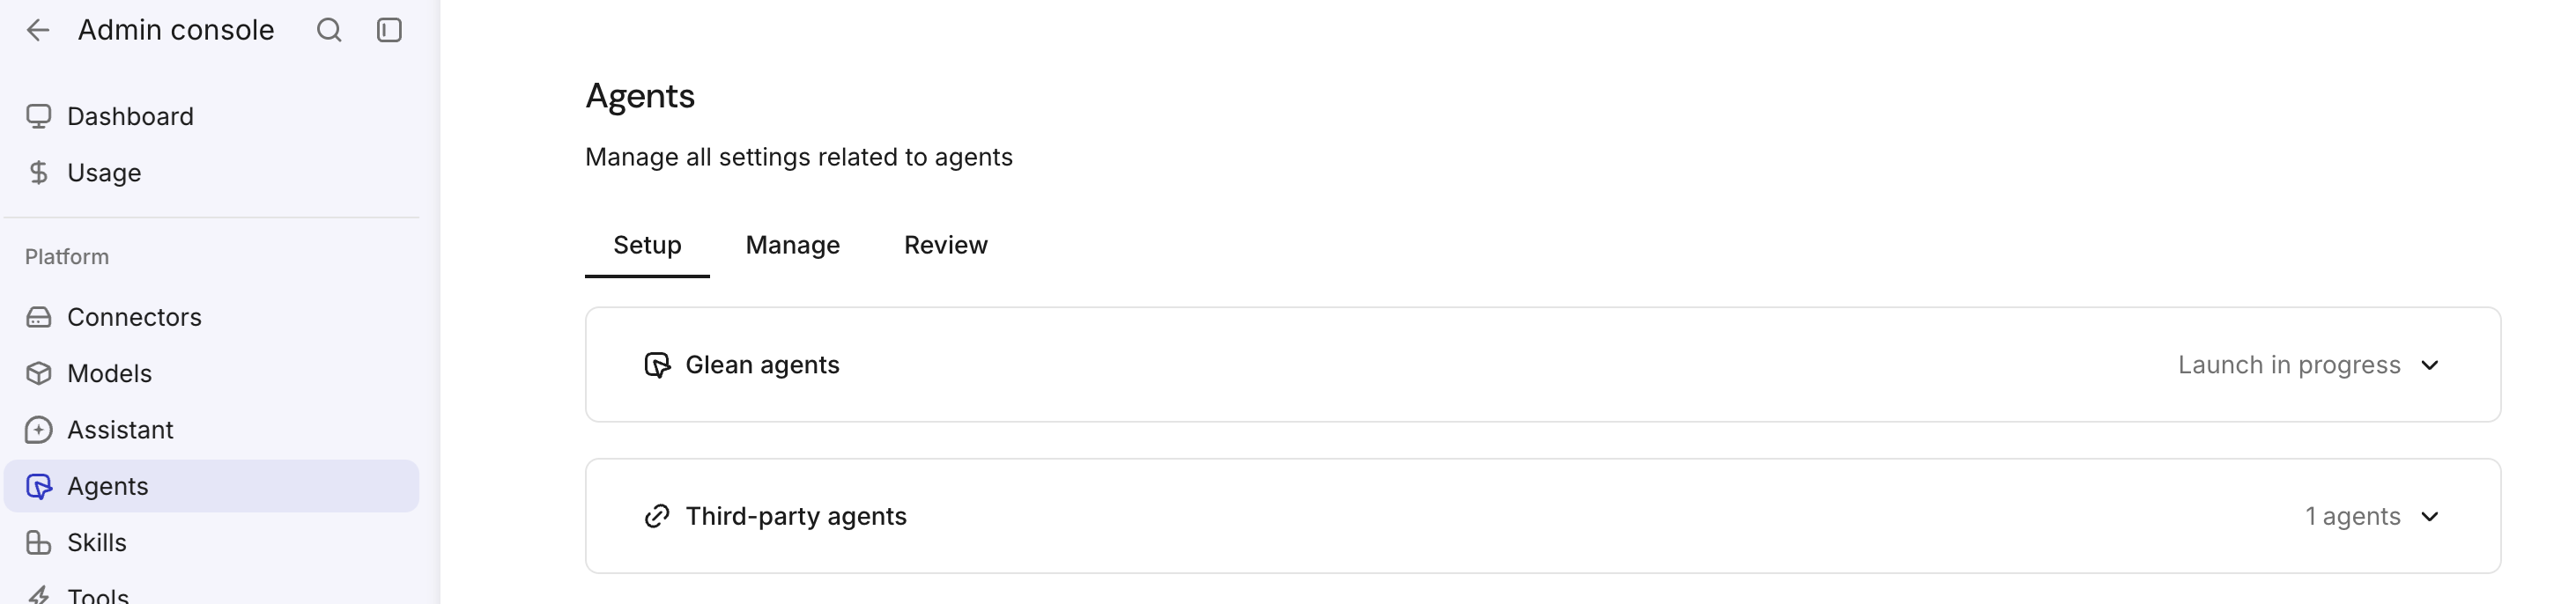
Fetch the agent card
Enter the base URL for the external server in A2A server URL, then click the fetch button next to the field.
Glean fetches the agent card from /.well-known/agent-card.json. Review the discovered agent information under View agent card before you continue.
Configure OAuth
Enter the values from the OAuth application in Client ID and Client Secret. Glean displays the Authorization URL, Token URL, and Scopes from the agent card.
Copy the Callback URL from Glean and add it to the allowed redirect URLs for the OAuth application.
Authorize the connection
Click Initiate connection and complete the consent flow for the external provider. After authorization, Glean registers the server and lists its agent under Third-party agents.
For authenticated servers, the A2A host supports OAuth 2.0 authorization code authentication. It does not support API keys or the OAuth client credentials flow.
Add the external agent as a subagent
Open an Auto mode agent
Create an Auto mode agent or open an existing one in Agent builder. Select Tools.
Open the agent picker
Under Sub-agents, click the add button and select Use existing agent.
Select the external agent
In the Agents dialog, search for the registered agent or select View all → Third-party. Click Add to list for the agent you want to use.
Registered A2A agents have a Third-party badge.
Connect your account
If the subagent shows that a connection is required, click Connect and complete the consent flow for the external provider. Each builder authorizes the server separately.
Test and publish the agent
Add instructions that describe when the parent agent should use the external agent. Run a request in Preview that requires the external agent, then confirm that the result appears in the response. Publish the agent when the test succeeds.
Activity in the preview shows the external agent being used, and the parent agent includes the result in the response.
End-user authorization
When someone opens a Glean agent that uses an external A2A agent without prior authorization, Glean displays a connection prompt for that external agent. They must click Connect and complete the consent flow for the external provider before the run controls become available.
Authorization is per person. A connection by one person does not provide access to anyone else.