Set up a custom connector
Before your connector pushes any documents, create it in Glean. The connector is the container that holds your documents and tells Glean how to display and secure them. This page walks through creating one, the advanced settings worth configuring up front, and a first-run checklist to validate the integration end to end.
Decide where your connector will run first — see Choose a deployment model. Setup is driven by environment variables in both models.
Create a connector
Open the connector setup
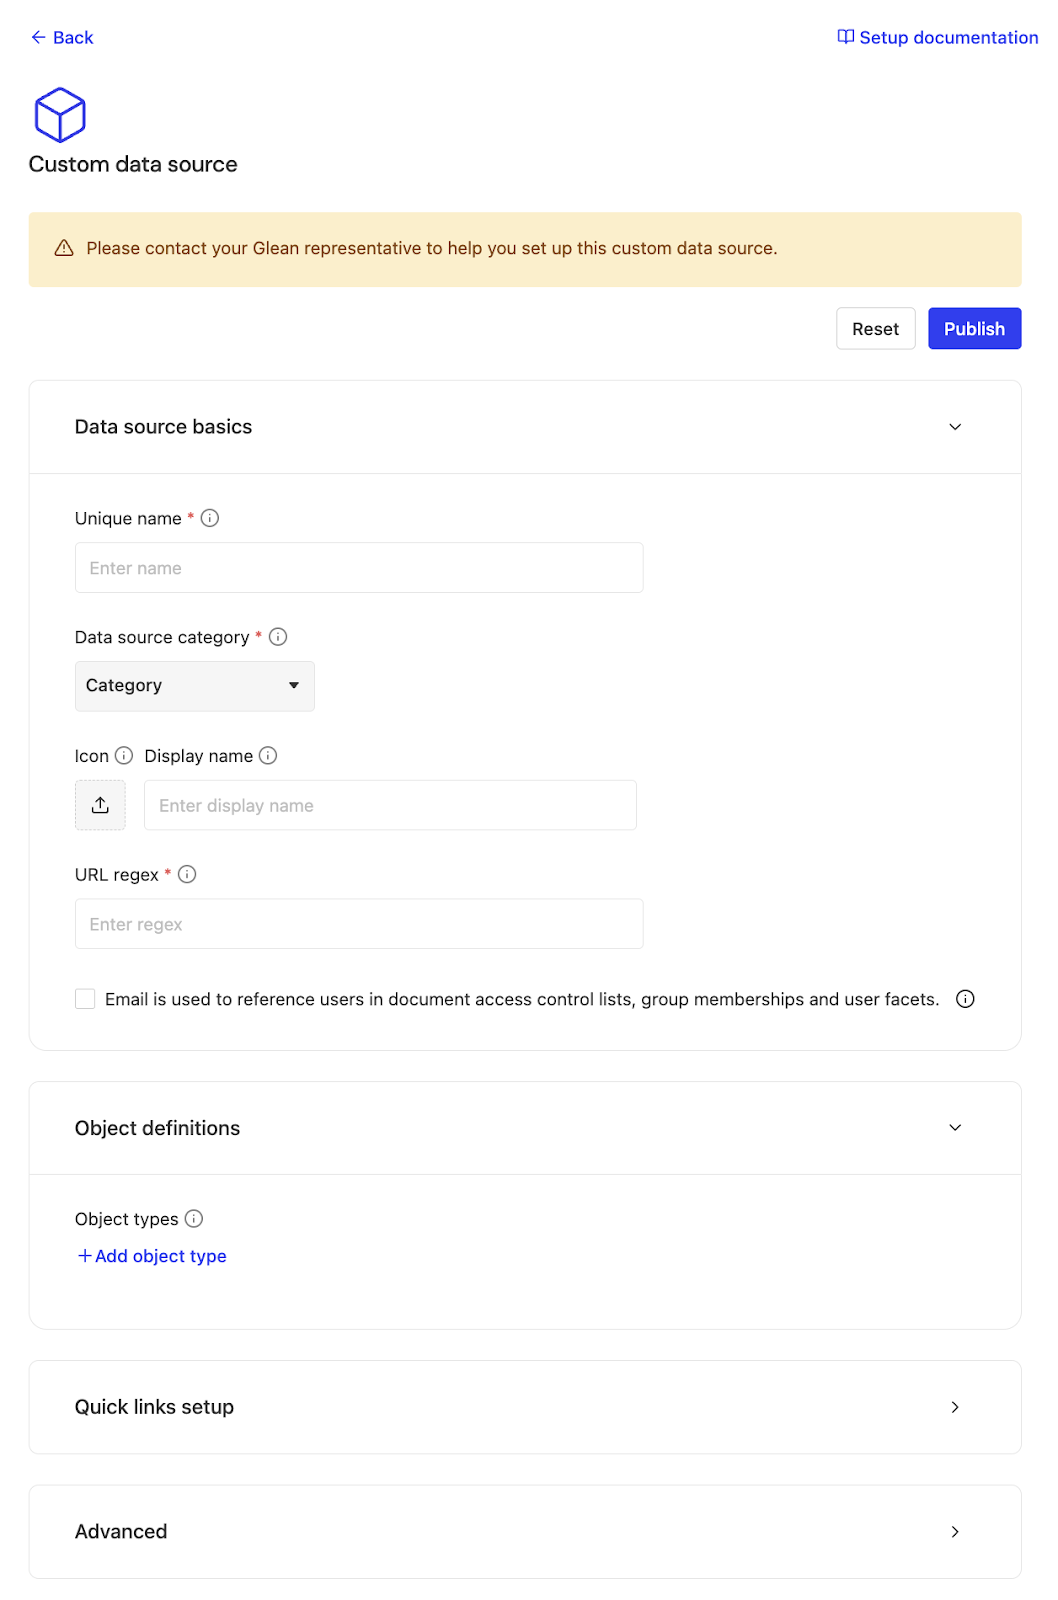
In the Glean admin console, go to Admin console → Connectors → Add connector to begin creating a custom connector.

Choose a custom connector
Select the option to create a custom connector rather than a managed native connector.

Define the connector details
Give the connector a name and identifier, and configure the core metadata that controls how its documents appear in search.
Configure how results appear
When you define the connector, set the metadata that controls how each document is displayed and ranked:
- Title, URL, and icon — what users see in results and how they click through to the source.
- Rendering behavior — the category and how documents are presented in the results list.
- Permissions model — whether documents are permission-aware (per-user ACLs pushed with each document) or visible to everyone in the org.
You can fine-tune category, display options, and other behavior in the connector's advanced settings. See Add or update a datasource in the developer docs for the full set of fields.
First-run checklist
Run through this checklist on your first integration before you index at scale. It mirrors the end-to-end "create → configure → test" path that catches the most common setup mistakes early.
Define the connector metadata
Set the name, identifier, and display name so the source is identifiable in search and in the admin console.
Configure title, URL, icon, and rendering behavior
Confirm documents link back to the source correctly and render with the right icon and category.
Confirm the permissions model
Decide and configure whether documents are permission-aware (per-user ACLs) or org-visible, and make sure your push payloads match that model.
Validate the indexing token scope
Confirm your indexing token has the scope required to write to this connector. See Glean REST APIs for how indexing tokens differ from client tokens.
Test one sample document and one permissioned document
Index a single public sample document and confirm it appears in search. Then index one permissioned document and confirm only authorized users can see it. Once both behave correctly, scale up.
Developer resources
The admin console creates and configures the connector; pushing documents is done through the Indexing API. For request formats, SDKs, and code samples:
- Glean developer docs — set up a datasource
- Glean Developer Community
- Glean REST APIs — the Indexing and Client APIs and the tokens each uses.
If you run into issues during setup, see Troubleshooting or contact Glean support.