GitLab Cloud unified setup
Use unified setup to connect GitLab tools and make GitLab Cloud content searchable. Tools use OAuth, while indexing requires a separate access token. Follow this guide when setup shows Workspace, Connect, Set up indexing, and Review setup.
GitLab tools retrieve current project, issue, and merge request information and perform supported actions through GitLab's Model Context Protocol (MCP) server. Each user authorizes tools with their own GitLab account. See Tools overview.
Prerequisites
Before you start:
- Confirm that you can manage connectors in the Glean Admin console.
- Confirm that you can create or obtain a GitLab access token for every group and project you want to index.
- To connect tools, enable access to the GitLab MCP server for your GitLab top-level group. See GitLab MCP server.
- If you use custom OAuth, obtain permission to create a GitLab OAuth application.
- If you create webhooks manually, have the Maintainer or Owner role for each target project. To create group webhooks instead, have the Owner role for the group and a GitLab plan that supports group webhooks.
Configure the workspace
- In the Glean Admin console, open Connectors, click Add connector, and select GitLab.
- In Workspace, enter the connector Name.
- Under Hosting, select GitLab Cloud for
gitlab.com. - Check the hosting type, then click Continue. You can't change the hosting type after creating the connector.
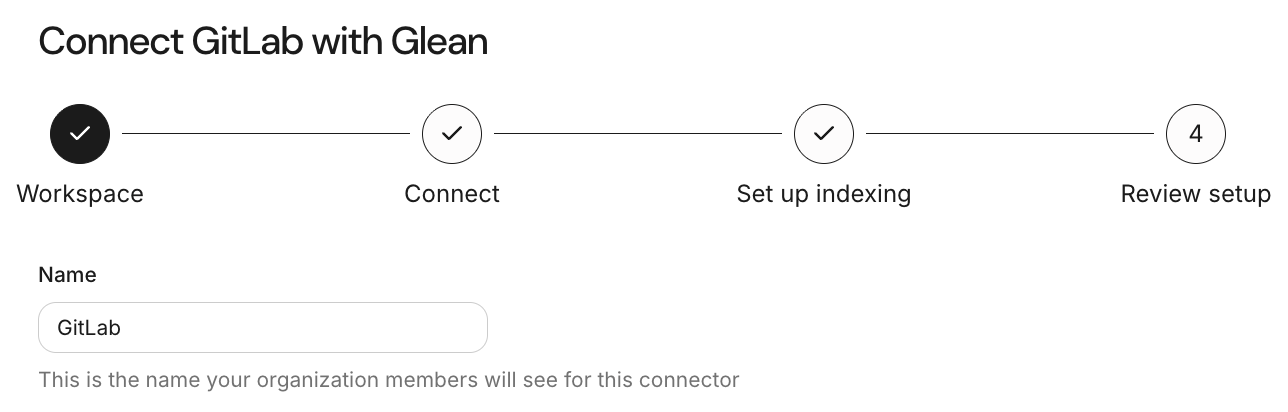
The Workspace step contains the connector name.
Connect GitLab
In Connect, choose Glean's managed OAuth app (Central) or your own app (Custom). The OAuth app supports GitLab tools and user identity mapping. It doesn't replace the indexing token.
For help choosing an option, see Central vs. custom OAuth.
- Central
- Custom
Use Glean's managed OAuth app. You don't need to create an app or enter client credentials.
- In Connect, select Central.
- Click Connect.
- Sign in to GitLab, authorize Glean, and return to the setup page.
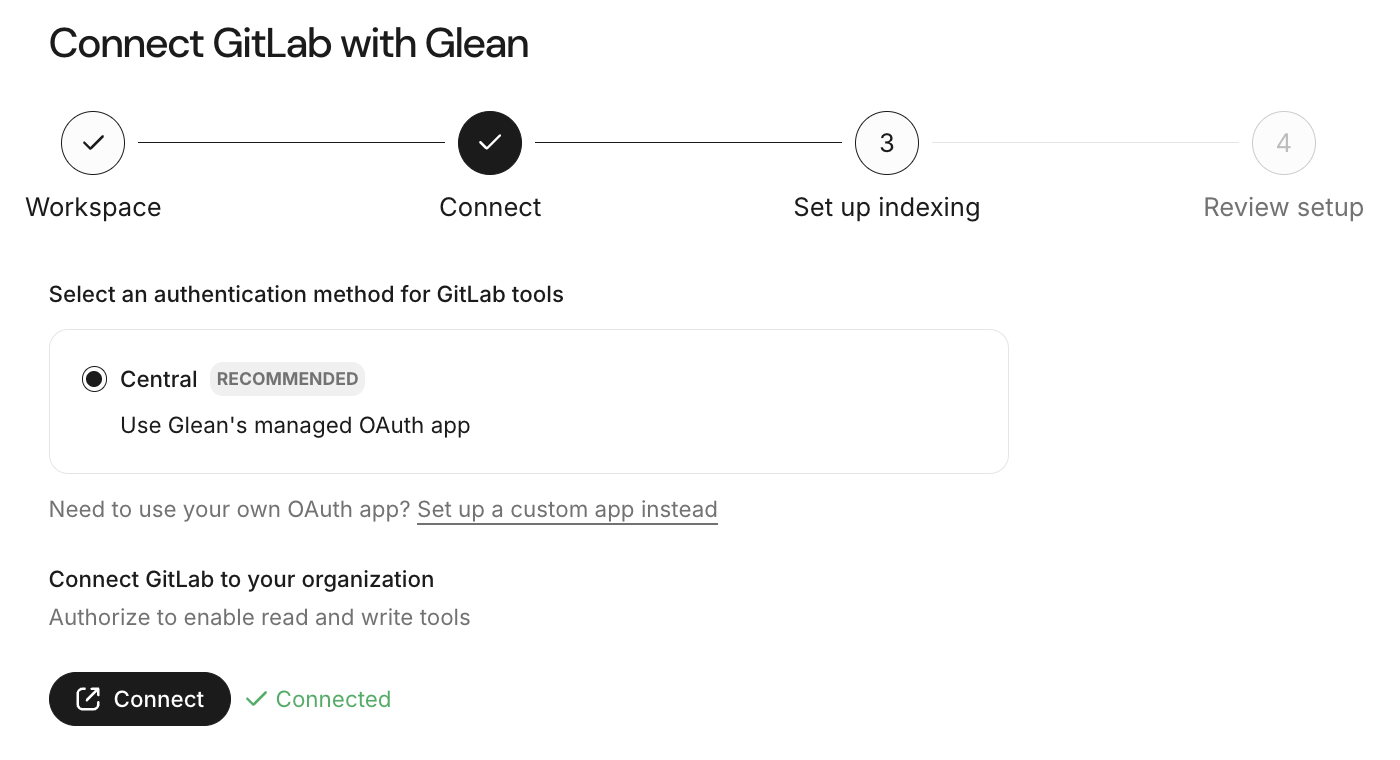
Connect GitLab with Glean's managed OAuth app.
Create your own OAuth application in GitLab, then enter its credentials in Glean.
- In Connect, select Custom. If only Central appears, click Set up a custom app instead.
- Copy both callback URLs from Connect in Glean.
- In GitLab, create an OAuth application. For a group-owned app, go to the group's Settings → Applications and click Add new application.
- Enter a Name, such as
Glean GitLab, and paste both callback URLs into Redirect URI, each on its own line. Don't use the webhook URL. - Keep Confidential selected and select
openid,profile,email,read_user,read_api, andmcp. - Click Save application. Copy Application ID to Client ID and Secret to Client secret in Glean.
- Click Connect, sign in to GitLab, authorize Glean, and return to the setup page.
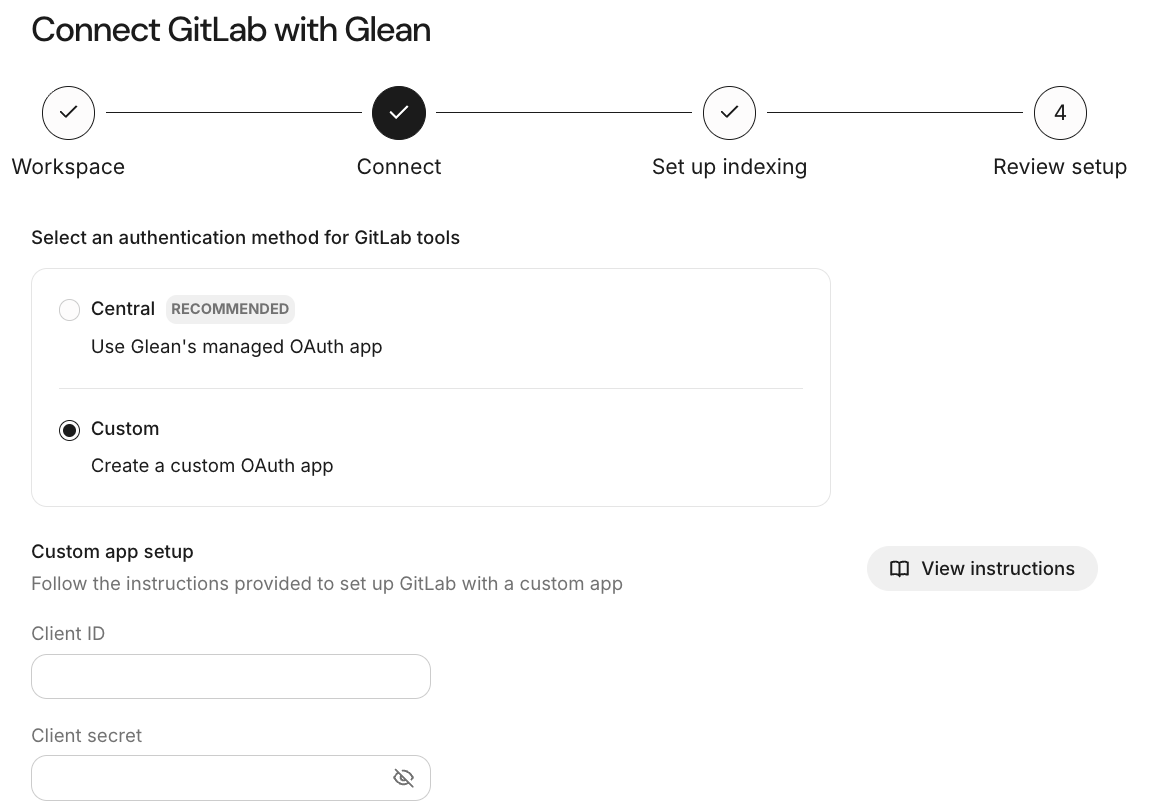
Custom OAuth setup includes Client ID and Client secret fields.
Confirm the connection
After OAuth authorization, Glean discovers and configures the available tools, then advances to Set up indexing. Resolve any reported connection or tool-sync error and reconnect before continuing.
Connecting as an admin doesn't authorize every teammate's GitLab account. Each user must authorize GitLab to use tools.
Set up indexing
Indexing requires its own access token, even after you complete OAuth.
Create and enter the indexing token
Use a token whose identity can access every group and project you want to index.
- Click View instructions beside Set up GitLab for indexing.
- Complete the token-creation section for one of these token types:
- Group access token: use this for projects within one top-level group. The token can't list members of invited groups outside that top-level group.
- Personal access token for a service account: use an account with membership in all target groups and projects. Use this option for unrelated top-level groups or invited-group memberships that a group access token can't read.
- Copy the token into Access token in Glean.
For fine-grained personal access tokens, use the required permission list. See Configure a fine-grained personal access token.
Set the token privileges
Set each checkbox to match the token's actual permissions:
- API token has owner privileges: select this only if the token's account has the Owner role on the relevant groups. Clear it otherwise.
- API token has write privileges: select this for automatic webhook creation when the token has
apiscope or bothWebhook: ReadandWebhook: Create. The token's account must also have permission to create hooks for the target projects. Clear it if you will create webhooks manually.
Configure webhooks
For automatic webhook creation, leave API token has write privileges selected and proceed to identity mapping. Glean creates project webhooks during crawling for projects where the token has the required permissions. Glean hides the manual webhook fields when both privilege checkboxes are selected. Visible fields don't mean you need to create duplicate hooks when the token can create them automatically.
For manual webhook creation, clear API token has write privileges and complete these steps:
- Copy Webhook URL and Webhook secret token from Set up indexing in Glean. Glean generates the secret. Don't use the OAuth callback URLs.
- In GitLab, open the project or group and go to Settings → Webhooks → Add new webhook.
- Enter the values from Glean in URL and Secret token. Glean checks the
X-Gitlab-Tokenheader, so a signing token alone doesn't replace the secret token. - Select these events for content updates:
- Comments: Updates to merge-request comments.
- Merge request events: Updates to merge requests.
- Wiki page events: Updates to wiki pages.
- Click Add webhook.
- Repeat for each project or group that needs a webhook. A group webhook covers its projects and subgroups, so you don't need duplicate project hooks for the same events.
These are the content-update events Glean processes. For a group webhook, you can also enable group member events to trigger an identity refresh when membership changes.
Glean saves the generated secret when you save the indexing configuration. If you return to this step and the secret shows Saved, you can't copy the saved value. To replace it, click Regenerate and copy the new secret. Save the indexing configuration, then update the affected webhooks in GitLab with the new secret.
(Optional) Provide identity mappings
The user-mapping CSV is optional during setup. Use it as a fallback for users who haven't authorized GitLab or won't authorize it. Without a matching identity, a user can't find content that depends on their GitLab permissions.
To provide the fallback mapping:
- Create a CSV with two columns in the order
user ID, email. Don't include a header row. Use the numeric GitLab user ID, not the username, and the user's company SSO email. - Add a row for each user, such as
12345,user@example.com. - Click Upload CSV file and select the file. To replace an uploaded mapping, click Replace CSV file.
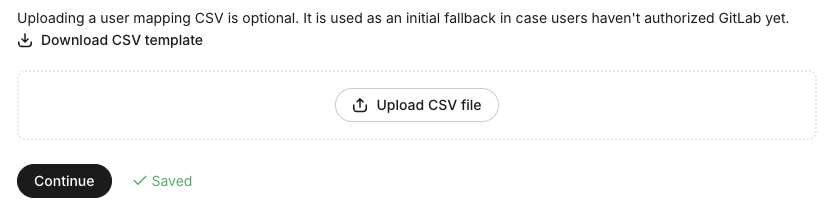
Upload an optional user-mapping CSV during indexing setup.
Save the indexing configuration
Click Continue to validate and save the indexing configuration. Resolve any validation errors and try again. Glean advances to Review setup after validation succeeds.
Review setup and begin indexing
In Review setup, choose the content and users for this connector before starting the crawl:
- (Optional) Open Data access to configure Inclusion rules, Exclusion rules, or Additional Crawl Settings. Use full project paths such as
my-group/my-projectfor project rules. Save your changes before continuing. - If User access appears, choose who can access indexed content from the connector:
- All users: make indexed content available to everyone in your organization, subject to their GitLab permissions.
- Test group only: choose the test group that should have access.
- None: keep connector content unavailable to users in Glean.
- Click Begin indexing.
User access settings don't grant new GitLab permissions. Glean still checks each user's access to the source content.
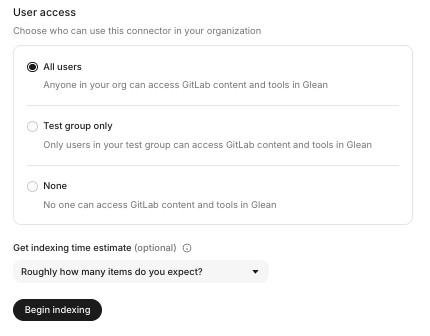
Choose user access before you begin indexing.
If Skip for now appears, it defers the crawl. You still need to save the indexing configuration.
Manage GitLab tools
- In Admin console → Connectors, open your GitLab connector and select Tools.
- Review Read tools and Write tools, if shown. The available tools depend on what GitLab's MCP server exposes.
- If tools are listed, click Advanced settings.
- In each available section (Chat, Agents, or Glean MCP Server), choose which tools are on and set their access scope. Configure each section separately. See Tool availability in Assistant, Agents, and the Glean MCP server for what each setting controls.
- Save your changes.
For Agents, the access scope controls which creators can add or configure tools in an agent. It isn't an execution-access control for users running an existing shared agent. These settings don't grant users new GitLab permissions. See Managing tool access.
Review read and write tool settings before rollout. See Read vs. write tools.
To update the tool list, click Refresh under Refresh tools. New tools can be on by default, so review their settings after connecting and refreshing. If no tools appear, check the connection and GitLab MCP access. Advanced settings appears only when Glean has discovered tools.
Verify access
Test indexed search and tools separately.
Verify indexed search
After the connector has indexed content:
- Check the connector's indexing status and resolve any reported errors.
- Choose a test user who is included in the connector's User access settings, if configured. Confirm that the user has an identity mapping, or ask them to authorize GitLab. Users with an existing mapping don't need to repeat that step for search access. See Authorize GitLab as a user.
- Confirm that the test user can find a project they can access and cannot find a private project they cannot access.
Verify GitLab tools
Test an available read tool before testing write operations:
- Choose a test user who has access to the tool in Glean and the target content in GitLab.
- Ask the user to request that operation in Glean Assistant or an agent where the tool is enabled. For example, if an issue-reading tool is available, ask Glean to retrieve an issue the user can open in GitLab.
- Have the user click Connect when prompted, sign in to GitLab with their own account, and approve access. Ask them to return to Glean and retry the request if needed.
- Confirm that Glean ran the GitLab tool, not just a search, and that the returned information matches GitLab. Repeat with an item the user can't access and confirm that the tool doesn't return it.
An indexing token or user-mapping CSV doesn't authorize tools. Each user needs their own tools authorization, even if they can already search indexed GitLab content. See Connect your apps.
See also
- GitLab Cloud troubleshooting: Resolve indexing and access issues on GitLab.com.
- Tools authentication troubleshooting: Resolve connection failures, repeated authorization prompts, and requests that don't run a tool.