Start creating your agent
There are multiple ways to create an Agent: you can choose one from a template, use natural language to generate steps automatically, or create one from scratch. To get a thorough understanding of how triggers and actions work, you should create your agent from scratch.- Navigate to the Agent Library.
- Select the Create agent button.
- In the modal that appears, select Start from scratch to build your agent step-by-step using the traditional interface.
Create your agent using the Agent Builder
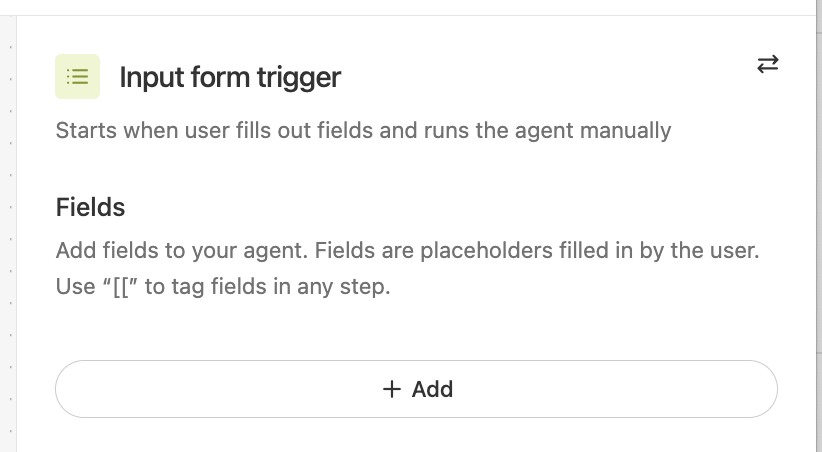
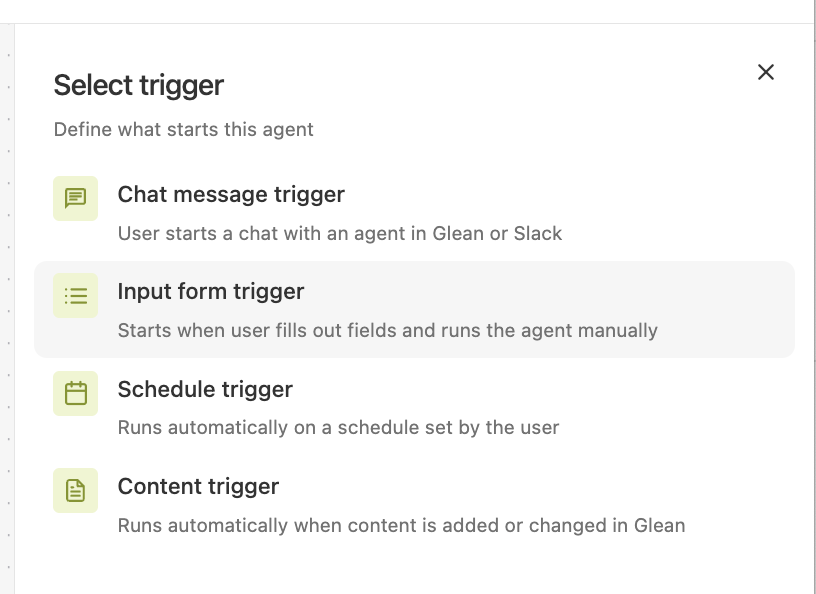
Once you’ve started creating your agent, you’ll be taken to the Agent Builder. Here, you’ll specify the trigger for the web page summarizer agent.At any point during the building process, you can click “Open Panel” in the upper left corner to access the natural language panel if you’d prefer to make changes using conversational instructions instead of manual configuration.
-
Select the Input form trigger.

-
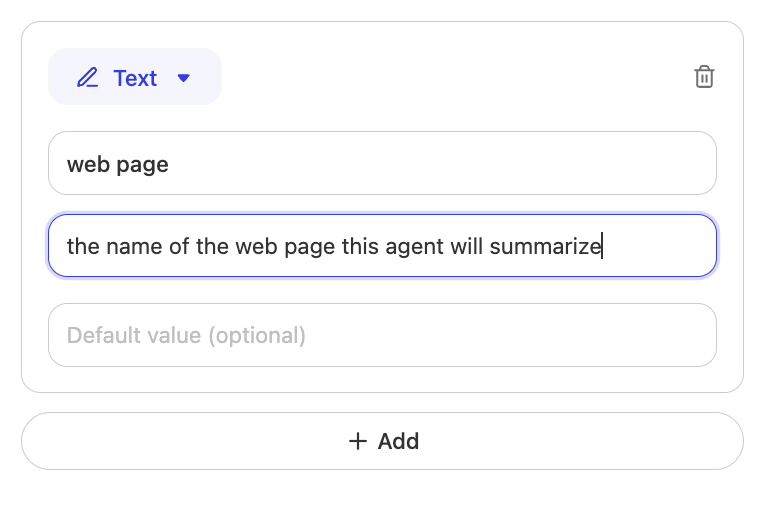
Add a text field to the input form trigger.

-
Name it “web page”. Optionally, you can provide a description that will display when users see this input field.

Add a Read document Action and save its output to memory
Now that you’ve started creating your agent and have collected the URL as the[[ web page ]] field, you can instruct Glean to read that web page. You will do this by adding a Read document action and passing that [[ web page ]] field value to it. When the Glean agent reads the web page’s contents found at the URL, it saves it to memory.
Perform the following steps to add the Read document action to your agent:
- Under Select step, choose the Read document action.
- For the Choose how to set the document or URLs toggle, specify manual.
- Under Documents and URLs, enter
[[ web page ]]to retrieve the web page field you created in the step above.
Respond to the document
Once your agent has read the document and saved it to memory, you can start to interact with it. In this exercise, you’ll use the Respond action to instruct the Agent to generate a summary based on instructions that you specify. Perform the following steps to add the Respond action to your agent:- Add another step, choose the Respond action
-
Provide the agent with summary instructions:
Save and name your agent
Now that you’ve set up your Agent’s trigger and actions, it’s a good idea to save it.- In the upper left corner of your screen, select the Untitled Agent name to rename it.
- Select the Publish button in the upper right corner to save your Agent.
Preview your agent
You can preview your agent at any time to test its functionality. Try previewing your agent now.- Select the Preview button in the upper right corner of the Agent Builder.
- Enter the full URL of a web page you want to summarize. The Agent will generate a summary in accordance with the prompt instructions you provided in the Respond step.
You must enter the full URL, starting with
https://
Modify its functionality
Now that you’ve previewed your agent, you may wish to modify its functionality. You can improve the functionality of this agent in any number of ways:- Switch the Read document action input from a manual URL to an AI-generated input, allowing more flexible input options. For example, URLs passed to AI-generated inputs do not need to start with
https://. - Modify the prompt to include more summaries
- Add more steps or branching logic to expand what the Agent can do
Further reading
- Visit the Actions section to see a full list of Glean Agents and what they can do.
- View the Creating a more powerful agent article to explore a more complex use case that uses some of Glean’s more advanced Agent features.