Actions
Jira Custom Authentication Setup
In order to setup OAuth for your Jira Action, please follow these steps:
Step 1: Create a new OAuth app
 That’s it! You should now be able to use Jira Actions using the custom OAuth setup.
- Navigate to the Atlassian Developer Console at this link and create a new app of type: OAuth2.0 Integration.
- Follow the prompts to set up the app. Make note of details like the app name, description, and logo.
- Go to the Permissions tab of your app configuration.
- Add the following scopes:
- Jira API - read:jira-user write:jira-work
- Jira Service Management API - read:servicedesk-request write:servicedesk-request read:servicemanagement-insight-objects
- Go to the Distribution tab of your app configuration in the Atlassian Developer Console.
- Click on Edit.
- Change the Distribution Status to ‘Sharing’
- Add a Privacy policy, you could use this one - https://www.glean.com/privacy-policy
- Click on Save Changes.
- Fill the following fields:
- Client ID: Retrieve this from the Settings tab of your app configuration in the Atlassian Developer Console.
- Client secret: Retrieve this from the Settings tab of your app configuration in the Atlassian Developer Console.
- Save the Action pack
- Navigate to the Authenticate section in the Action setup again, at the bottom you should see a Callback URL has been generated.
- Copy the Callback URL.
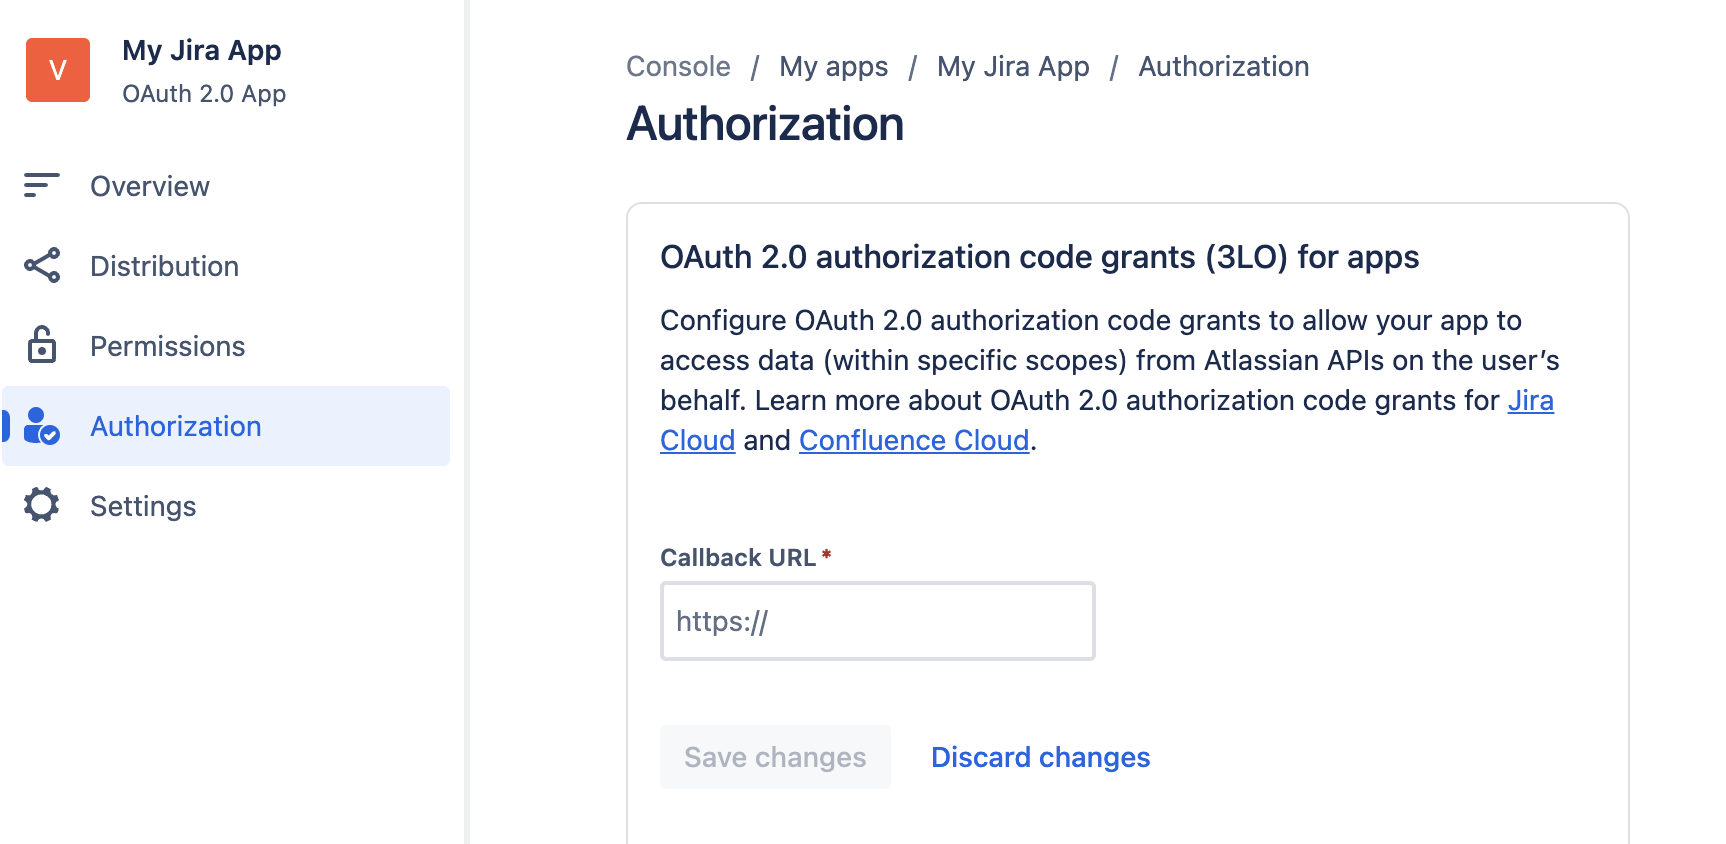
- Go to the Authorization tab of your app configuration.
- Paste the callback URL from the previous step into the Callback URL section here.
- Save your OAuth App
That’s it! You should now be able to use Jira Actions using the custom OAuth setup.