Connectors
Workday Connector - Beta
Workday provisioning connectors need credentials of an integration system user to access the Workday HR API. This section explains how to create one.

1. Create an integration system user
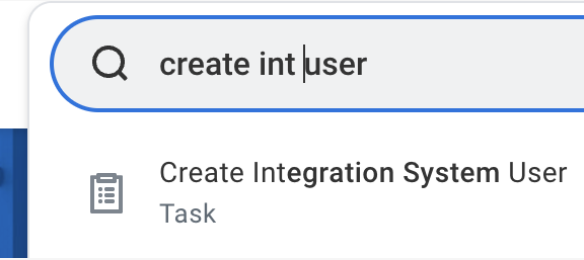
- Sign in to Workday with an admin account. In the Workday app, search for “create user” and click on “Create Integration System User.”
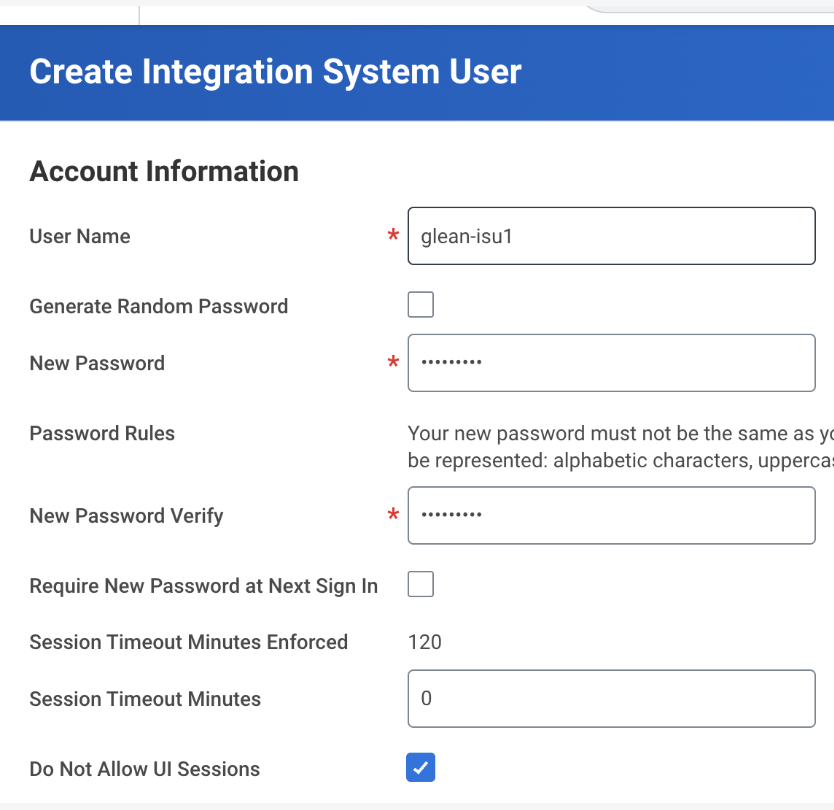
- Create a new Integration System User by entering a username and password.
- Do not check “Require New Password at Next Sign In” since this user logs in automatically.
- Keep “Session Timeout Minutes” at 0 to prevent the session from ending early.
- Check “Do Not Allow UI Sessions” to add security by preventing this user from logging into Workday manually.
2. Create an integration system security group
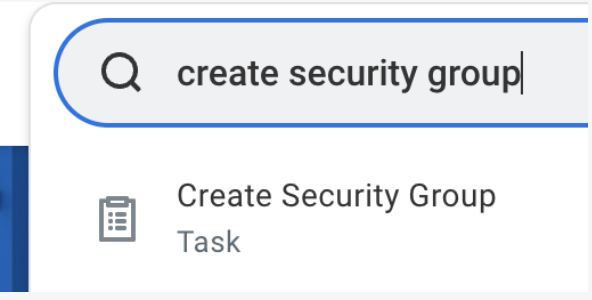
In this step, you’ll make a security group in Workday and add the integration system user you created before to this group.- Type “create security group” in the search box, then click on “Create Security Group.”
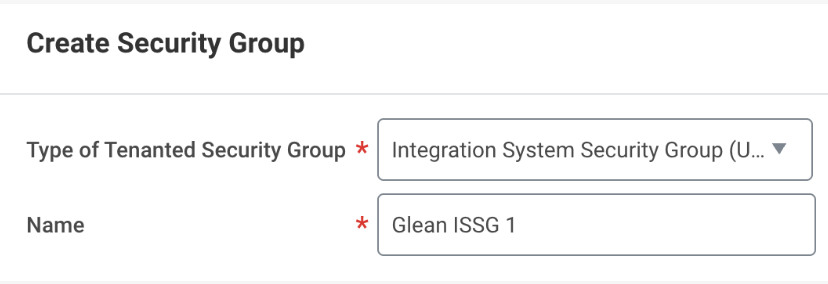
- Complete the Create Security Group task.
-
There are two types of security groups in Workday:
- Unconstrained: Members can access all data secured by the group.
- Constrained: Members can only access specific data based on context. Example: Export data only for workers in a specific supervisory organization.
- Select Integration System Security Group (Unconstrained) from the Type of Tenanted Security Group dropdown.
- After you create the Security Group, you’ll see a page to add members. Add the new integration system user you created earlier to this group.
3. Configure domain security policy permissions
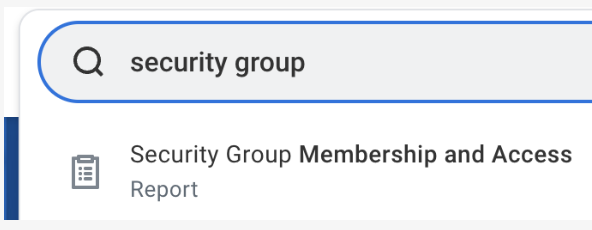
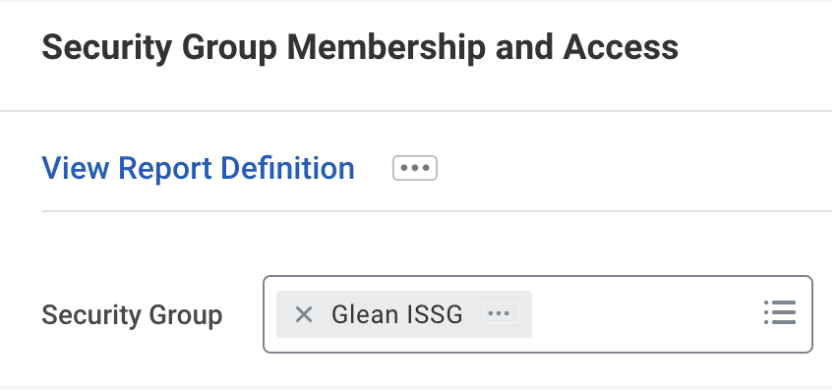
In this step, you’ll give the security group permission to access worker data.- Type “Security Group Membership and Access” in the search box and click the report link.
- Search and select the security group you made earlier.
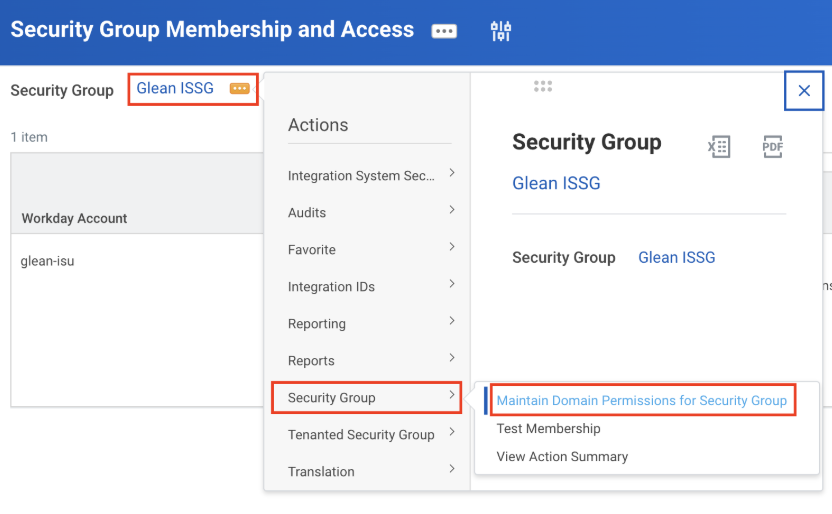
- Click the three dots (…) next to the group name. From the menu, select Security Group > Maintain Domain Permissions for Security Group.
- Under Integration Permissions, add the following domains to Domain Security Policies permitting Get access:
- Worker Data: Public Worker Reports (for access to Get_Workers endpoint)
- Worker Data: Workers (for basic worker data)
- Worker Data: Current Staffing Information (for employment data)
- Person Data: Personal Photo (for photo)
- After completing the above steps, you will see the permissions screen like this.
- Click OK and Done on the next screen to complete the configuration.
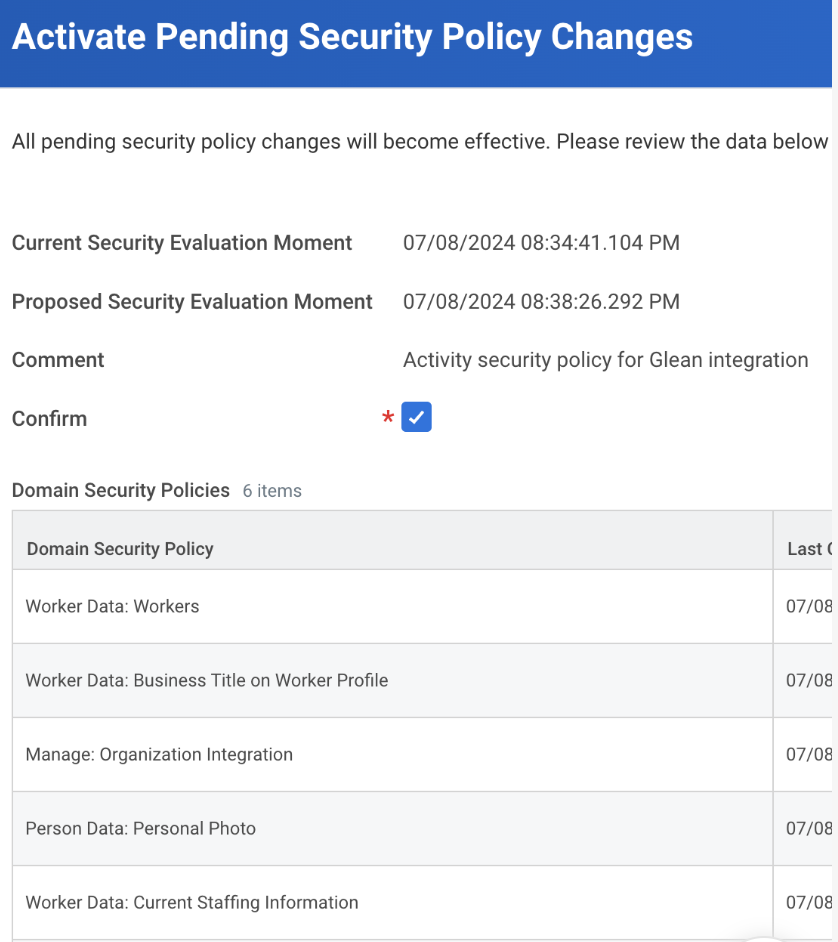
4. Activate security policy changes
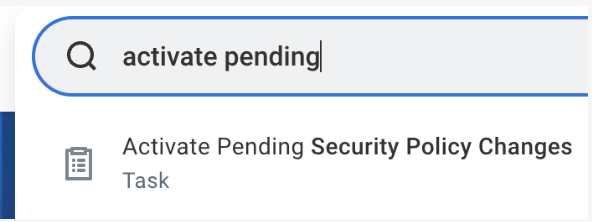
To activate security policy changes:- Type “activate” in the search box, then click on “Activate Pending Security Policy Changes.”
- Enter a comment for auditing purposes, and then click OK.
- On the next screen, check the Confirm box and click OK.