Sign In to Workspace Settings
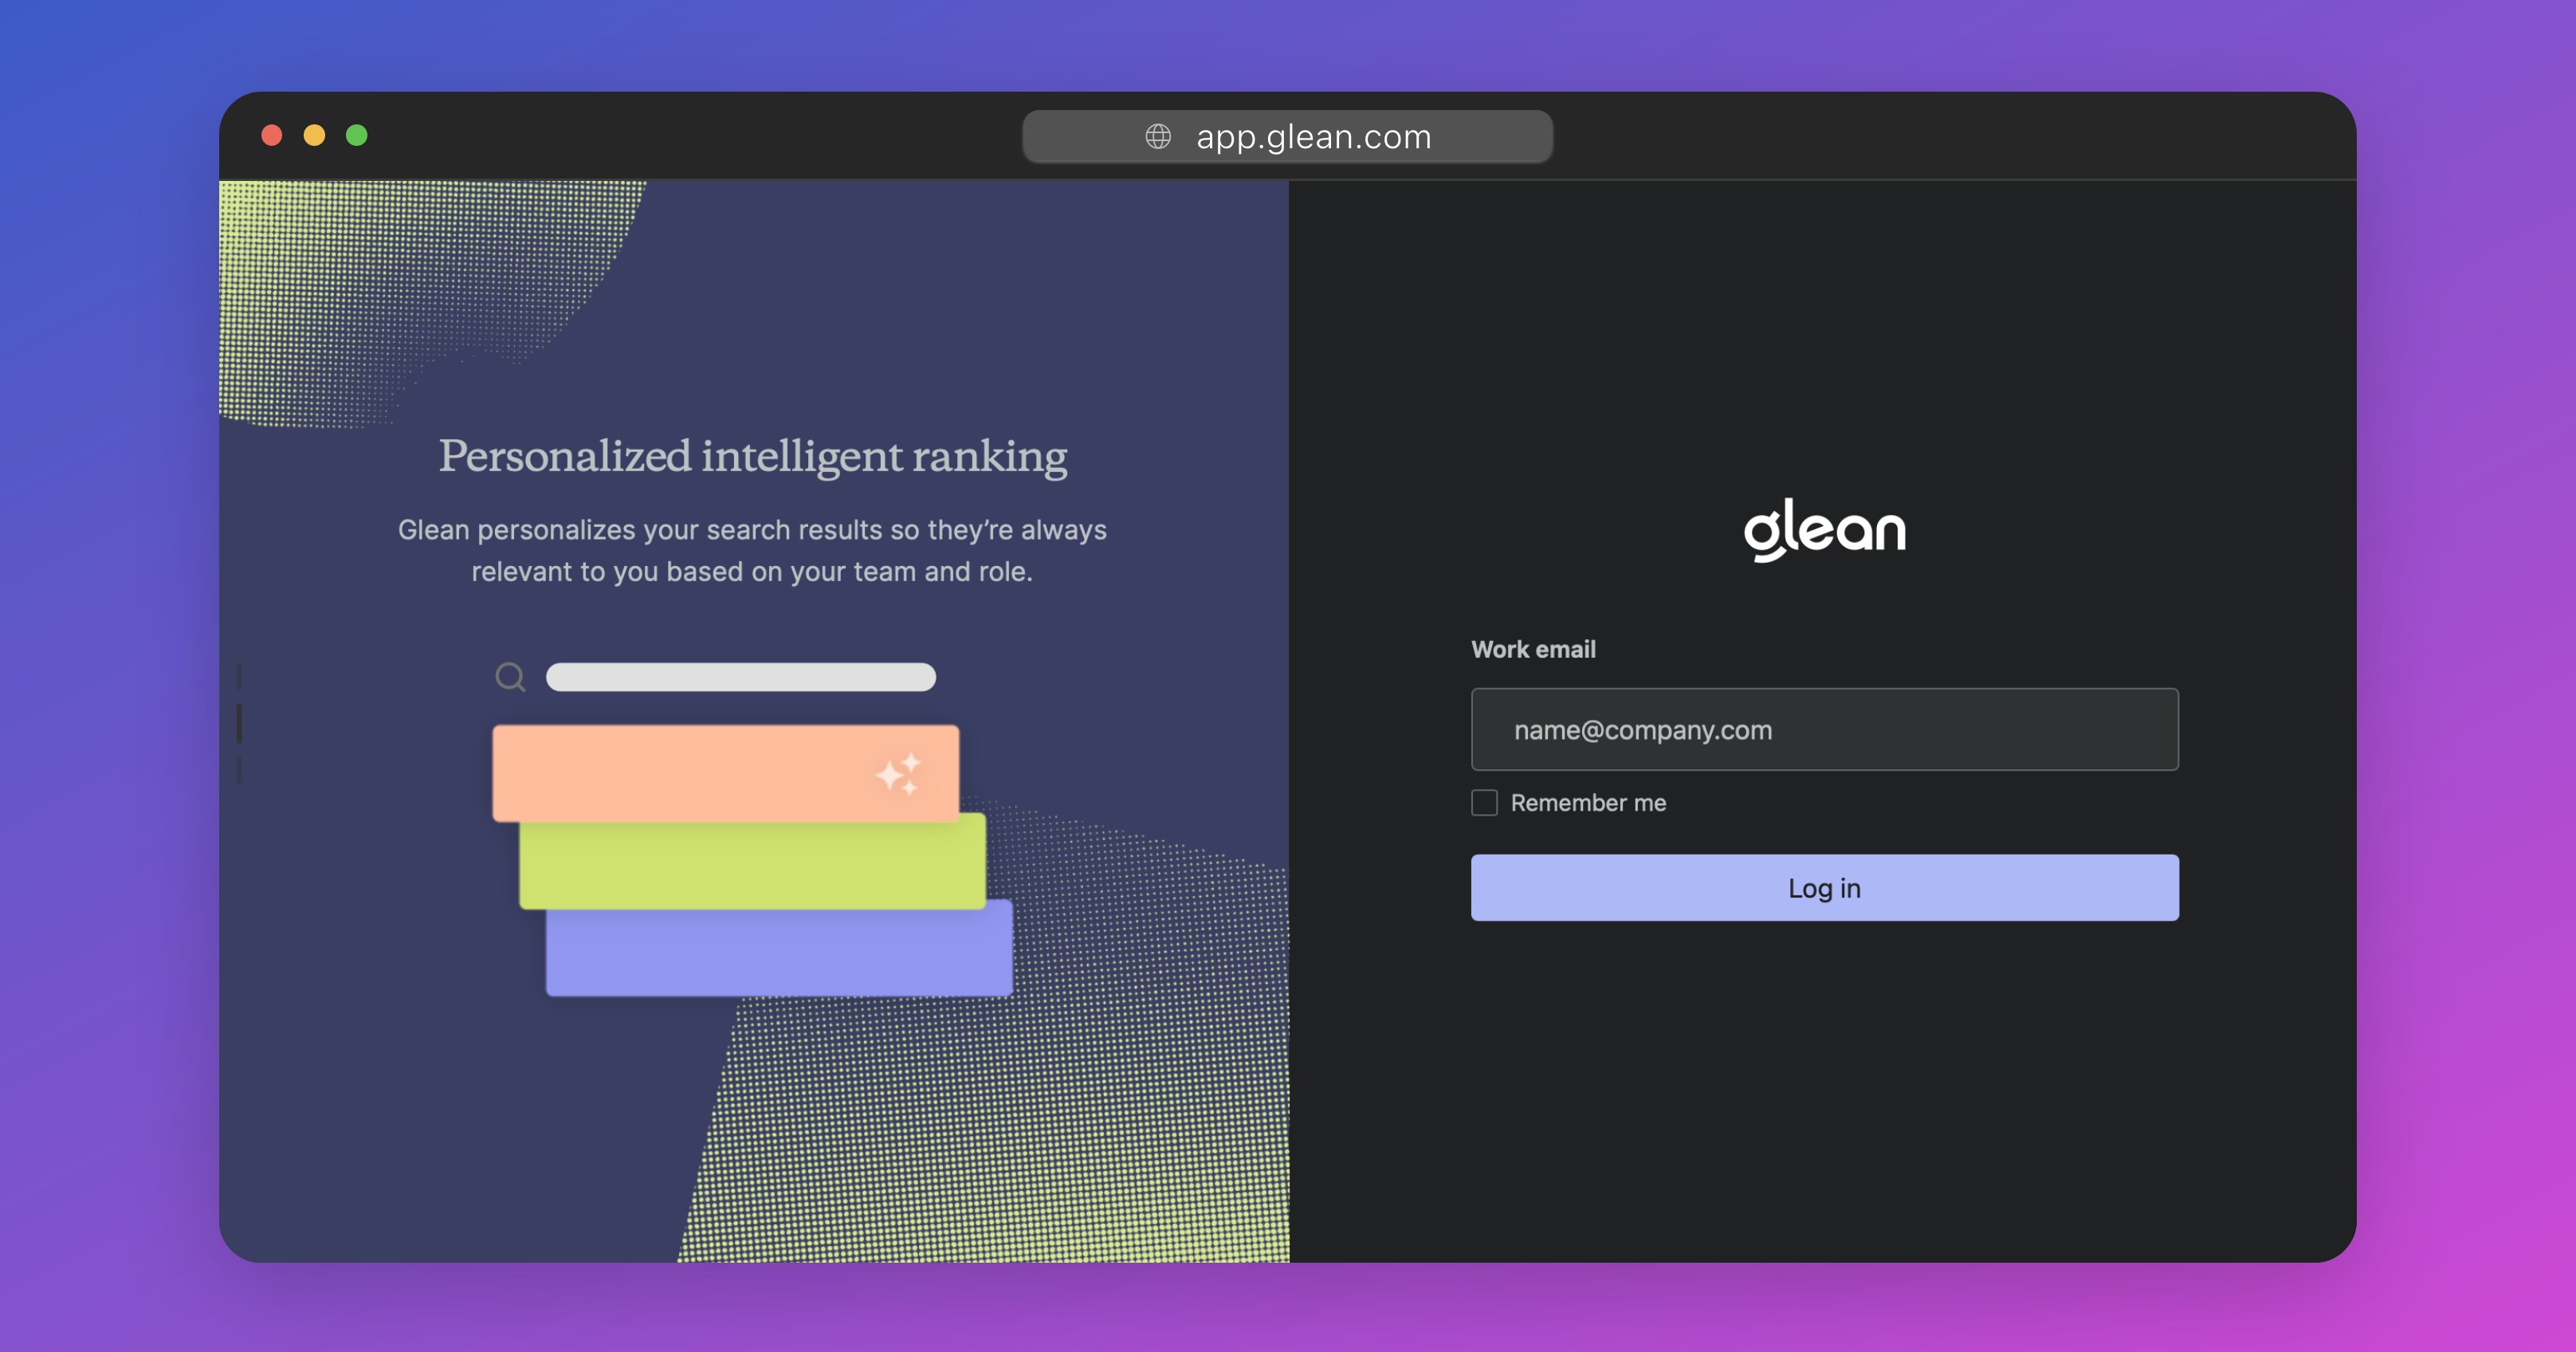
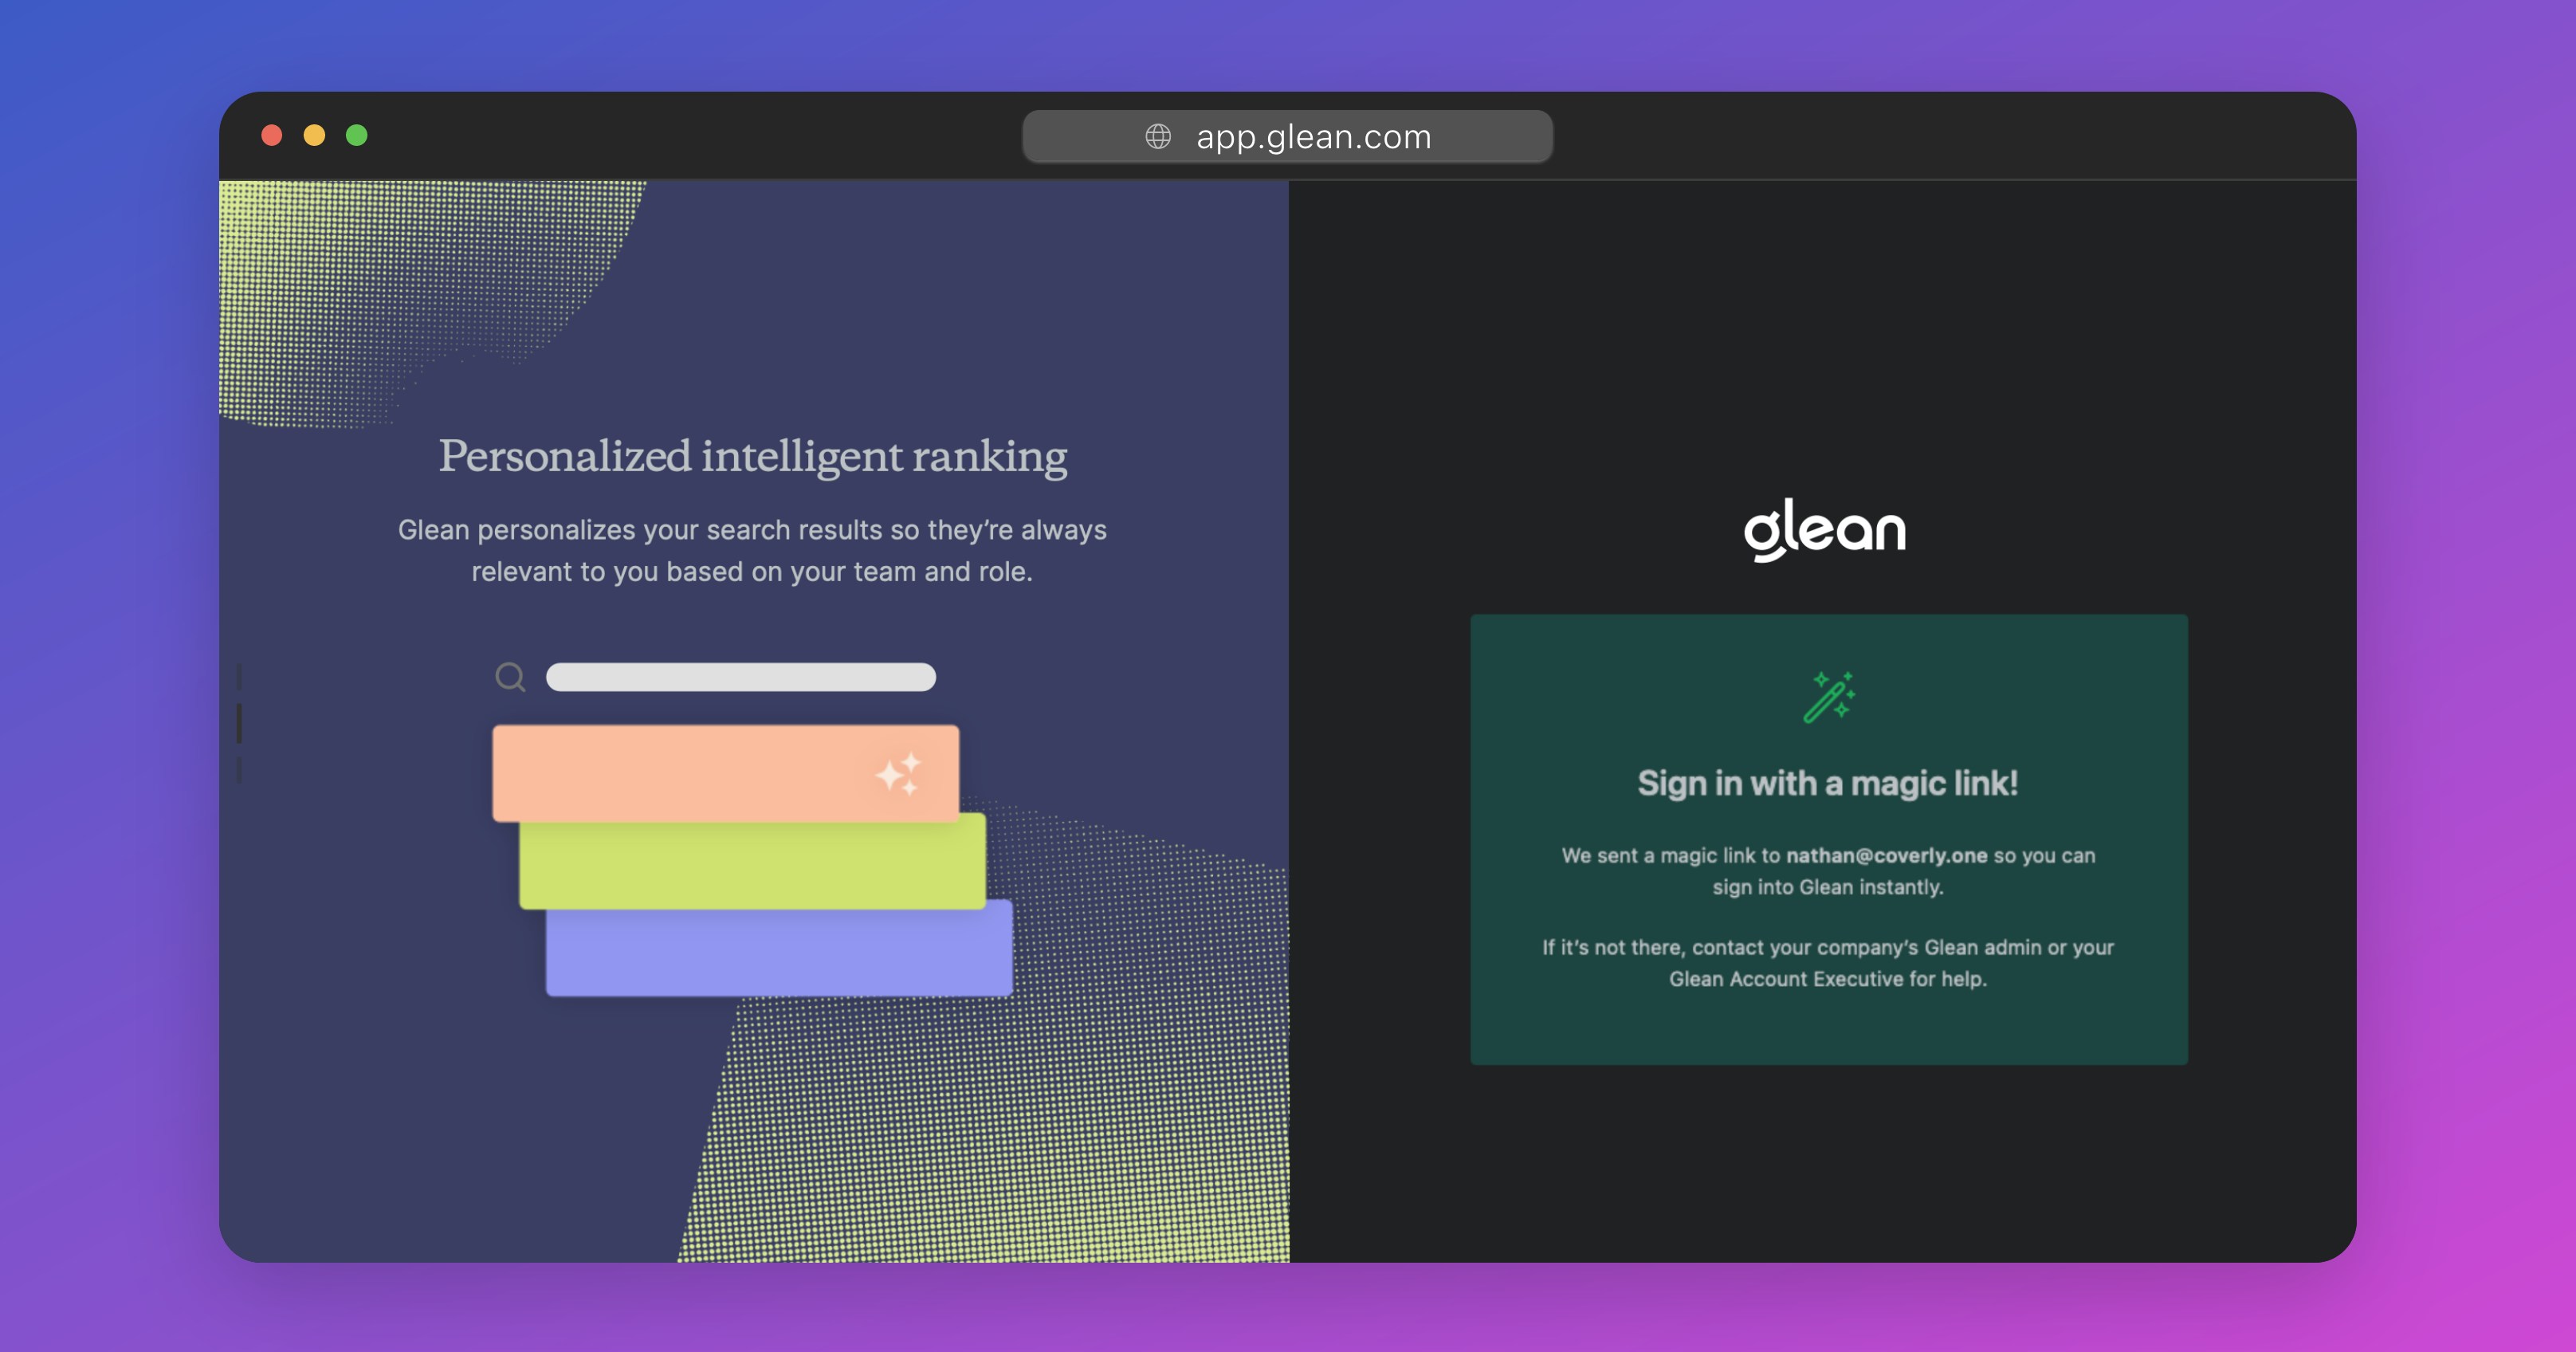
To access the Workspace Settings for your tenant, navigate to https://app.glean.com/admin in your web browser. If you are not already logged in, you will be prompted to do so.

Add Additional Administrators
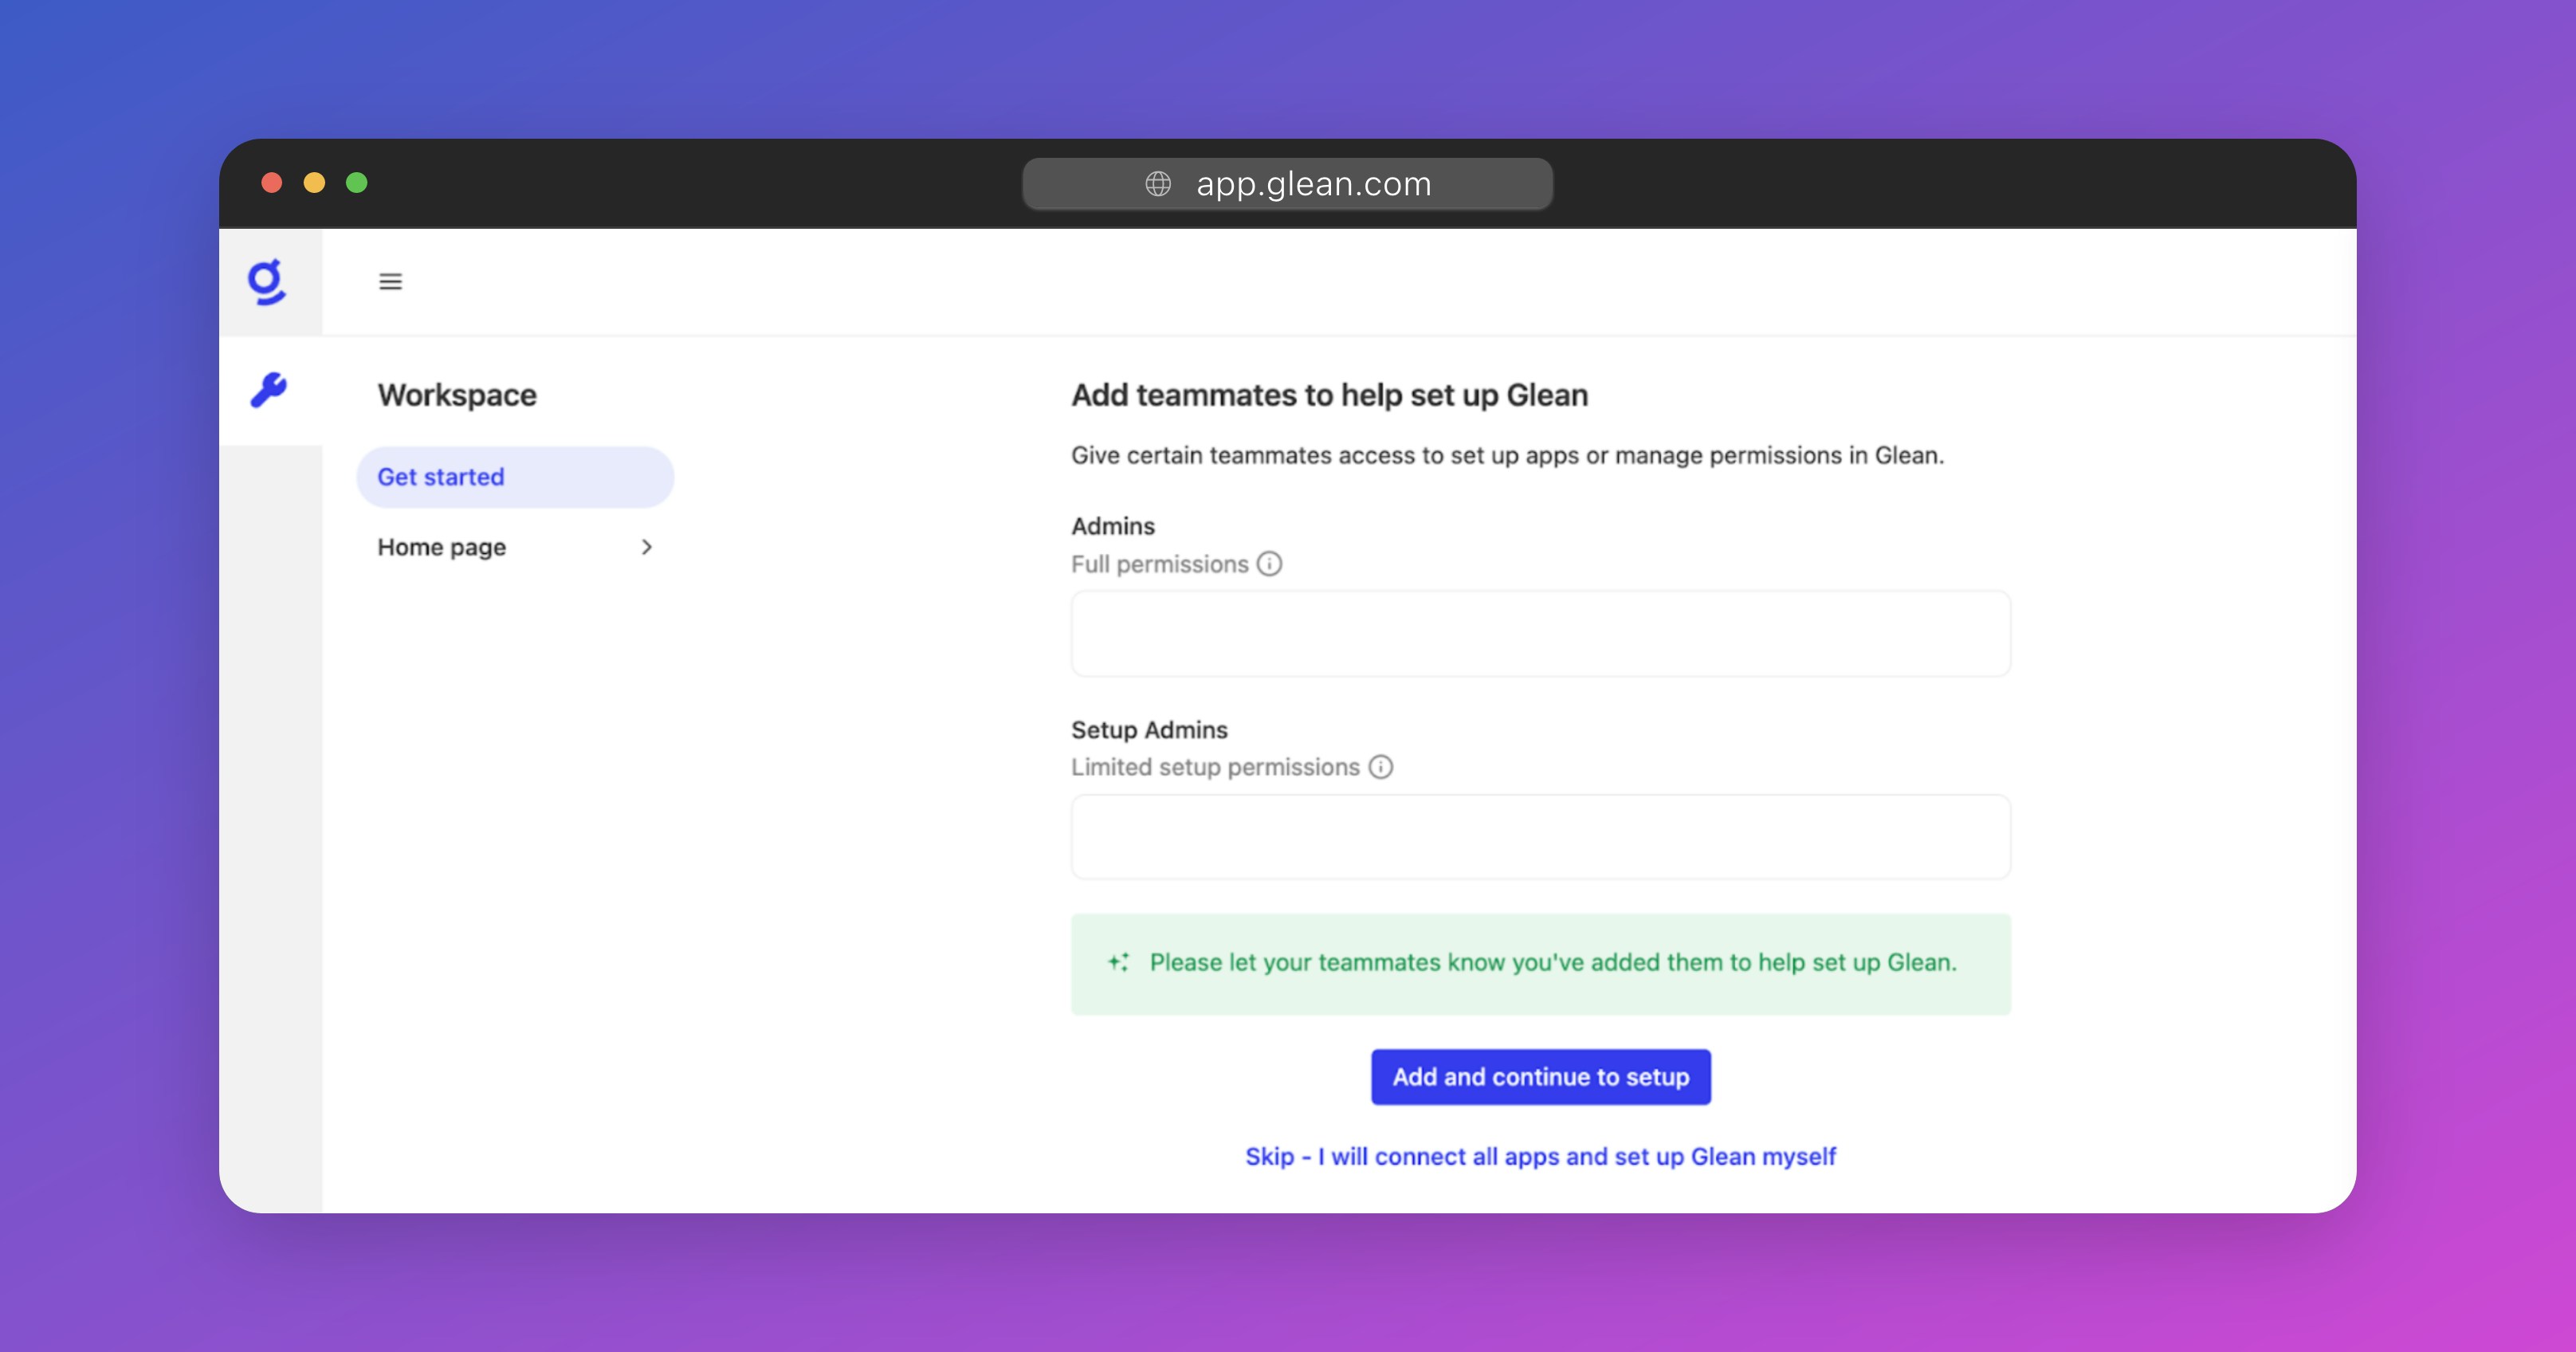
When you sign in for the first time, you will be prompted to add additional administrators before proceeding.
- The Admin role (also known as the Full Admin role) has full read/write privileges across all Workspace Settings. This role can add/remove other administrators, manage user permissions, configure data sources, start crawls, and customize the Glean workspace for the organization.
- The Setup Admin role has restricted permissions and can only configure data sources and start crawls. This is the perfect role to give to the administrators of any cloud applications that you wish to connect to Glean.
Are you hosting Glean in your own GCP or AWS environment?You will need to follow the appropriate cloud-prem guide for deploying Glean in GCP or AWS before you can proceed with the rest of this guide.