Managing Result Visibility
Introduction
Glean provides administrators with powerful tools to control and manage document visibility in search results. This document covers the complete lifecycle of document visibility management:
- Connector Visibility: Control whether entire connectors appear in search results
- Document-Level Visibility: Hide specific documents at scale using CSV upload
- Hidden Document Management: Audit, review, and manage all hidden documents across your workspace
Managing Connector Visibility
To control whether a connector appears in search results:
Access Admin Console
Navigate to the Admin console → Connectors
You must have Glean admin privileges to access these pages.
Select Connector
Click on the specific connector you want to configure.
Configure search results
In the Overview tab, locate the "Search results" section. Here you can:
- Add the connector to search results
- Remove the connector from search results
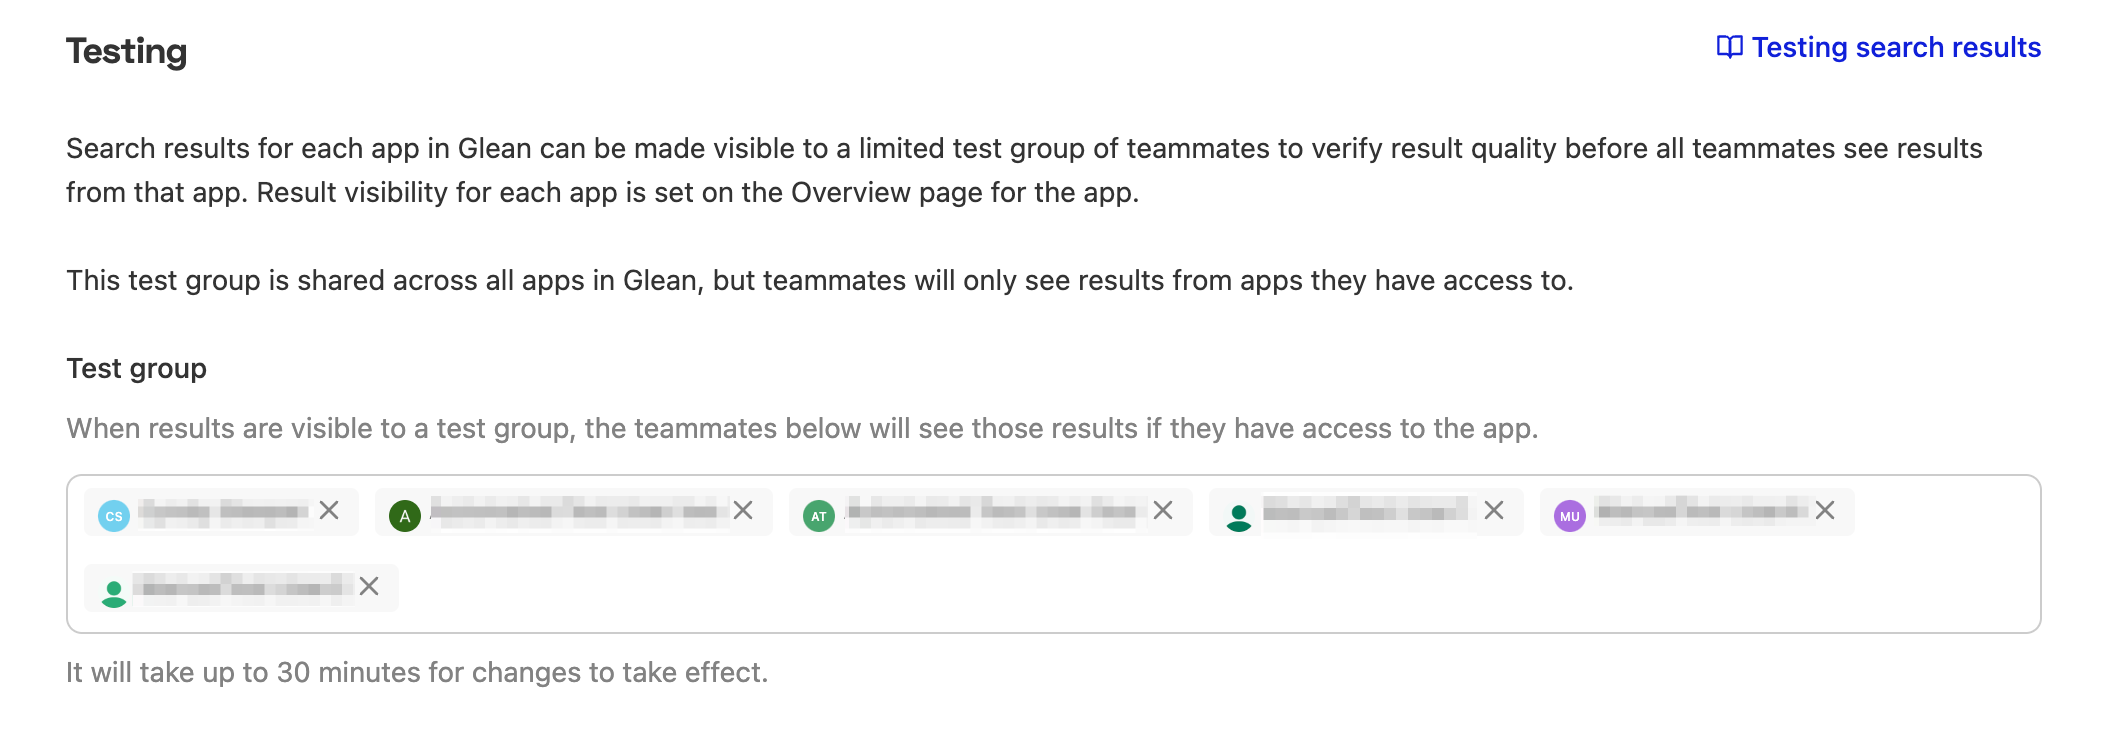
- Limit search results to a select group of users (e.g., "test group")

Test Groups for Connectors
When setting up a new connector in Glean, you may want to test with a smaller group before enabling it for everyone. This ensures proper setup and expected search results. Glean supports multiple named test groups, allowing you to manage different cohorts for different connectors or rollout phases.
Creating and Managing Test Groups
Navigate to Test Group Settings
Go to Admin console → Connectors
Access Test Group Management
Click on the "Manage test group" button
Create or Select a Test Group
You can create multiple test groups with descriptive names (e.g., "POC Admins", "Beta Users", "GA Rollout"). Each test group can have its own member list and be assigned to different connectors.
Add Team Members
Add users who already have access to Glean to the test group. Note that users will only see results from apps they have access to.
Test Group Limits and Behavior
| Limit | Value |
|---|---|
| Maximum test groups | Up to 10 test groups |
| Maximum members per test group | Up to 1,000 users or groups |
| Propagation delay | Up to 30 minutes for membership changes |
Changes may take up to 30 minutes to take effect. During this period:
- Newly added users may not see results from the connector
- Removed users may still see results temporarily
Using Identity Provider Groups in Test Groups
If your organization uses group-based permissions, test groups can include identity provider groups (Azure AD or Google Groups) alongside individual users. This allows you to manage test group membership through your IdP rather than adding users one by one in Glean.
Deleting Test Groups
Test groups that are currently assigned to one or more connectors cannot be deleted. The UI will display a warning listing the affected connectors. To delete a test group, first reassign the affected connectors to use a different test group or make them visible to all users.
Content Hiding Management
Glean provides a comprehensive Content Hiding interface that allows you to manage document visibility through two main approaches:
Hide via CSV Upload
While connector visibility controls apply to entire applications, there may be times when you need more granular control over specific documents. Glean's CSV upload feature allows administrators to hide individual documents at scale.
Up to 500,000 documents can be specified in a single CSV file. The hiding process takes approximately one hour, and documents remain hidden until you delete the CSV file or upload a new one.
Implementation Steps
Prepare your CSV file
- Navigate to the admin console
- Go to Glean Protect → Content hiding
- Click "Download the CSV template"
Your CSV should contain two columns:
| Column 1 | Column 2 |
|---|---|
| Document ID | Preferred visibility |
Visibility Options
HIDE_ALL: Hides the document from all Glean usersHIDE_ALL_EXCEPT_OWNER: Hides the document from everyone except the owner (documents without owners will be hidden from all users)HIDE_FROM_GROUPS: Hides the document from everyone except those with explicit share permissions
Finding Document IDs
- Navigate to Admin Console → Protect → Content hiding.
- Click Find document ID.
- Specify your access level to the document you are looking for by selecting one of the following options:
- I can access this document
- I can't access this document or am unsure
- In the search bar, type your query to find the specific document.
- Once the document appears in the results (e.g., "Weekly Check"), hover the cursor over the relevant document.
- Click the Add ID button. The Document ID is automatically copied to your clipboard.
If you cannot access the document, you can request a teammate who has access to find the document ID instead.
Upload your CSV file
Upload your prepared CSV file to Glean. The system will validate the file data and execute the changes when all validation checks pass.
Important Notes for CSV Management
CSV Management Best Practices
- Only one CSV can be active at any time
- Deleting the uploaded CSV unhides all documents
- Each new CSV must contain ALL document IDs that should be hidden, not just updates
The CSV must include all document IDs you want to keep hidden. For example:
- If you have 10 hidden documents and want to hide 2 more, your new CSV needs 12 entries
- If you want to unhide 10 out of 12 documents, your new CSV should contain only the 2 remaining document IDs
Managing Hidden Documents
Once documents are hidden, administrators can view and manage these hidden documents using the All Hidden Documents tab.
What You Can See
The All Hidden Documents tab shows all documents that have been hidden across your workspace, including those hidden through:
- Automatic policies (such as sensitive content reports or sensitive findings policies)
- Manual tools taken via Glean Protect, CSV uploads, or hide API
- CSV uploads with bulk document hiding
Features of the All Hidden Documents Tab
Comprehensive Document Management
- Paginated table view displaying hidden documents
- Four main columns providing information for each document:
- Document: The document name or identifier with an icon
- Hidden by: Shows the source/method (CSV filename, report name, manual tool, etc.)
- Visibility on Glean: The visibility status (e.g., "Hidden from all", "Hidden from all except owner")
- Tool: Ellipsis menu for tools like unhide document or copy document ID
Benefits
- Complete audit trail of all hidden documents and their sources
- Centralized management of document visibility across all hiding methods
- Quick tools to unhide documents when needed
- Transparency into what content is currently hidden from search results
Limitations of Document Hiding
- Non-document items (folders, containers) cannot be hidden
- Content hiding only affects visibility in Glean's search results and Glean responses
- Source permissions remain unchanged
- Document hiding only applies to data that Glean crawls and indexes. It does not apply to data fetched live via federated fetch APIs (such as Slack Real-Time Search or other real-time integrations).
Error Handling
- Glean performs validation checks during upload and will notify admins of any errors
- All errors must be resolved for the CSV upload to succeed
- If any errors are found (e.g., 2 errors in a CSV with 100 entries), none of the documents will be hidden until the CSV is corrected
Choosing the Right Visibility Controls
When to use each method
Connector Visibility: Best for:
- Newly added connectors that need testing
- Temporarily removing an entire connector from search
- Limiting access to specific teams
Content Hiding via CSV: Best for:
- Selectively hiding sensitive documents
- Maintaining granular control over specific content
- Managing visibility without affecting source permissions
- Temporarily hiding documents that have been deleted at the source but haven't yet been removed from the Glean index due to crawl timing
Restrict O365 content via Purview sensitivity labels
Glean can exclude sensitive Microsoft 365 content from search results and Glean by integrating with Microsoft Purview sensitivity labels. When this integration is enabled, items in SharePoint and OneDrive with selected labels are excluded from indexing. Because these items are not indexed, they do not appear in Glean results. For more information, see Restrict O365 content via sensitivity labels.