- Announcements
- Answers
- Go Links
- Collections
- Document Verifications/Deprecations
- Pins
Announcements
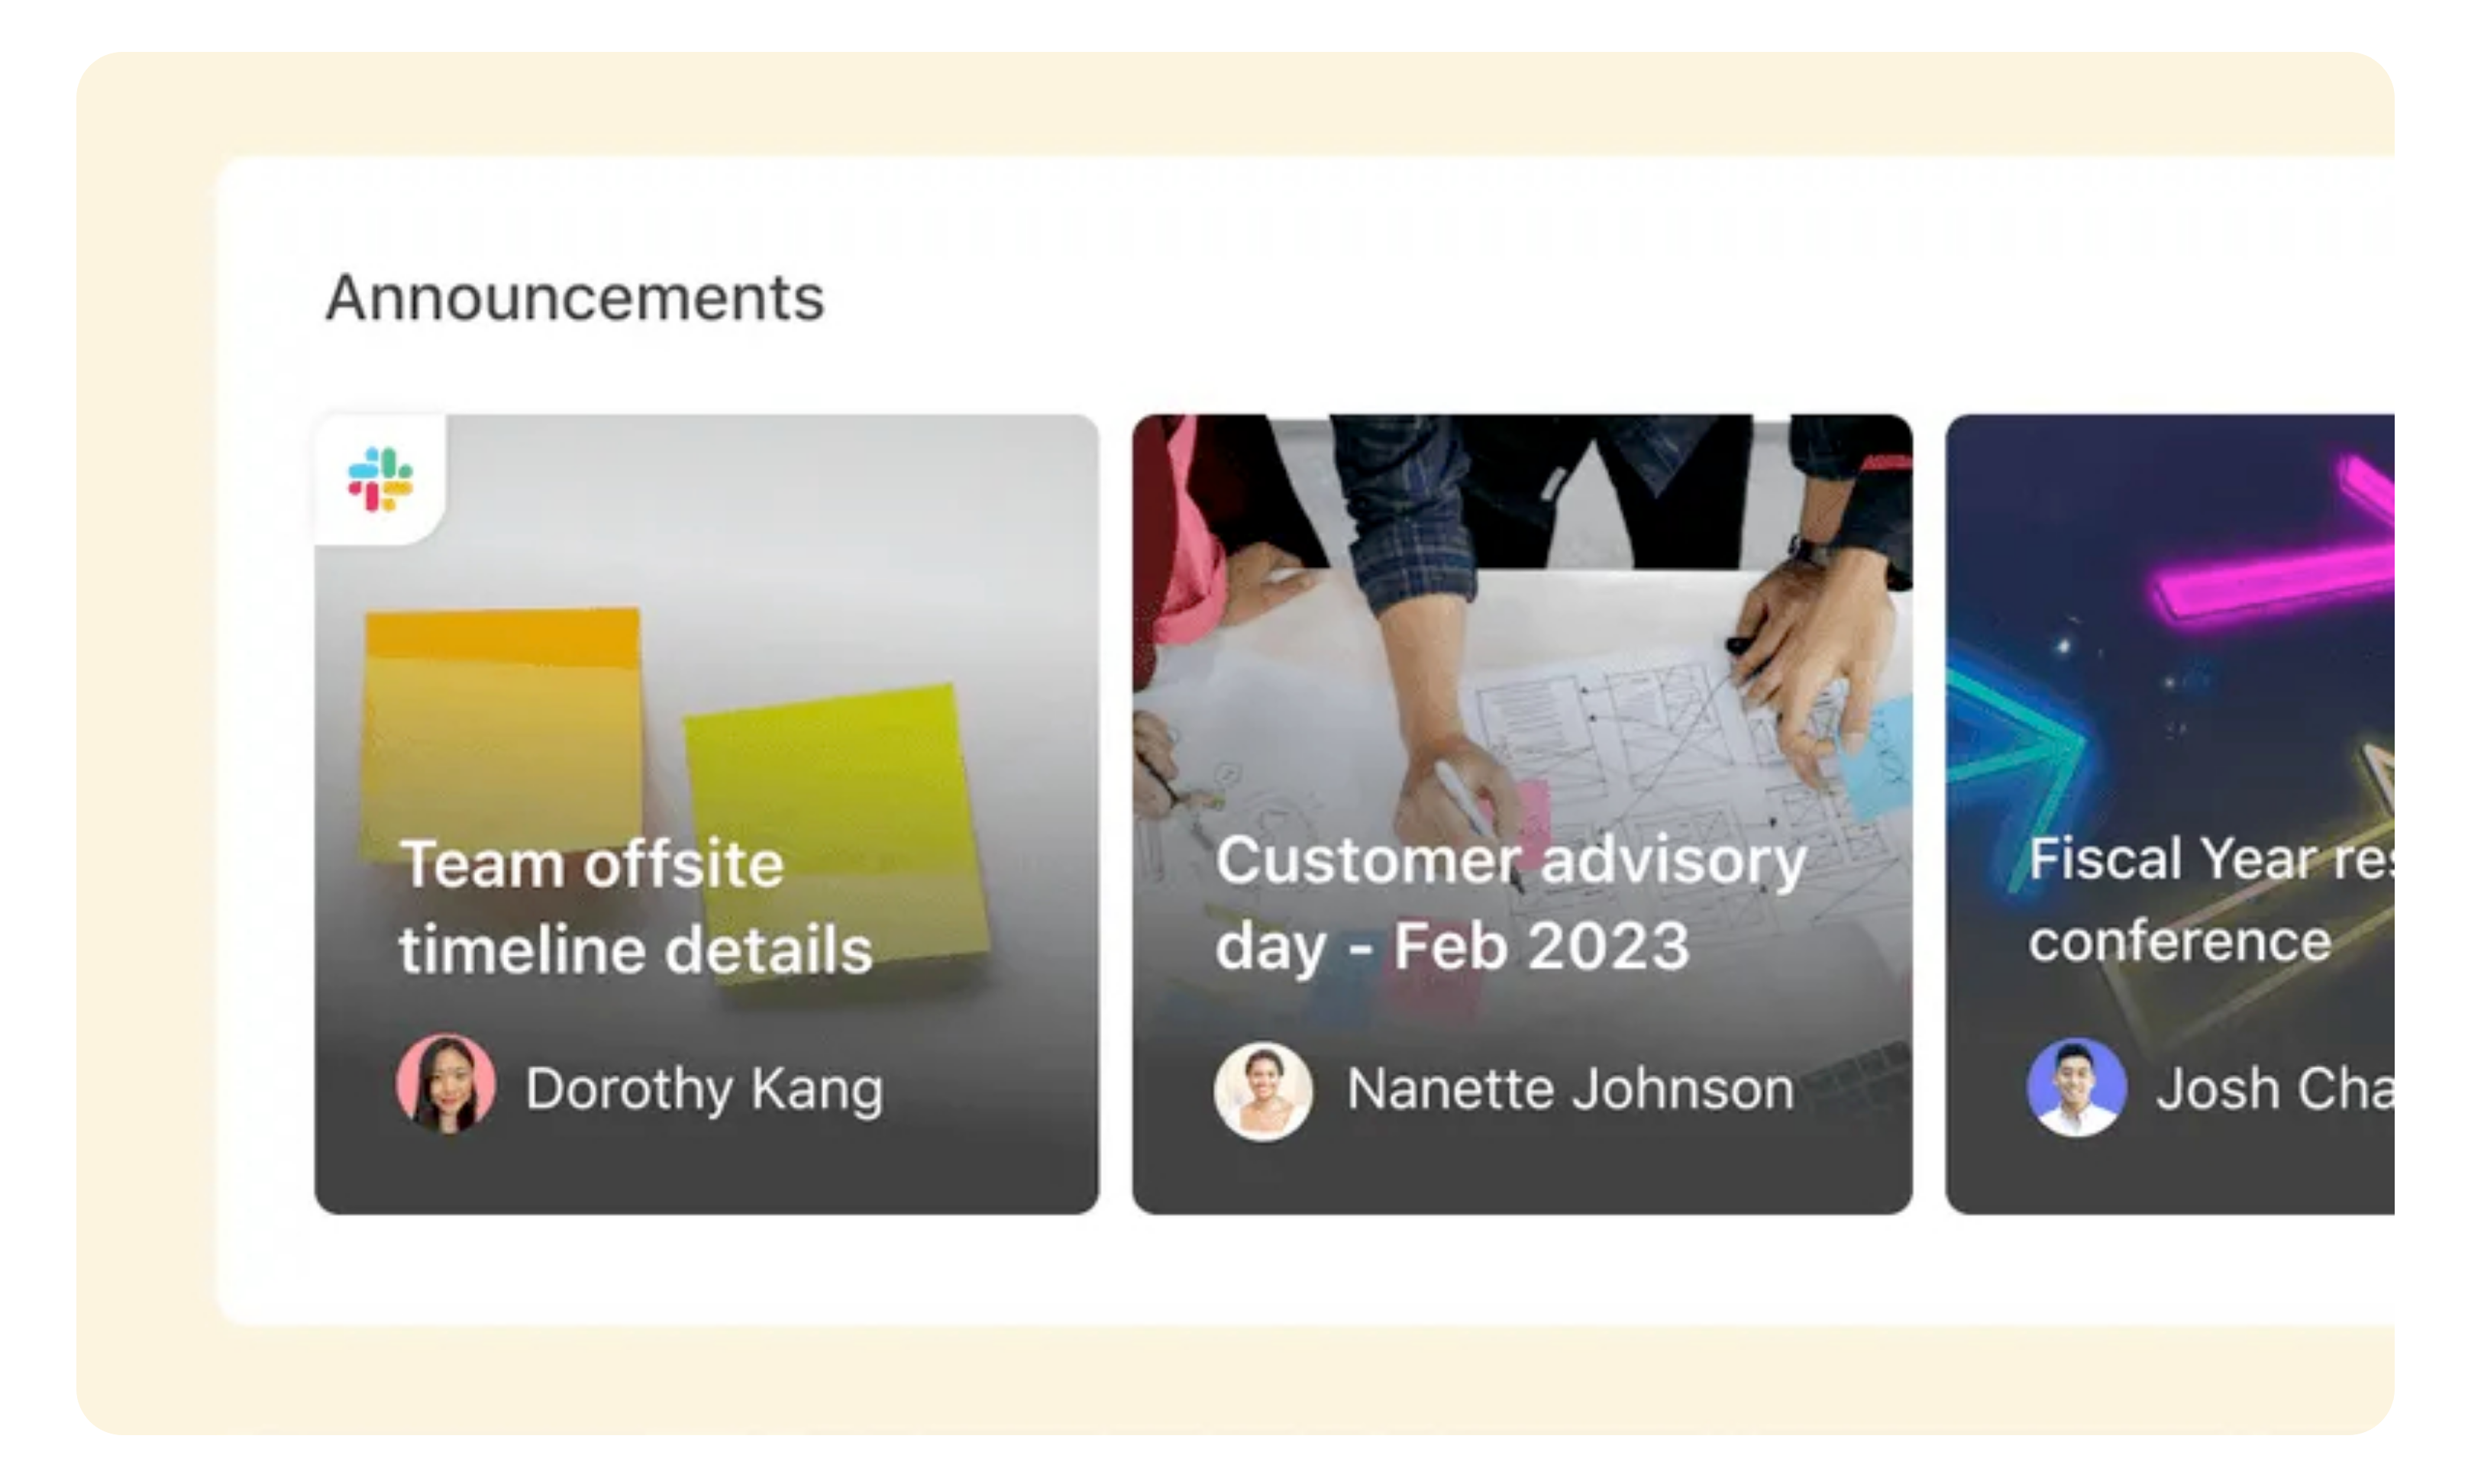
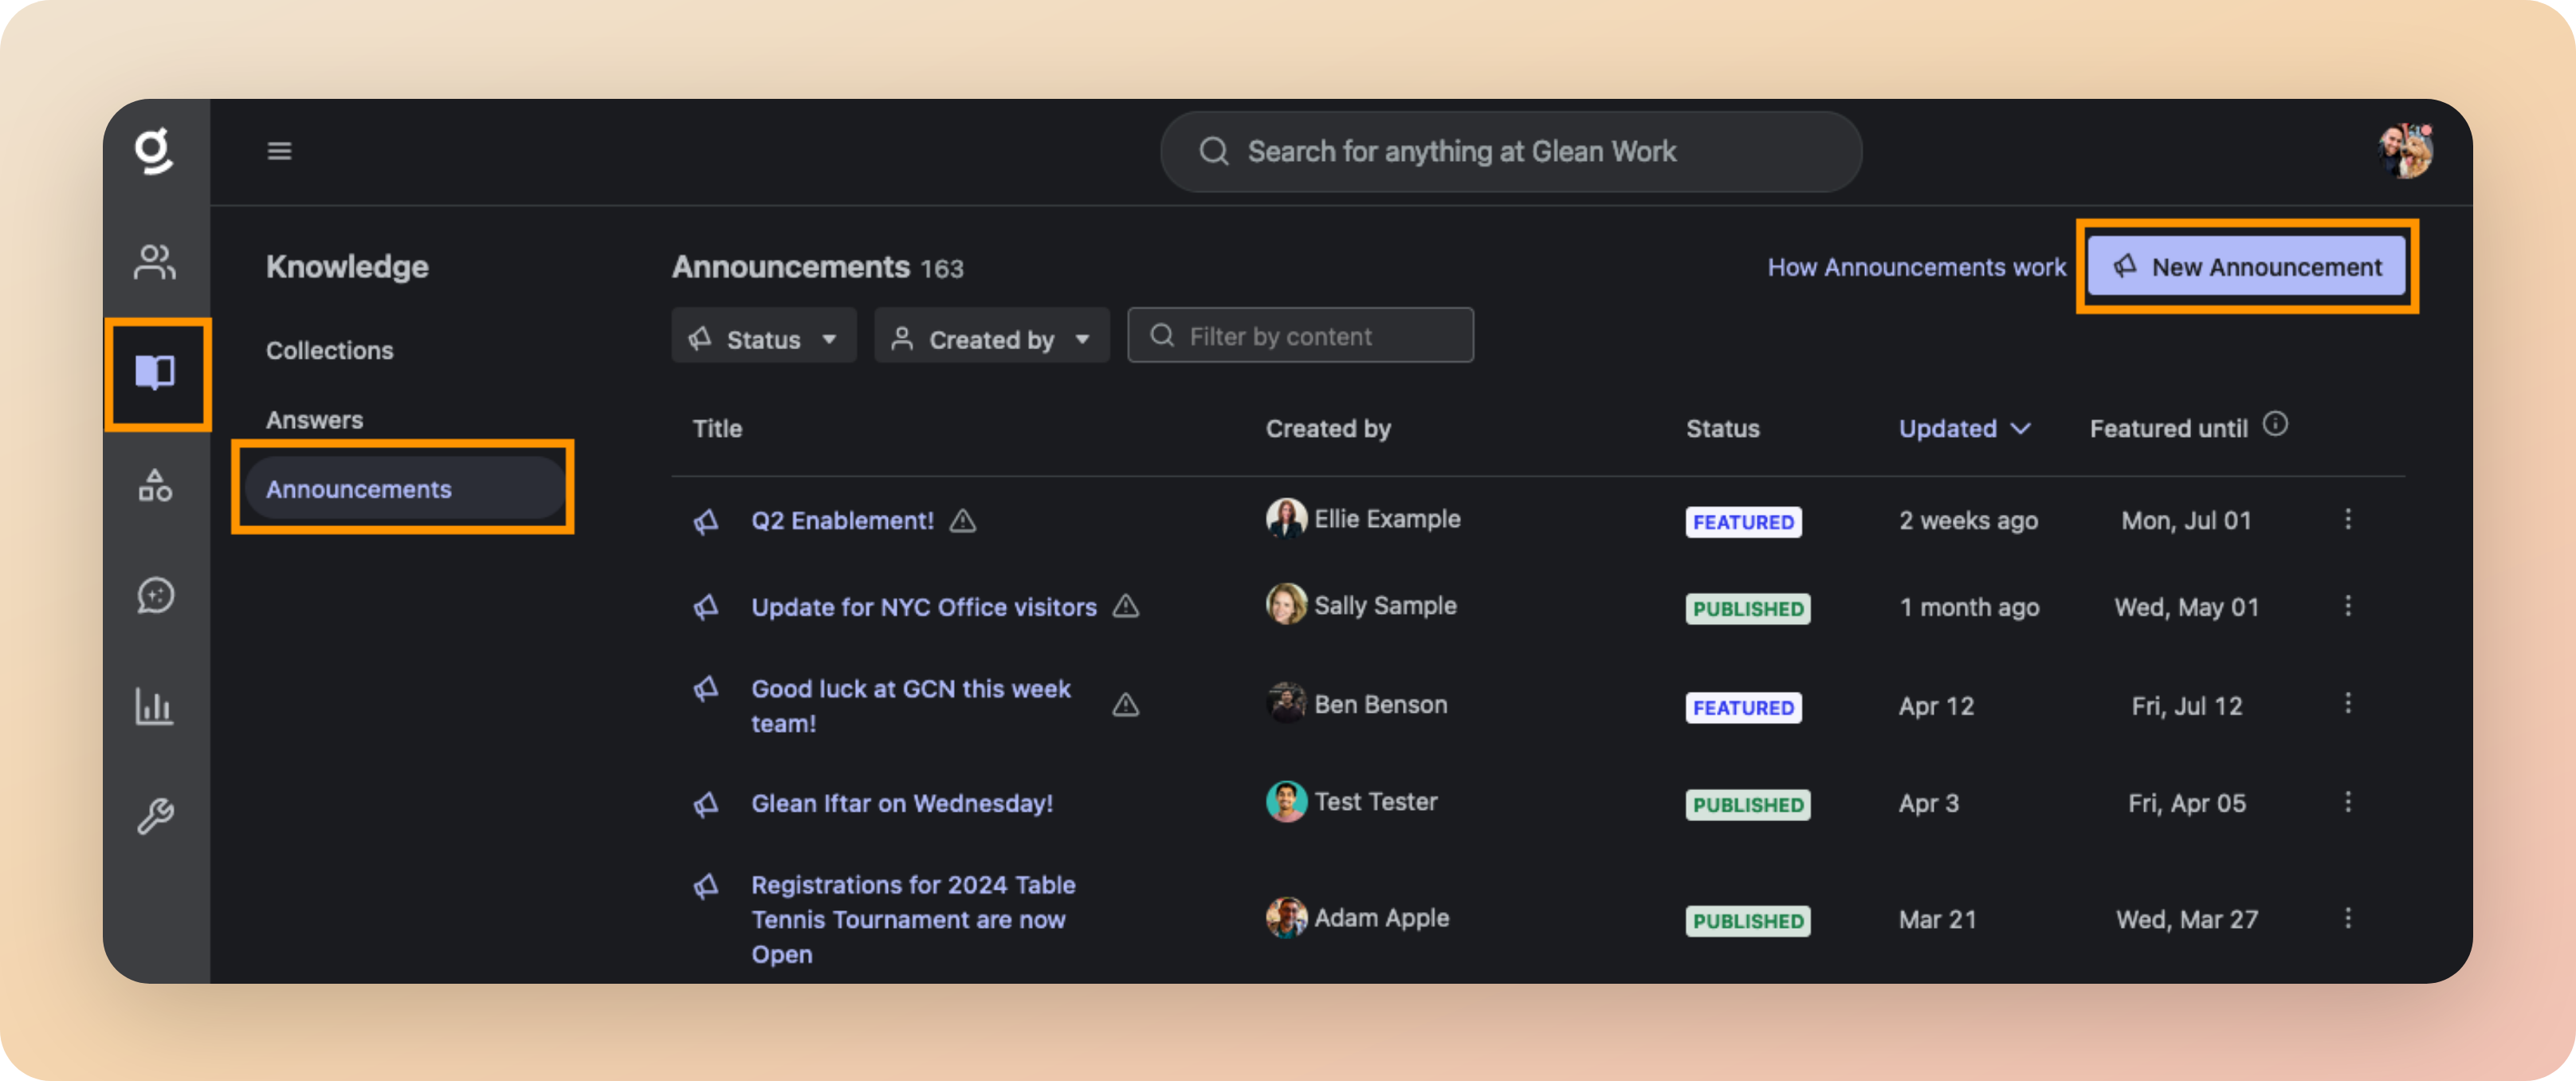
Announcements are a great way to promote updates for your teammates to see
Answers
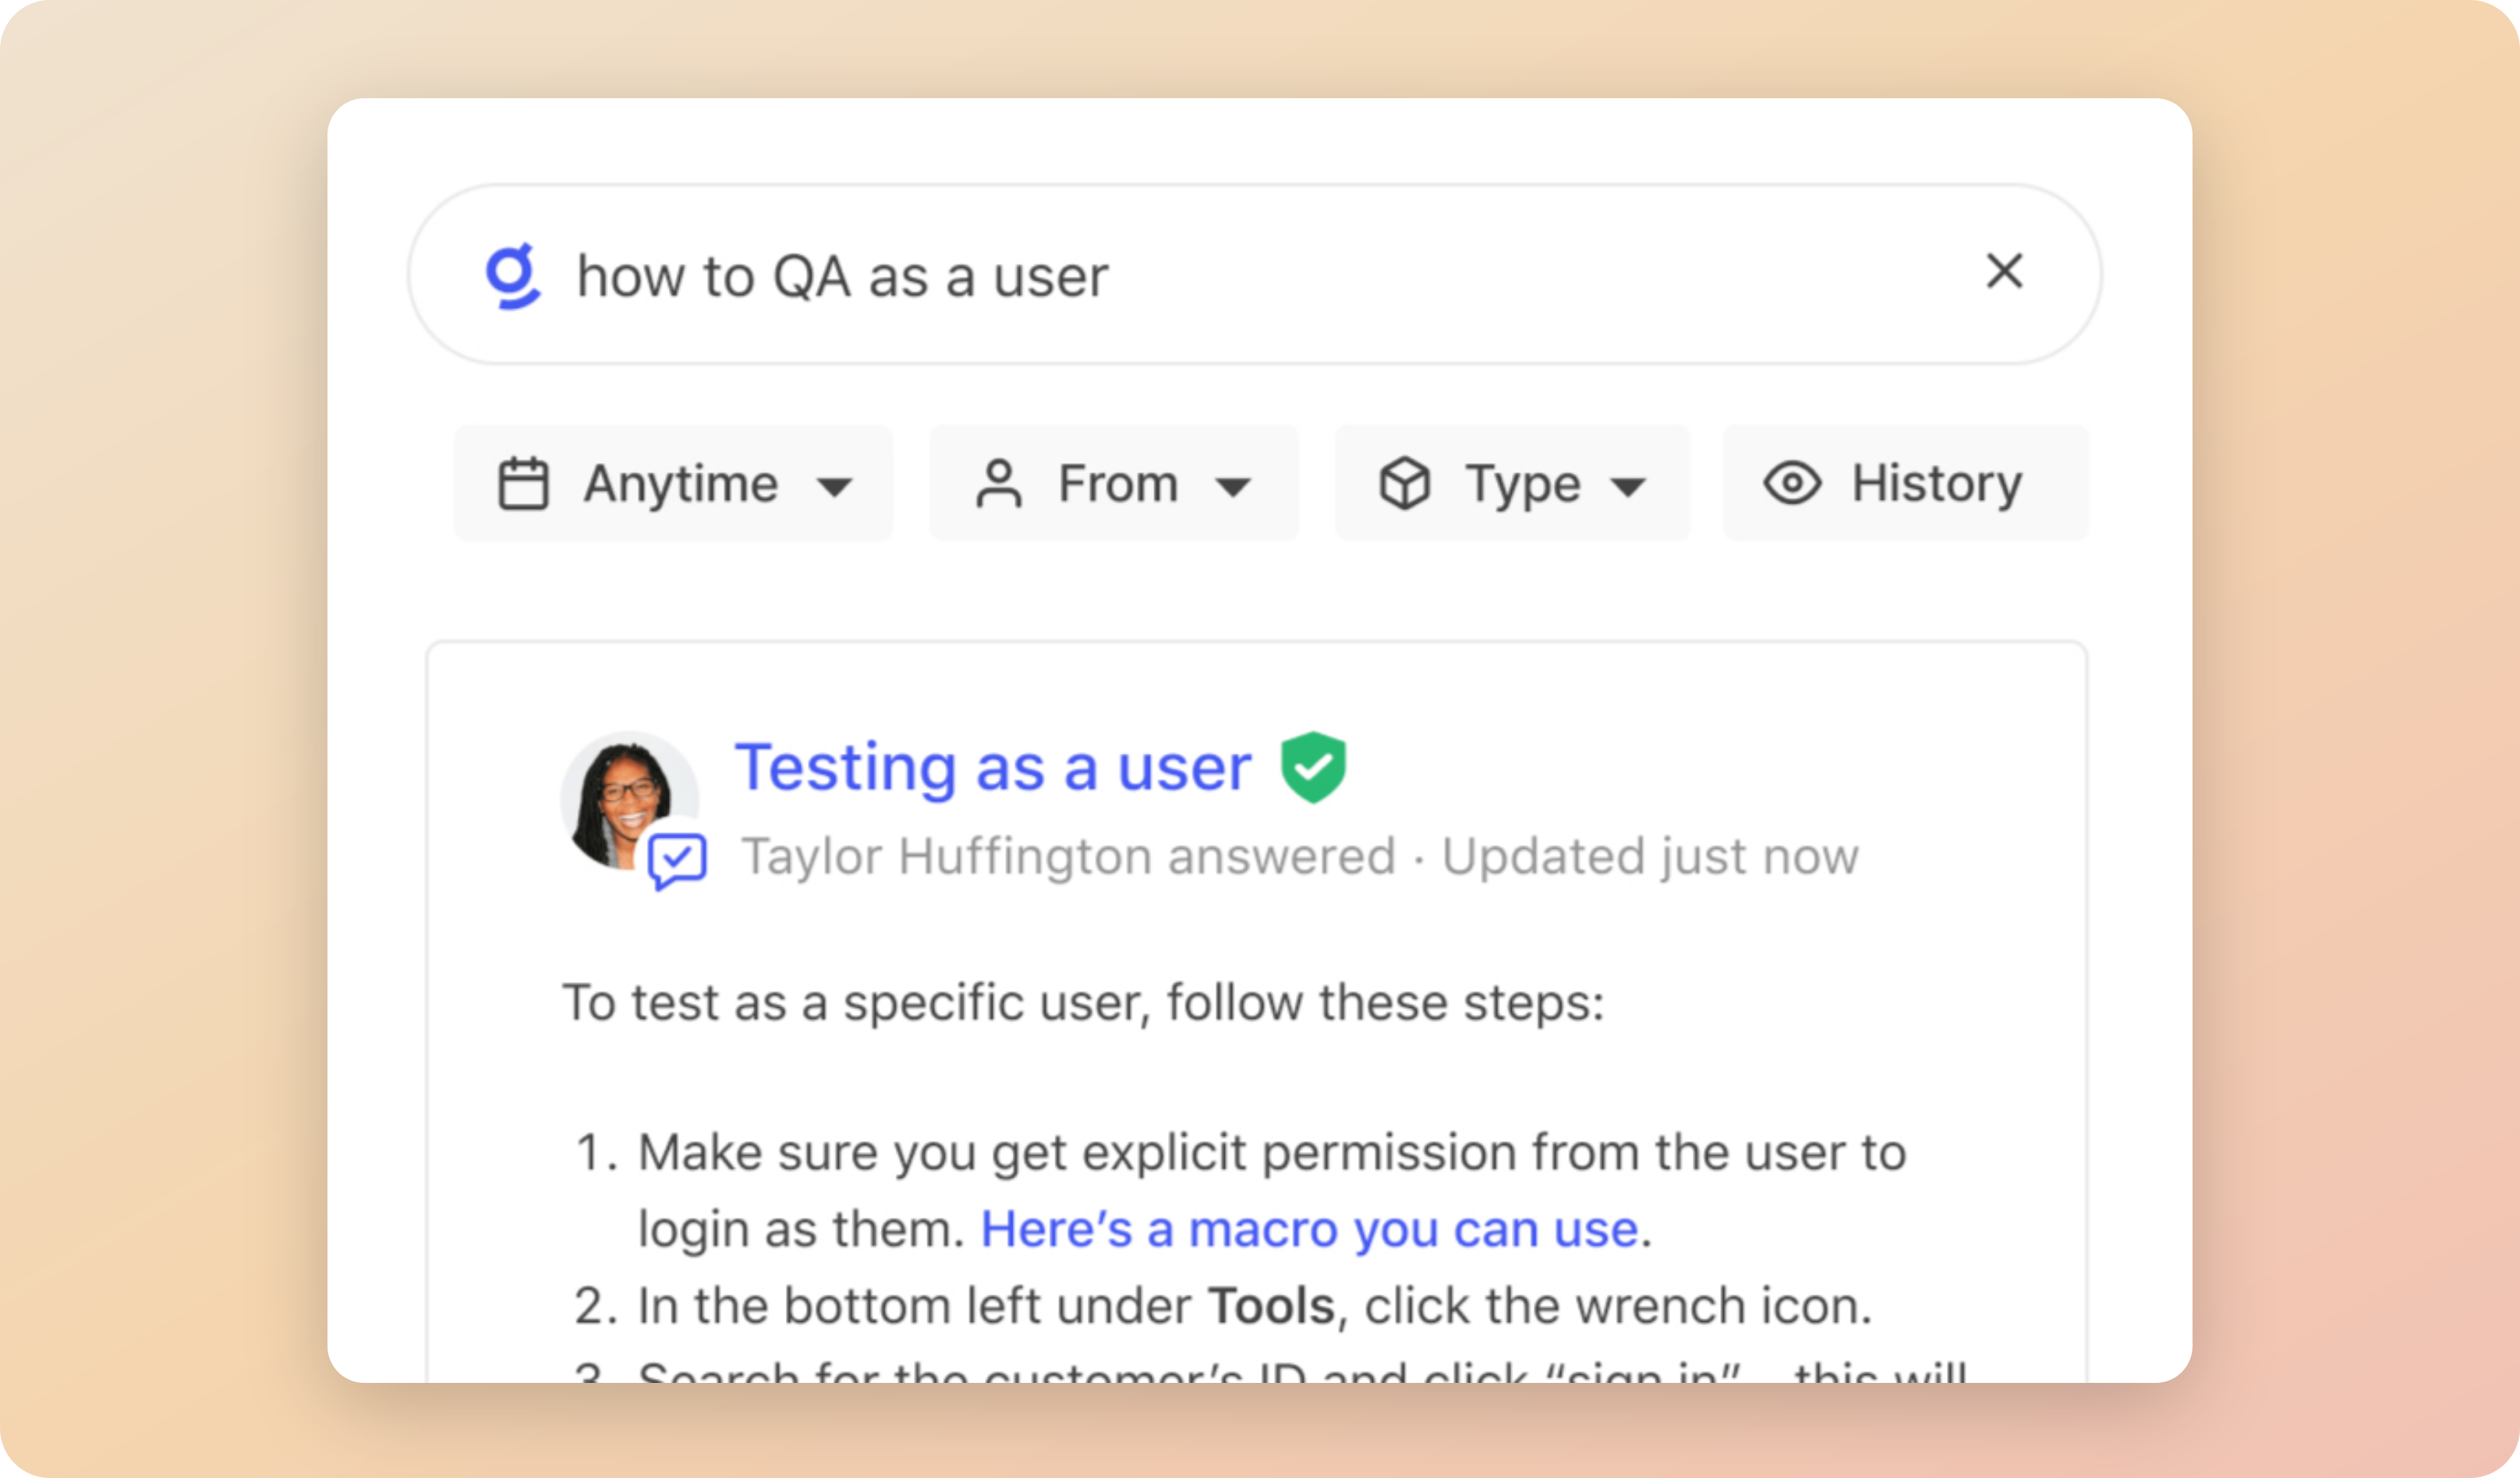
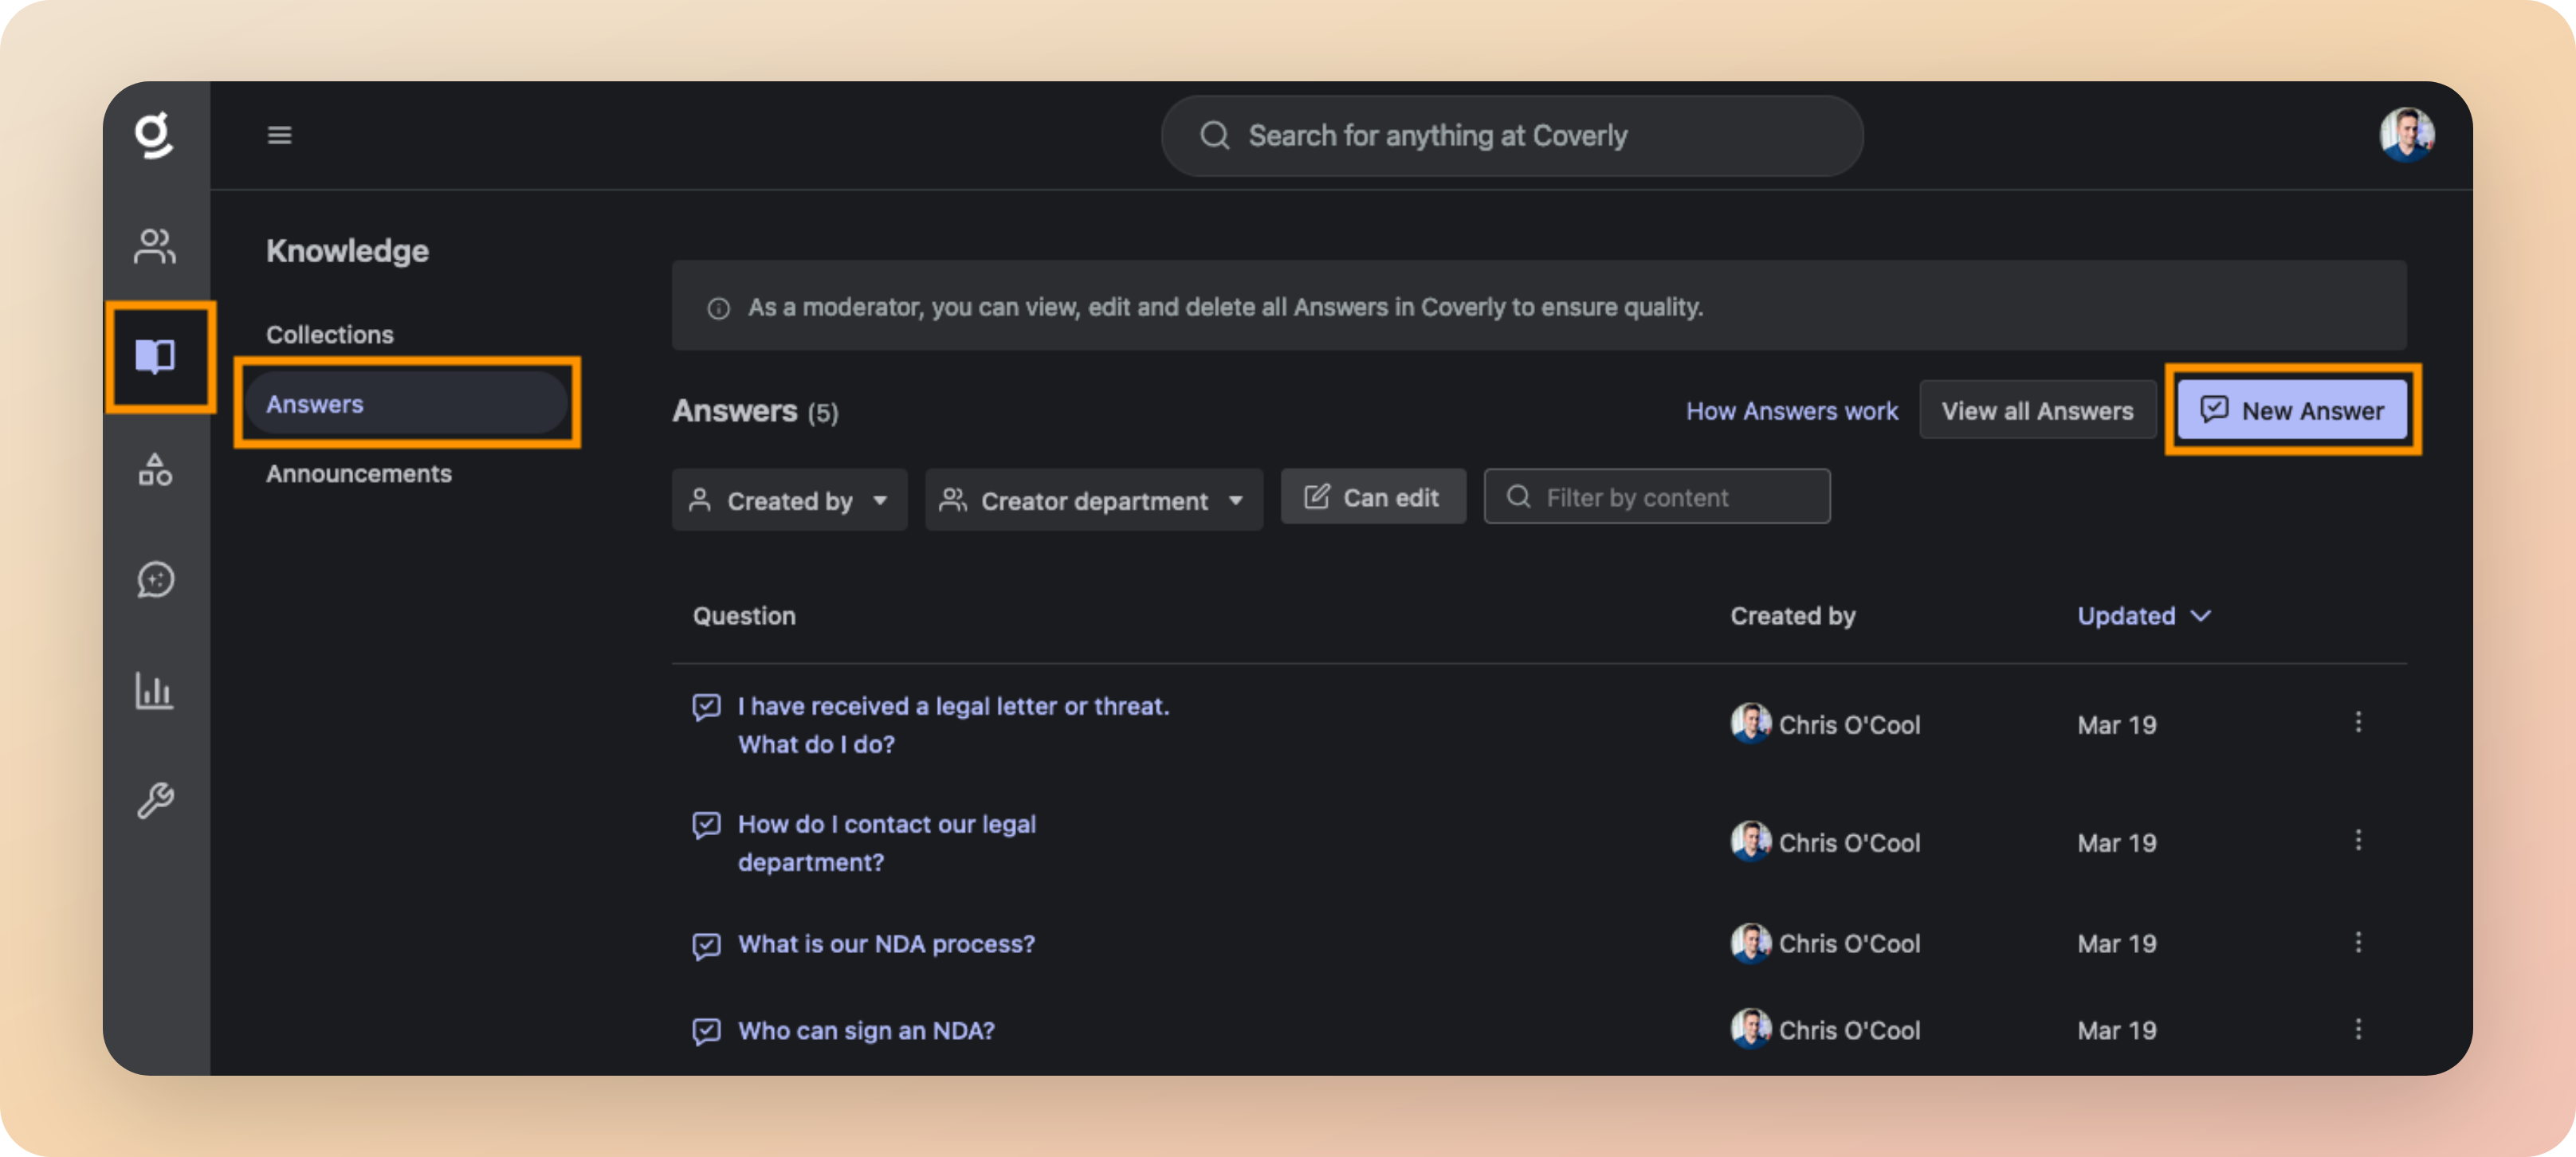
Answers are automatically surfaced in search results in response to relevant queries
- More information: Using Answers
- What is our Work From Home (WFH) policy?
- What benefits are available to me?
- What is the process for taking annual leave?
- What do I do if I (or a family member) is sick?
- How do I get access to Jira?
- How do I submit a feature request?
- How do I get a new laptop?
- Can I request a specific laptop model or brand?
- How do I get a new office badge?
- What are the 2024 holidays?
- What is our time off policy?
- What is our parental leave policy?
- What are our company values?
- Who is the best person to talk to about XYZ?
- When do we get paid?
- How do I book travel?
Go Links
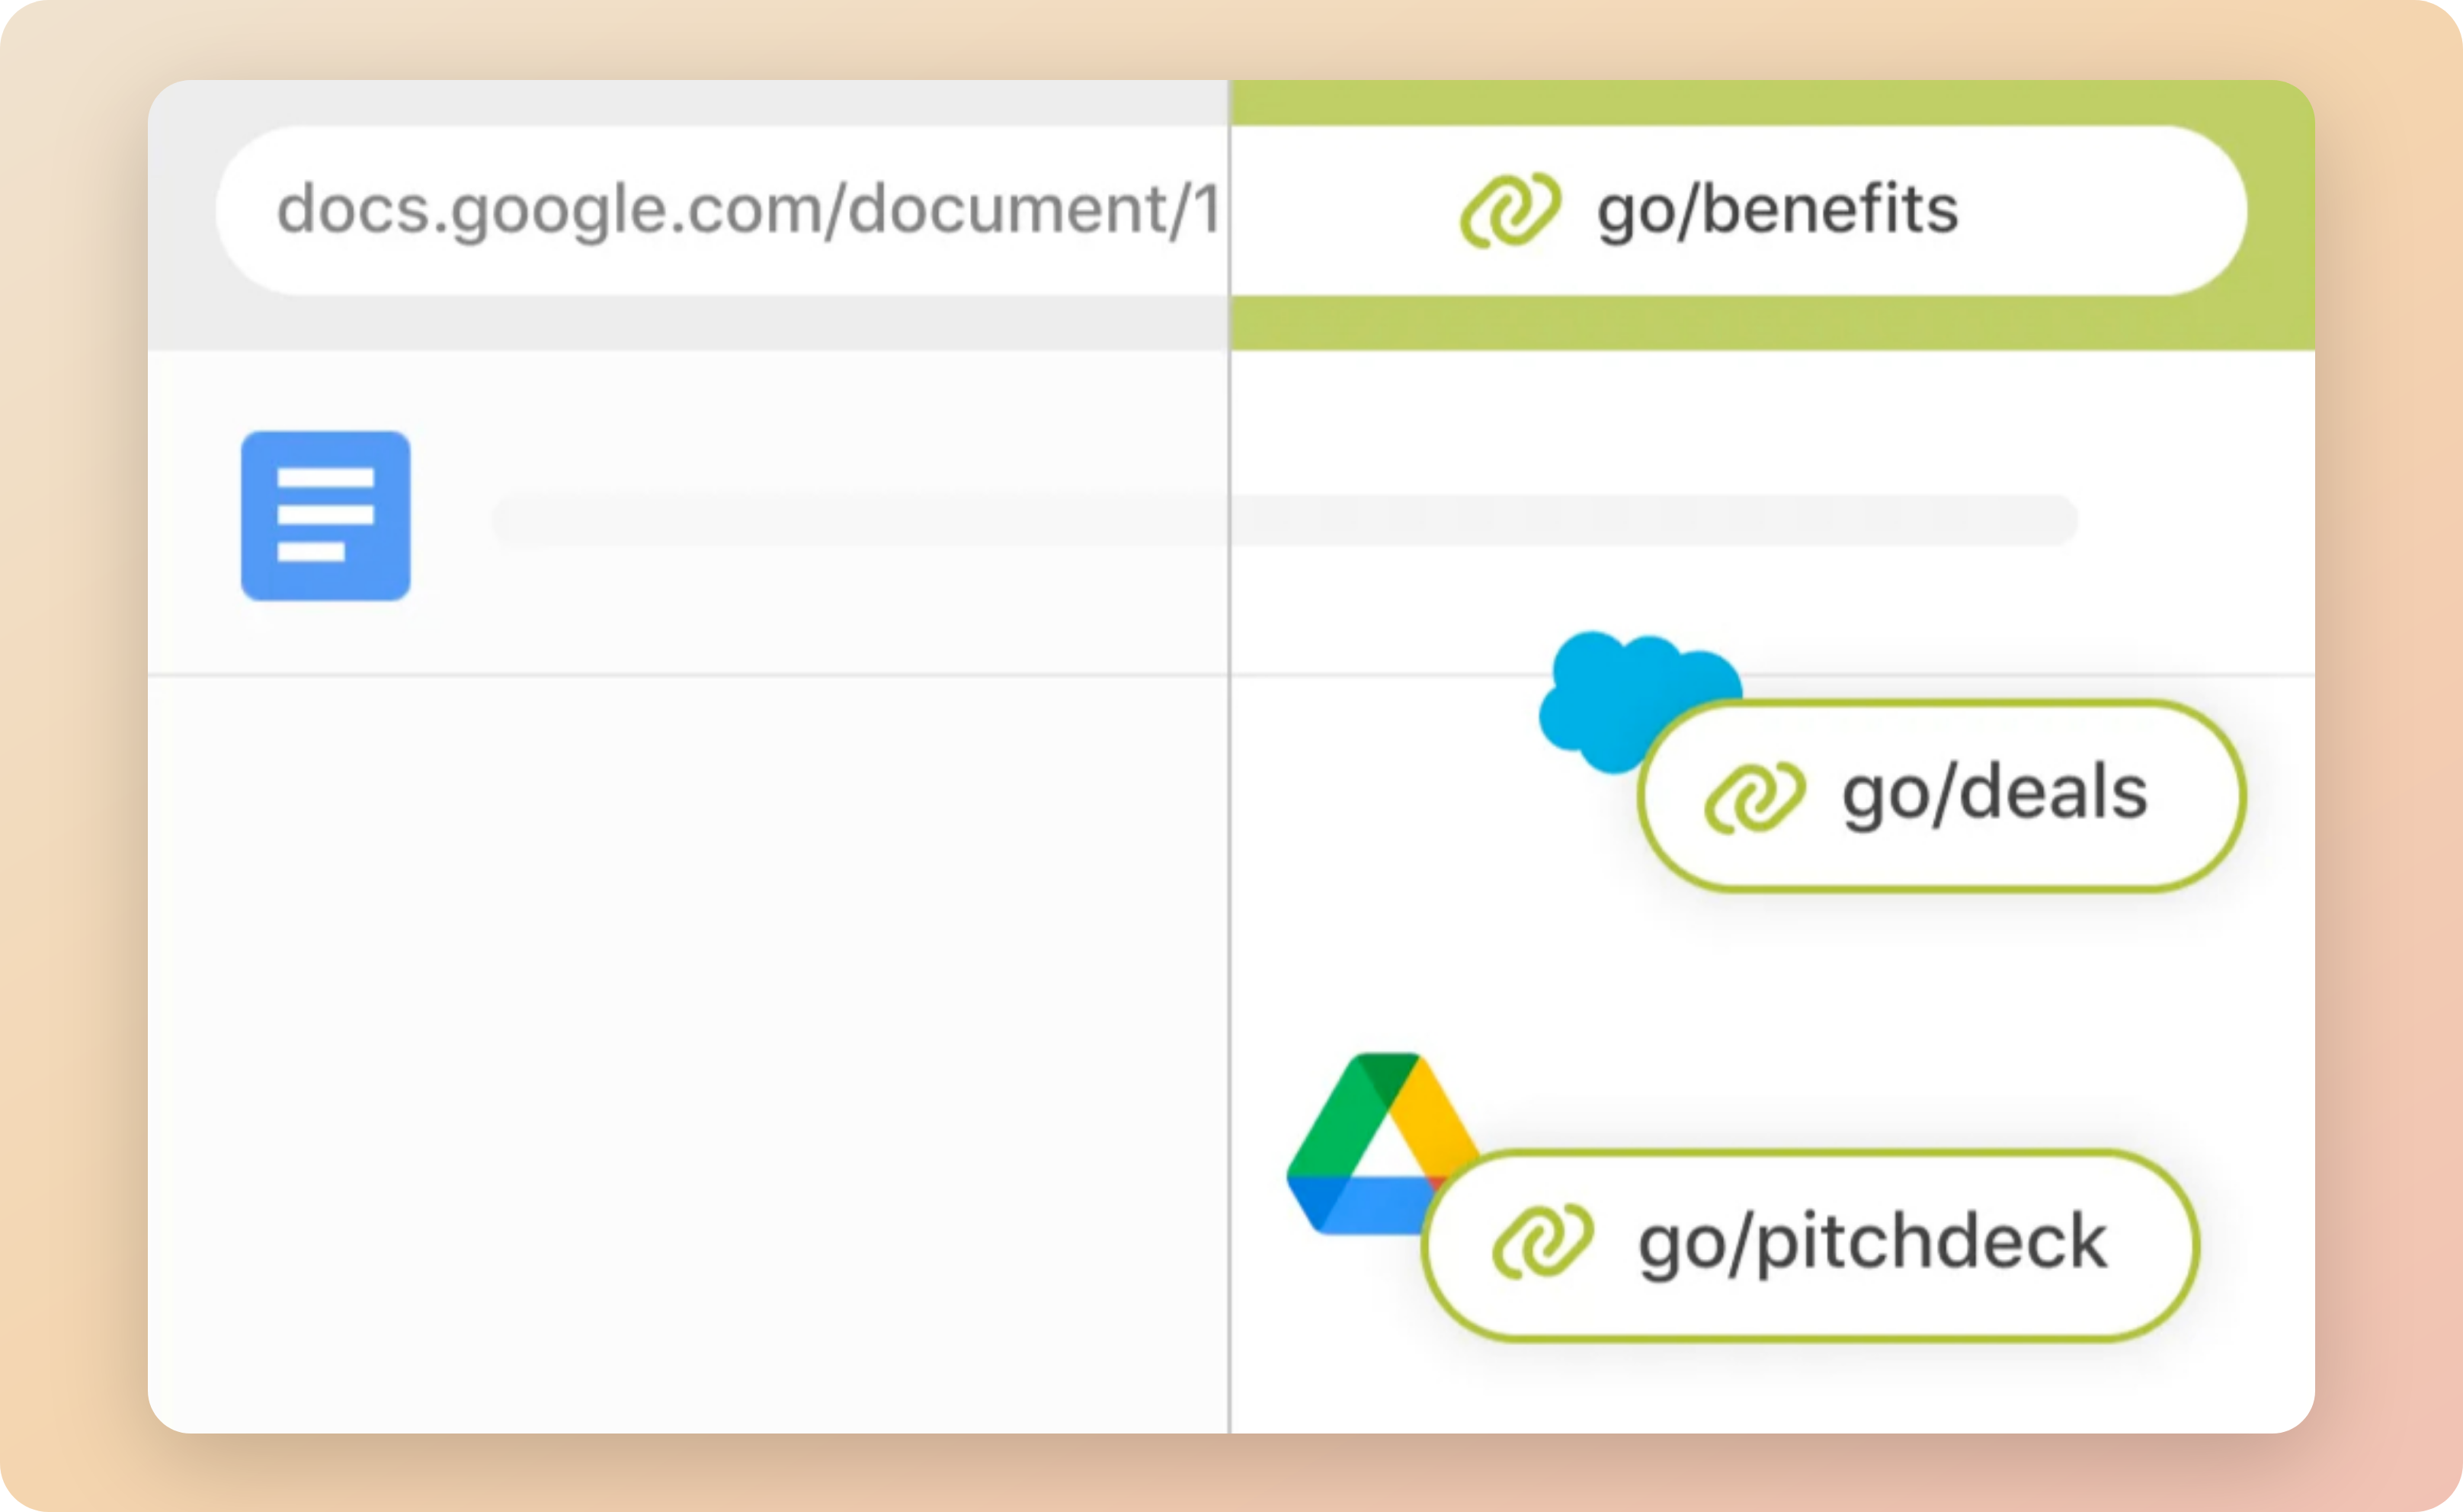
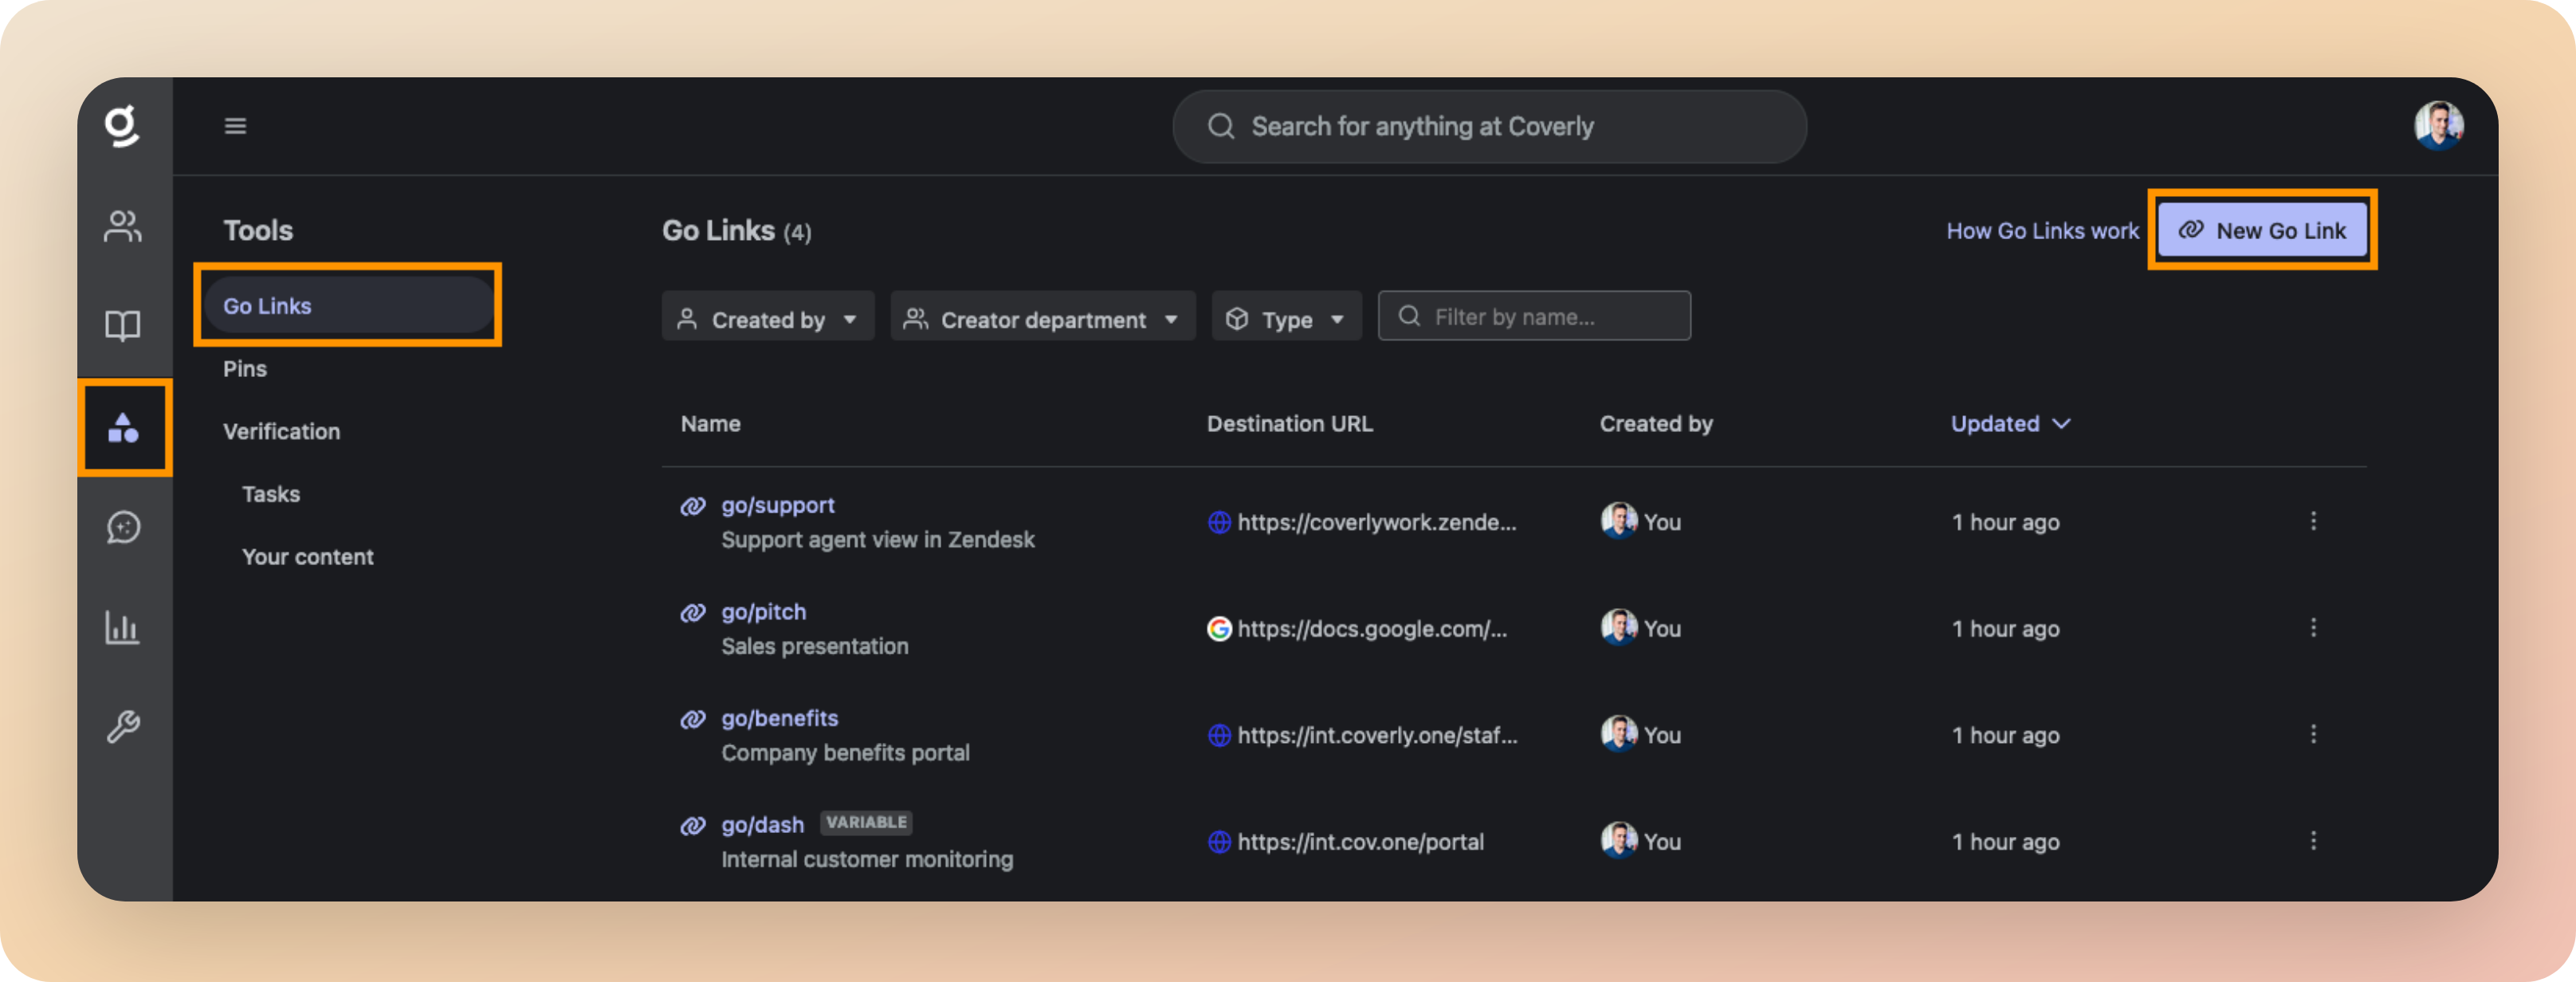
Go Links are shortcuts that quickly redirect users to frequently used resources
- More information: Using Go Links
| Go Link | Destination |
|---|---|
go/benefits | Company benefits portal. |
go/help | IT help desk. |
go/deals | Salesforce Dashboard showing the current numbers for the quarter. |
go/sprint | Specific Jira project for your engineering team. |
go/dashboard/<customer> | Internal dashboard to monitor <customer> (This is a variable Go Link) |
go/it/setup | Setup instructions for a new laptop. |
go/it/wifi | Wifi access details for employees. |
go/pitch | Your company sales presentation. |
go/pto | New annual leave request. |
go/git | Your main internal Git repository. |
go/allhands | A folder containing recordings from previous company All Hands. |
go/fast | Internet speedtest, e.g. https://fast.com |
go/docs | Documentation hub. |
go/support | Agent view in Zendesk. |
go/mail | Outlook Email |
go/cal | Work calendar |
go/roadmap | Company roadmap presentation |
Collections
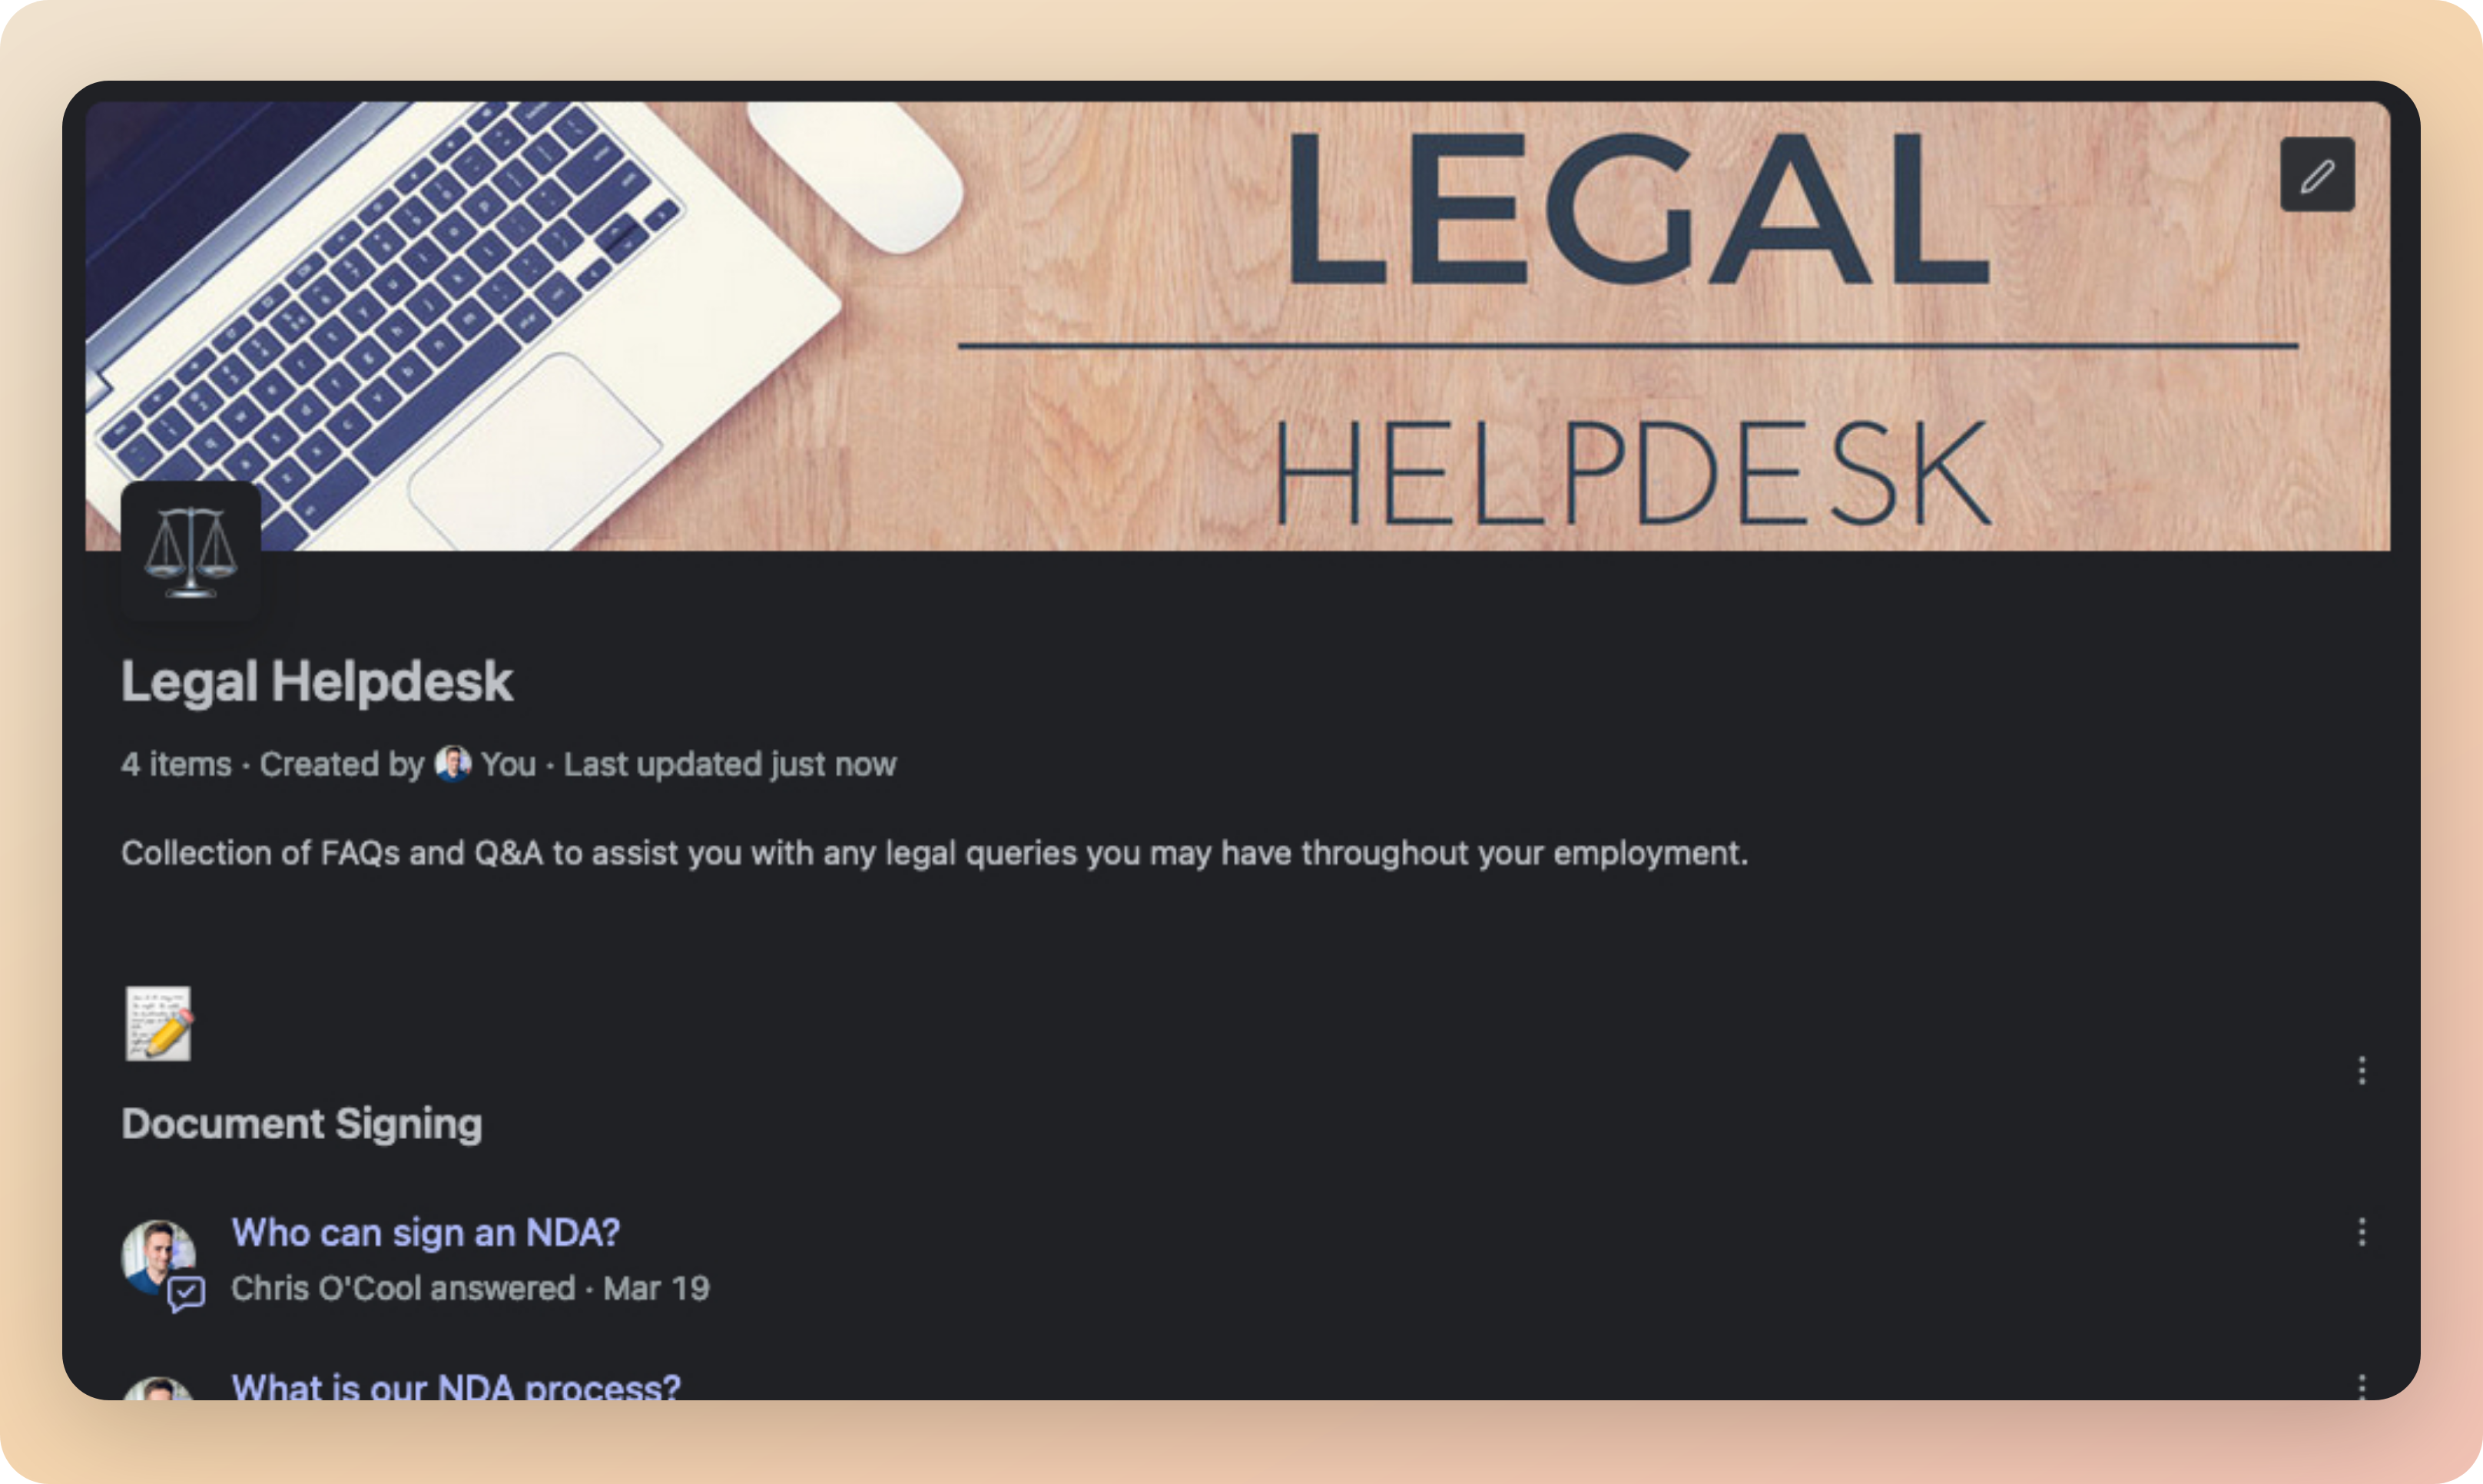

Collections are curated groups of documents or resources that are relevant to specific projects or topics
- More information: Using Collections
| Collection Name | Description |
|---|---|
| New Employee Onboarding | All resources and checklists that a new employee needs to follow during their first week at the company. |
| Life @ [COMPANY] | Links to policy documents relating to benefits, annual leave, travel, and technology at the company. |
| Using Glean | Documents, answers, and links related to Glean to help employees use the platform. |
| Legal Helpdesk | FAQs and documents related to anything legal related at the company. |
| T&E Hub | All documents, apps, and resources that employees need to book travel and manage expenses. |
| [LOCATION] Office | Information relating to a specific company office, e.g. Sydney |
| [TEAM NAME] | Contact details, Slack/Teams channels, and key documents managed by a specific team or department within the company, e.g. Solution Engineering. |
| Project [NAME] | All key resources relating to a specific internal project. |
Document Verification
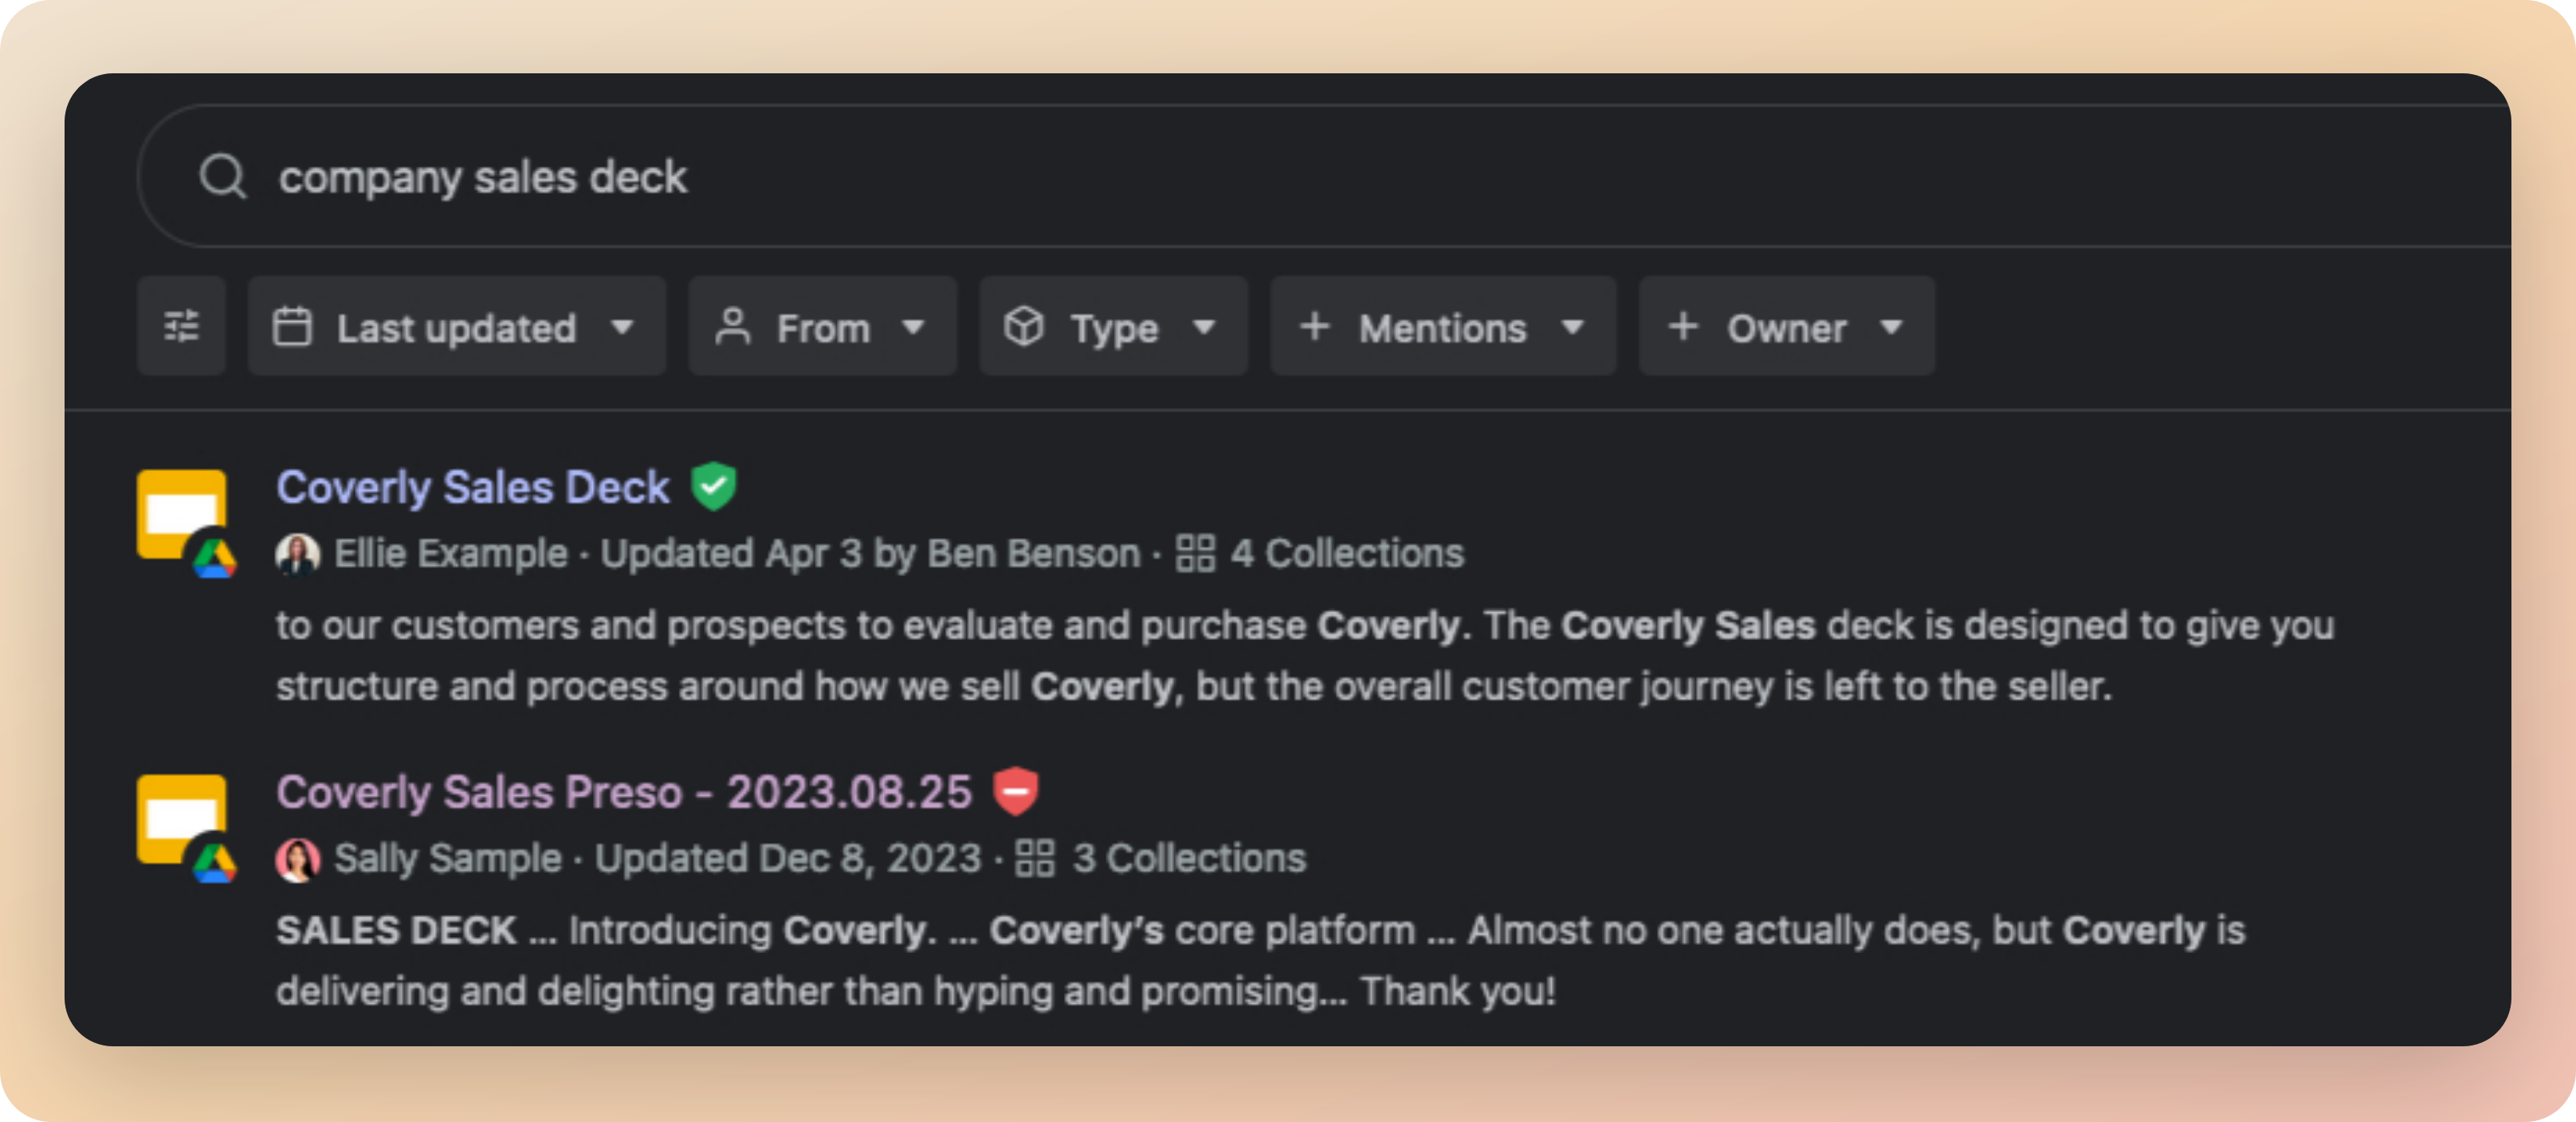
- Verified documents receive a green checkmark ✅ next to them in the search results.
- Deprecated documents receive a red cross ❌ next to them in the search results.
- Search for the document you wish to Verify or Deprecate.
- Click the 3 dots to the right of the search result to open a menu.
- Select Verify or deprecate, then the relevant option.
- Your page will refresh, and the document will now have a green checkmark or red cross visible next to it.
- More information: Verifying Content
Pins
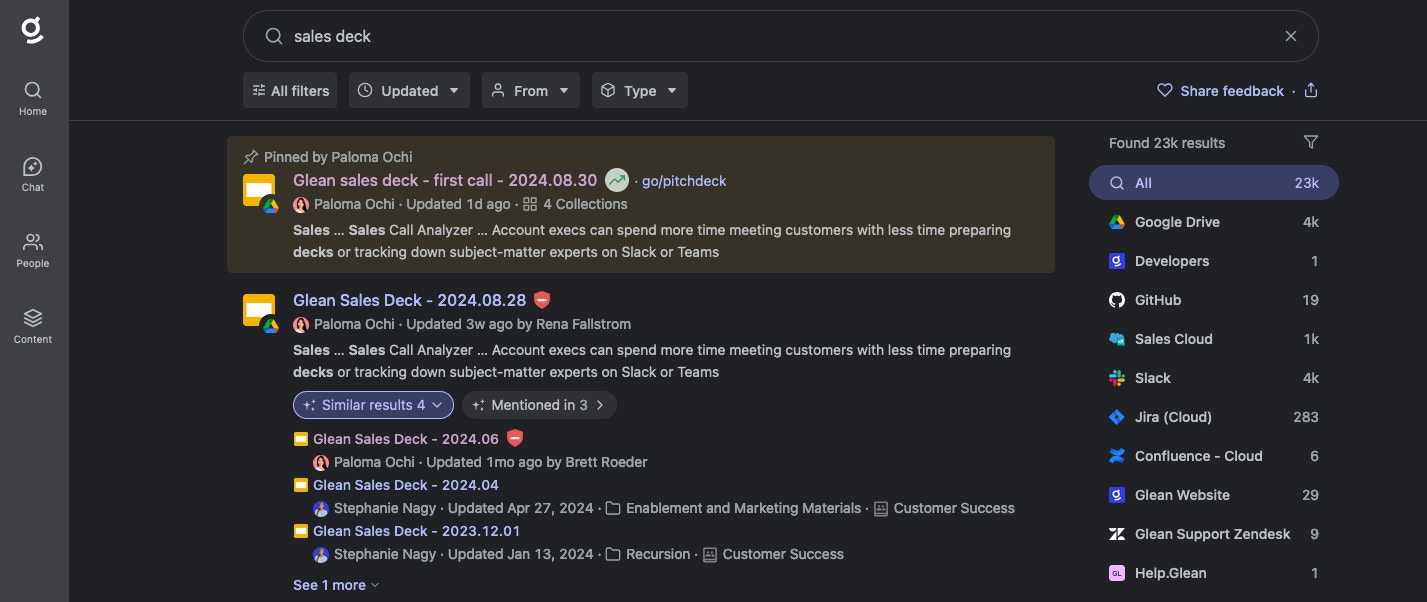
- Private Pins are only visible to the user who created them.
- Public Pins are visible to all users in the organization.
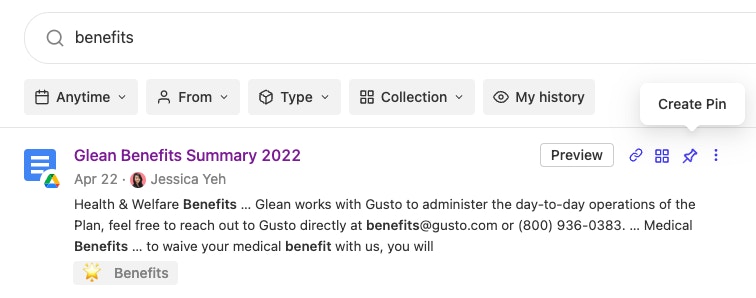
Pins allow you to push content to the top of search results based on specific keywords
- More information: Using Pins
- New Employee Handbook - Pin the new Employee Handbook to the top of search results for the keywords
handbookandonboarding. - New Travel & Expense Policy - Pin the new Travel & Expense Policy to the top of search results for the keywords
travelandexpense. - Benefits Hub - Pin the Benefits Hub to the top of search results for the keywords
benefitsandinsurance.