Glean for Desktop Quick Chat for macOS
Glean for Desktop is designed to provide chat-first access to Glean from anywhere on your machine. This experience is delivered via the following components:
- Quick entry for Glean: The universal shortcut (
⌘+⇧+Jby default) that launches a search bar can be configured to default to chat.
- Quick chat: A dedicated, assistant floating window that always stays on top of all other applications. It provides a persistent, uninterrupted space for conversations with Glean.
- Chat with screenshot: The ability to attach a screenshot directly to your query within quick chat, giving Glean visual context for faster, more accurate answers.
Configuration and customization
All features are managed from the Desktop App settings panel.
Step 1: Access settings
- In the Glean application, click the Glean icon (bottom-left) and then click Your settings.

- Click the Desktop app section.
Step 2: Define quick entry behavior
Configure the shortcuts and default modes for quick entry.
-
In the Quick entry → Quick entry shortcut field specify the key combination for the the Quick entry shortcut (e.g.,
⌘+⇧+J). -
Set the Default mode: for the quick entry shortcut:
- Chat: Launches the interface directly into the chat composer (recommended).
- Search: Launches Glean in the Glean application.
-
In Open new chats, select the default destination for all new chat queries:
- In Quick Chat: Launches the conversation in the persistent floating window.
- In Main Window: Launches the conversation in the Glean application window.
Step 3: Define quick chat behavior
- In the quick chat → Companion chat shortcut: field specify the key combination for the quick chat shortcut (e.g.,
⌃+⇧+G). - Set the default Quick chat behavior.
- Toggle window
- Open new window
Step 4: Provide permissions for screen capture
- Under Permissions, toggle on Screen Capture to enable the chat with screenshot feature.
Once configured, the feature is immediately accessible via the shortcut.
Note: After making changes to the settings, you may need to quit and relaunch the app for the new configuration to take effect.
Usage
Access Glean from anywhere
- Quick entry: Press the defined Quick entry shortcut (
⌘+⇧+J) to instantly launch the chat composer and submit your query. - Quick chat: Press the defined quick chat shortcut (
⌃+⇧+G) to launch the floating Glean window.
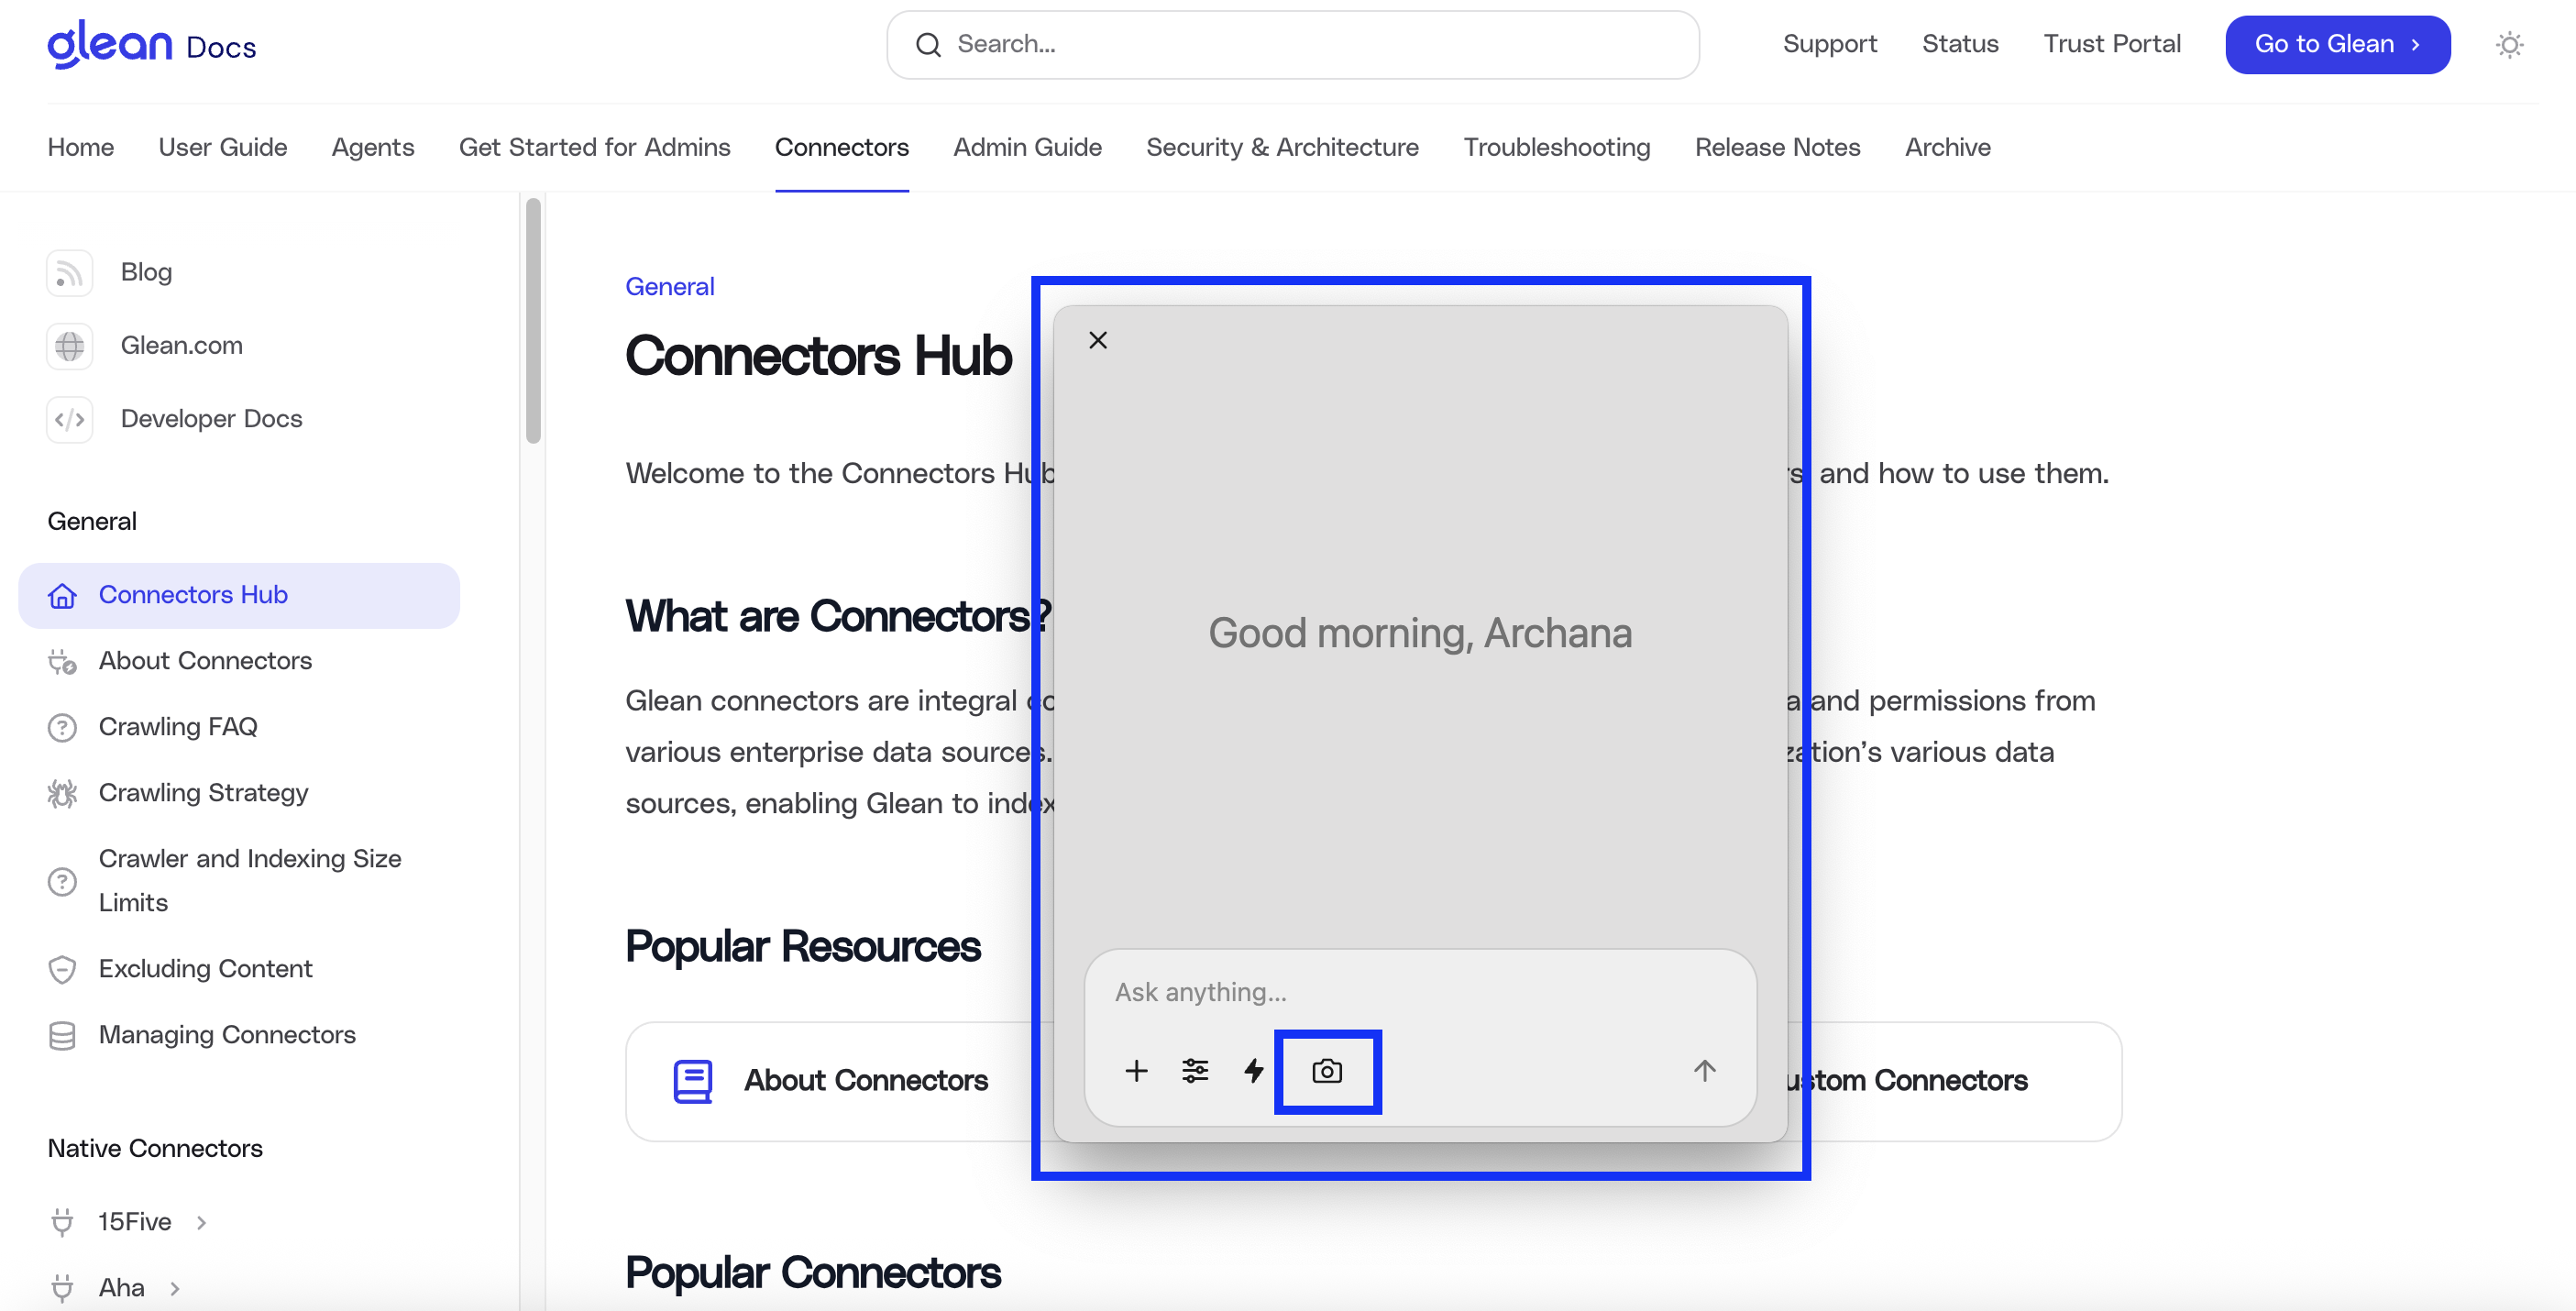
Attach visual context
- Open the Quick chat window.
- Click the screenshot button (camera icon) in the chat composer. The captured screenshot attaches directly to your query, providing visual context to Glean.